Hey guys! So glad you could join us today… we have so many exciting things happening around here.
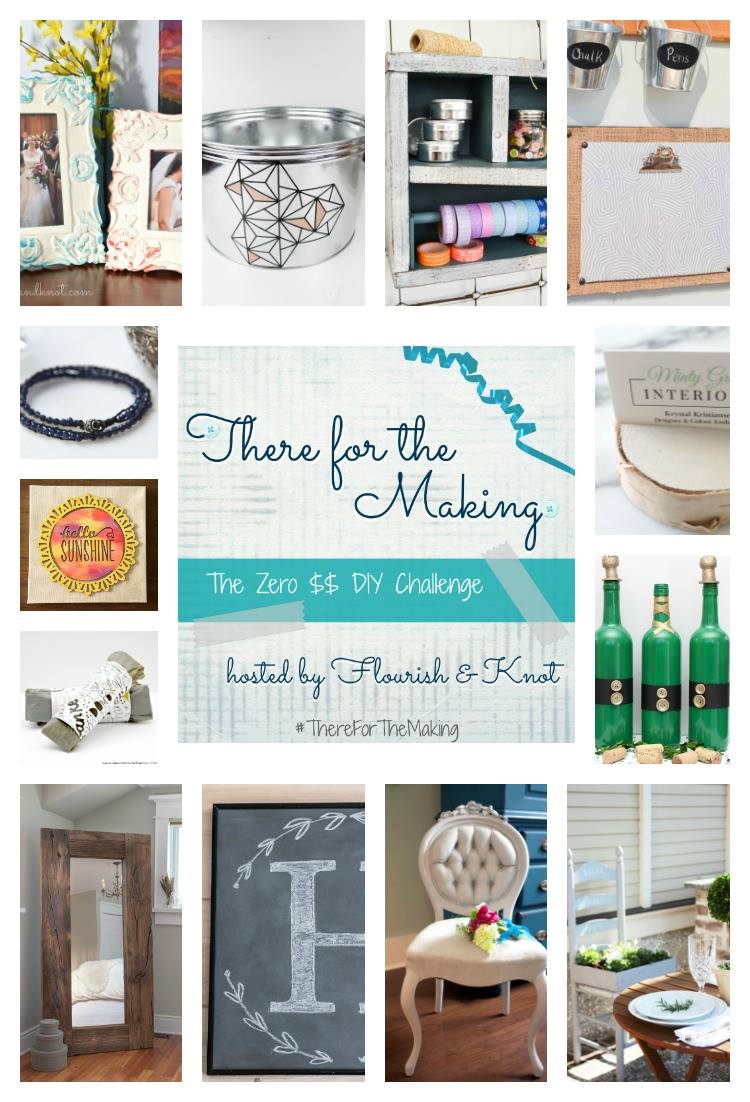
Welcome to – There for the Making – February’s Challenge!
I’m pretty thrilled to be introducing a new series to the blog, “There for the Making – The Zero Dollar DIY Challenge”, hosted by Sarah over at Flourish & Knot.

I’m excited to be participating in this series with some other talented bloggy friends! We wanted to challenge and prove to ourselves and you that we all have craft and DIY potential just laying around our homes. We wanted to inspire and show our readers that it IS possible to be creative without spending! To encourage you and ourselves to have a look around our homes and create something awesome with only the supplies and items we already have on hand.
In this series we will feature all new and inspiring DIY projects that are all completely no-spend! The only “rules” for us are, do not spend any money on any new supplies, nada, ziltch, zero… I think you get the drift. 🙂 Fun, right? Bud and I are so up for this challenge! Now that you have the gist of what this post is about, let’s get into our there-for-the making project.
Ikea hack
Bud and I decided to start this series off with a project that has been in the queue for a while now, this no-spend challenge was just the thing we needed to kick our butts into gear! I’m not sure how many years ago we bought this Ikea mirror, but we’ve had it forever, the perfect victim. Muhahahaha!
(confession: I struggle to pronounce Ikea words, what about you?)
 I did a concept board (a while ago now) for our master bedroom renovation, we wanted texture, warmth and coziness, barn board really helps to bring some of that desired texture into the room, don’t you think? Some of you who follow our blog may be wondering where the heck we are with the bedroom reno… it’s still not quite done but I do promise the reveal is coming soon-ish- haha that’s for you Barb. 😉 I’m searching for the perfect window coverings and a carpet… sigh. So the search continues, I am beginning to annoy myself because I have a certain thing in my head and I just can’t find it… correction, I just can’t find it at a price I am willing to pay. In the mean time, free barn board mirror, yes please!
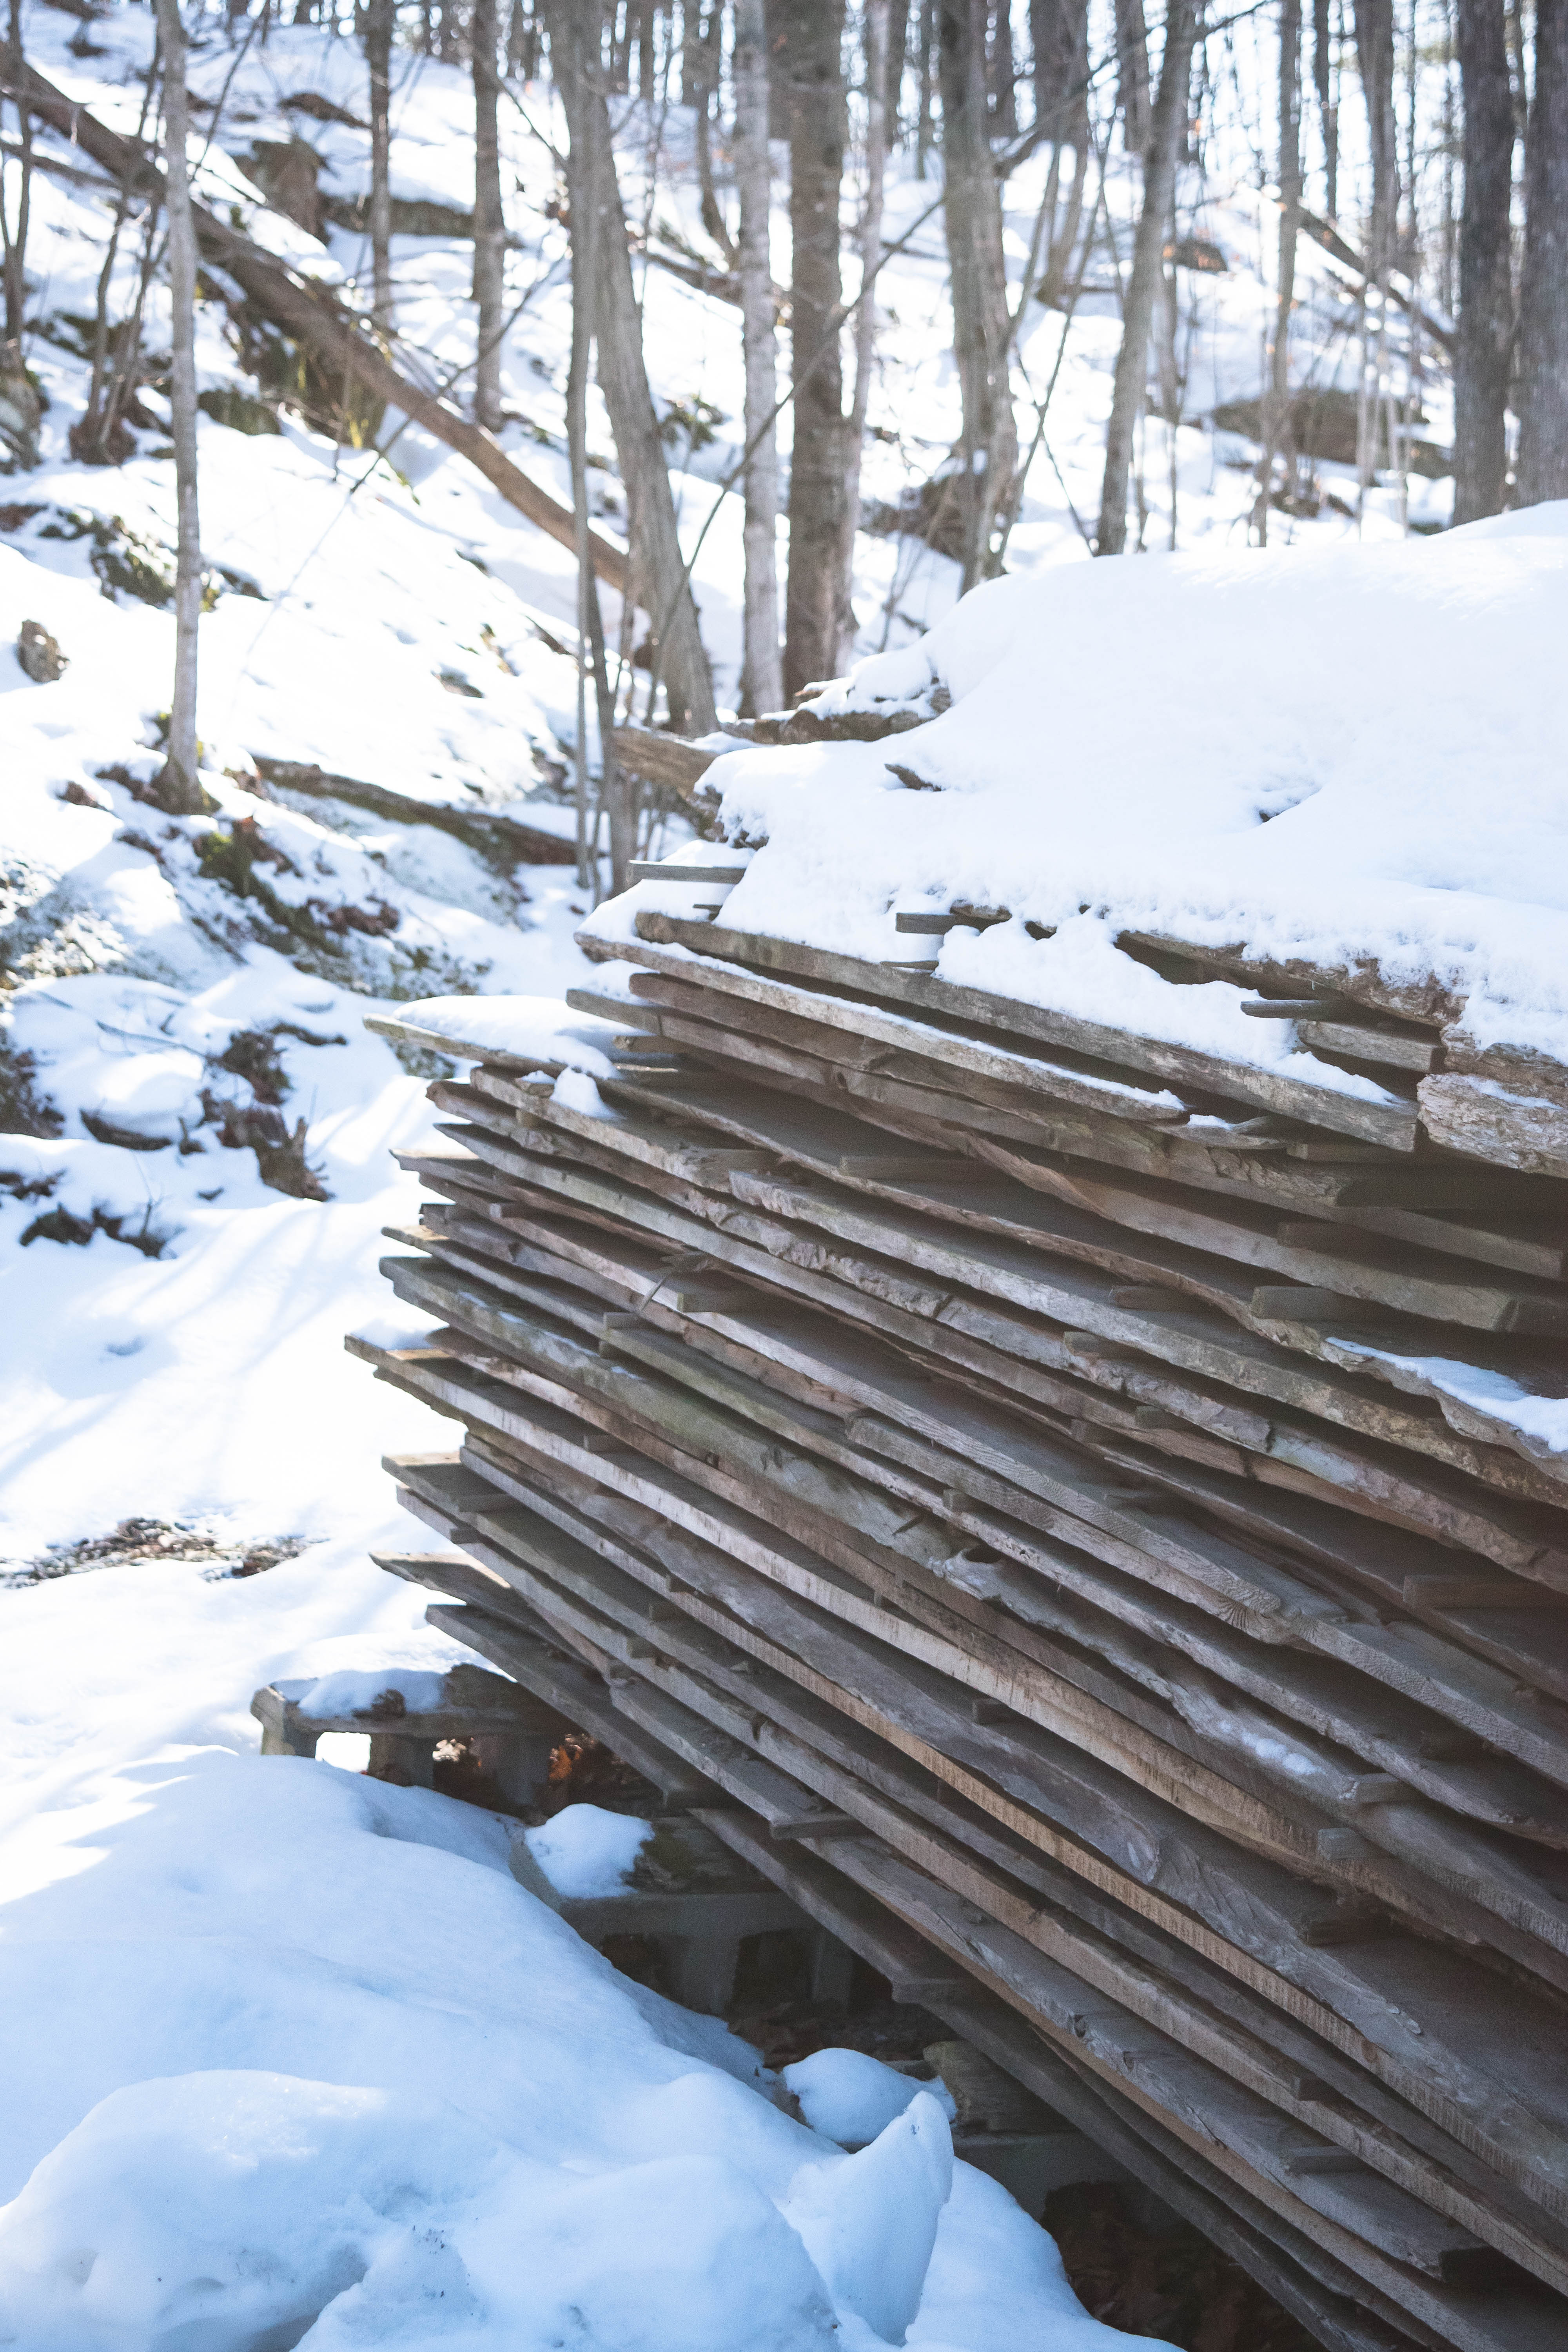
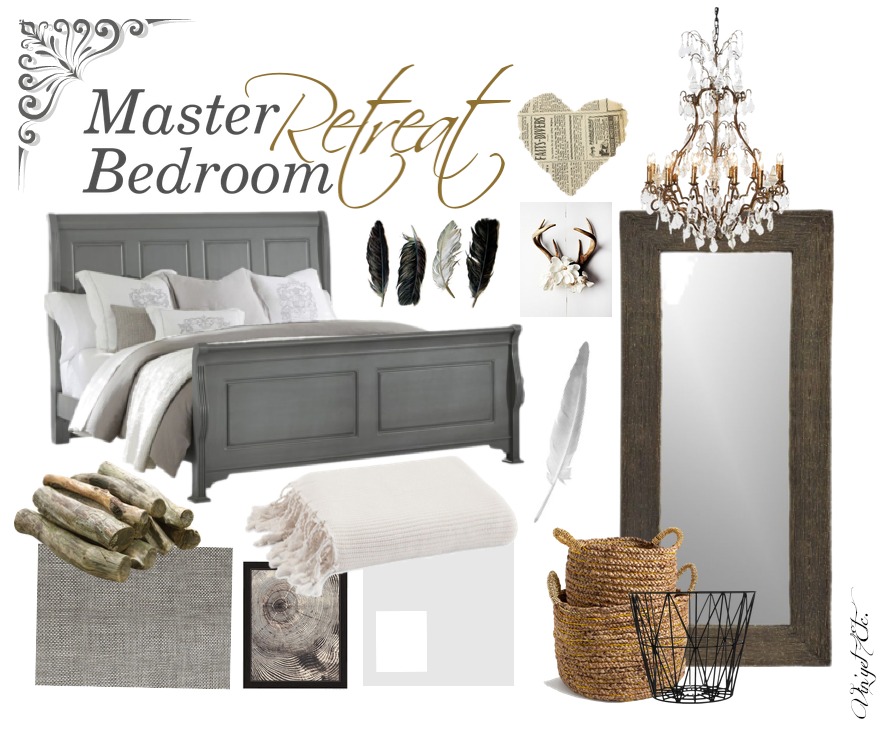 There you go, we had the mirror + the wood… warning barn board porn below! I just continued to dig around around the house to find the rest of the materials we would need to make this already nice mirror, awesome. I’m so happy and proud to say we did not spend one additional red cent for this project… We had all of the materials from a multitude of other projects and just scrounged around our own house, I shopped chez Laurie’s. 🙂
Ohhhh, my precious!!!!!!
How to make a no-spend barn board mirror
Materials
Mirror with frame- in our case we decided to cover an existing Ikea mirror as mentioned above
Barn boards
PL – construction adhesive
An abrasive nylon wheel brush – (it’s basically like a wire wheel except these bristles will not spit little shards of steel at you – bonus) this nylon wheel brush will be run by a drill
Satin spray varnish (I used a combo of what I had on hand – Rustoleum and Varathane – both satin finish)
Nail gun with 2″ brad nails
Table saw
Clamps
Eye protection
Face mask
Steps to cover an Ikea mirror with barn board
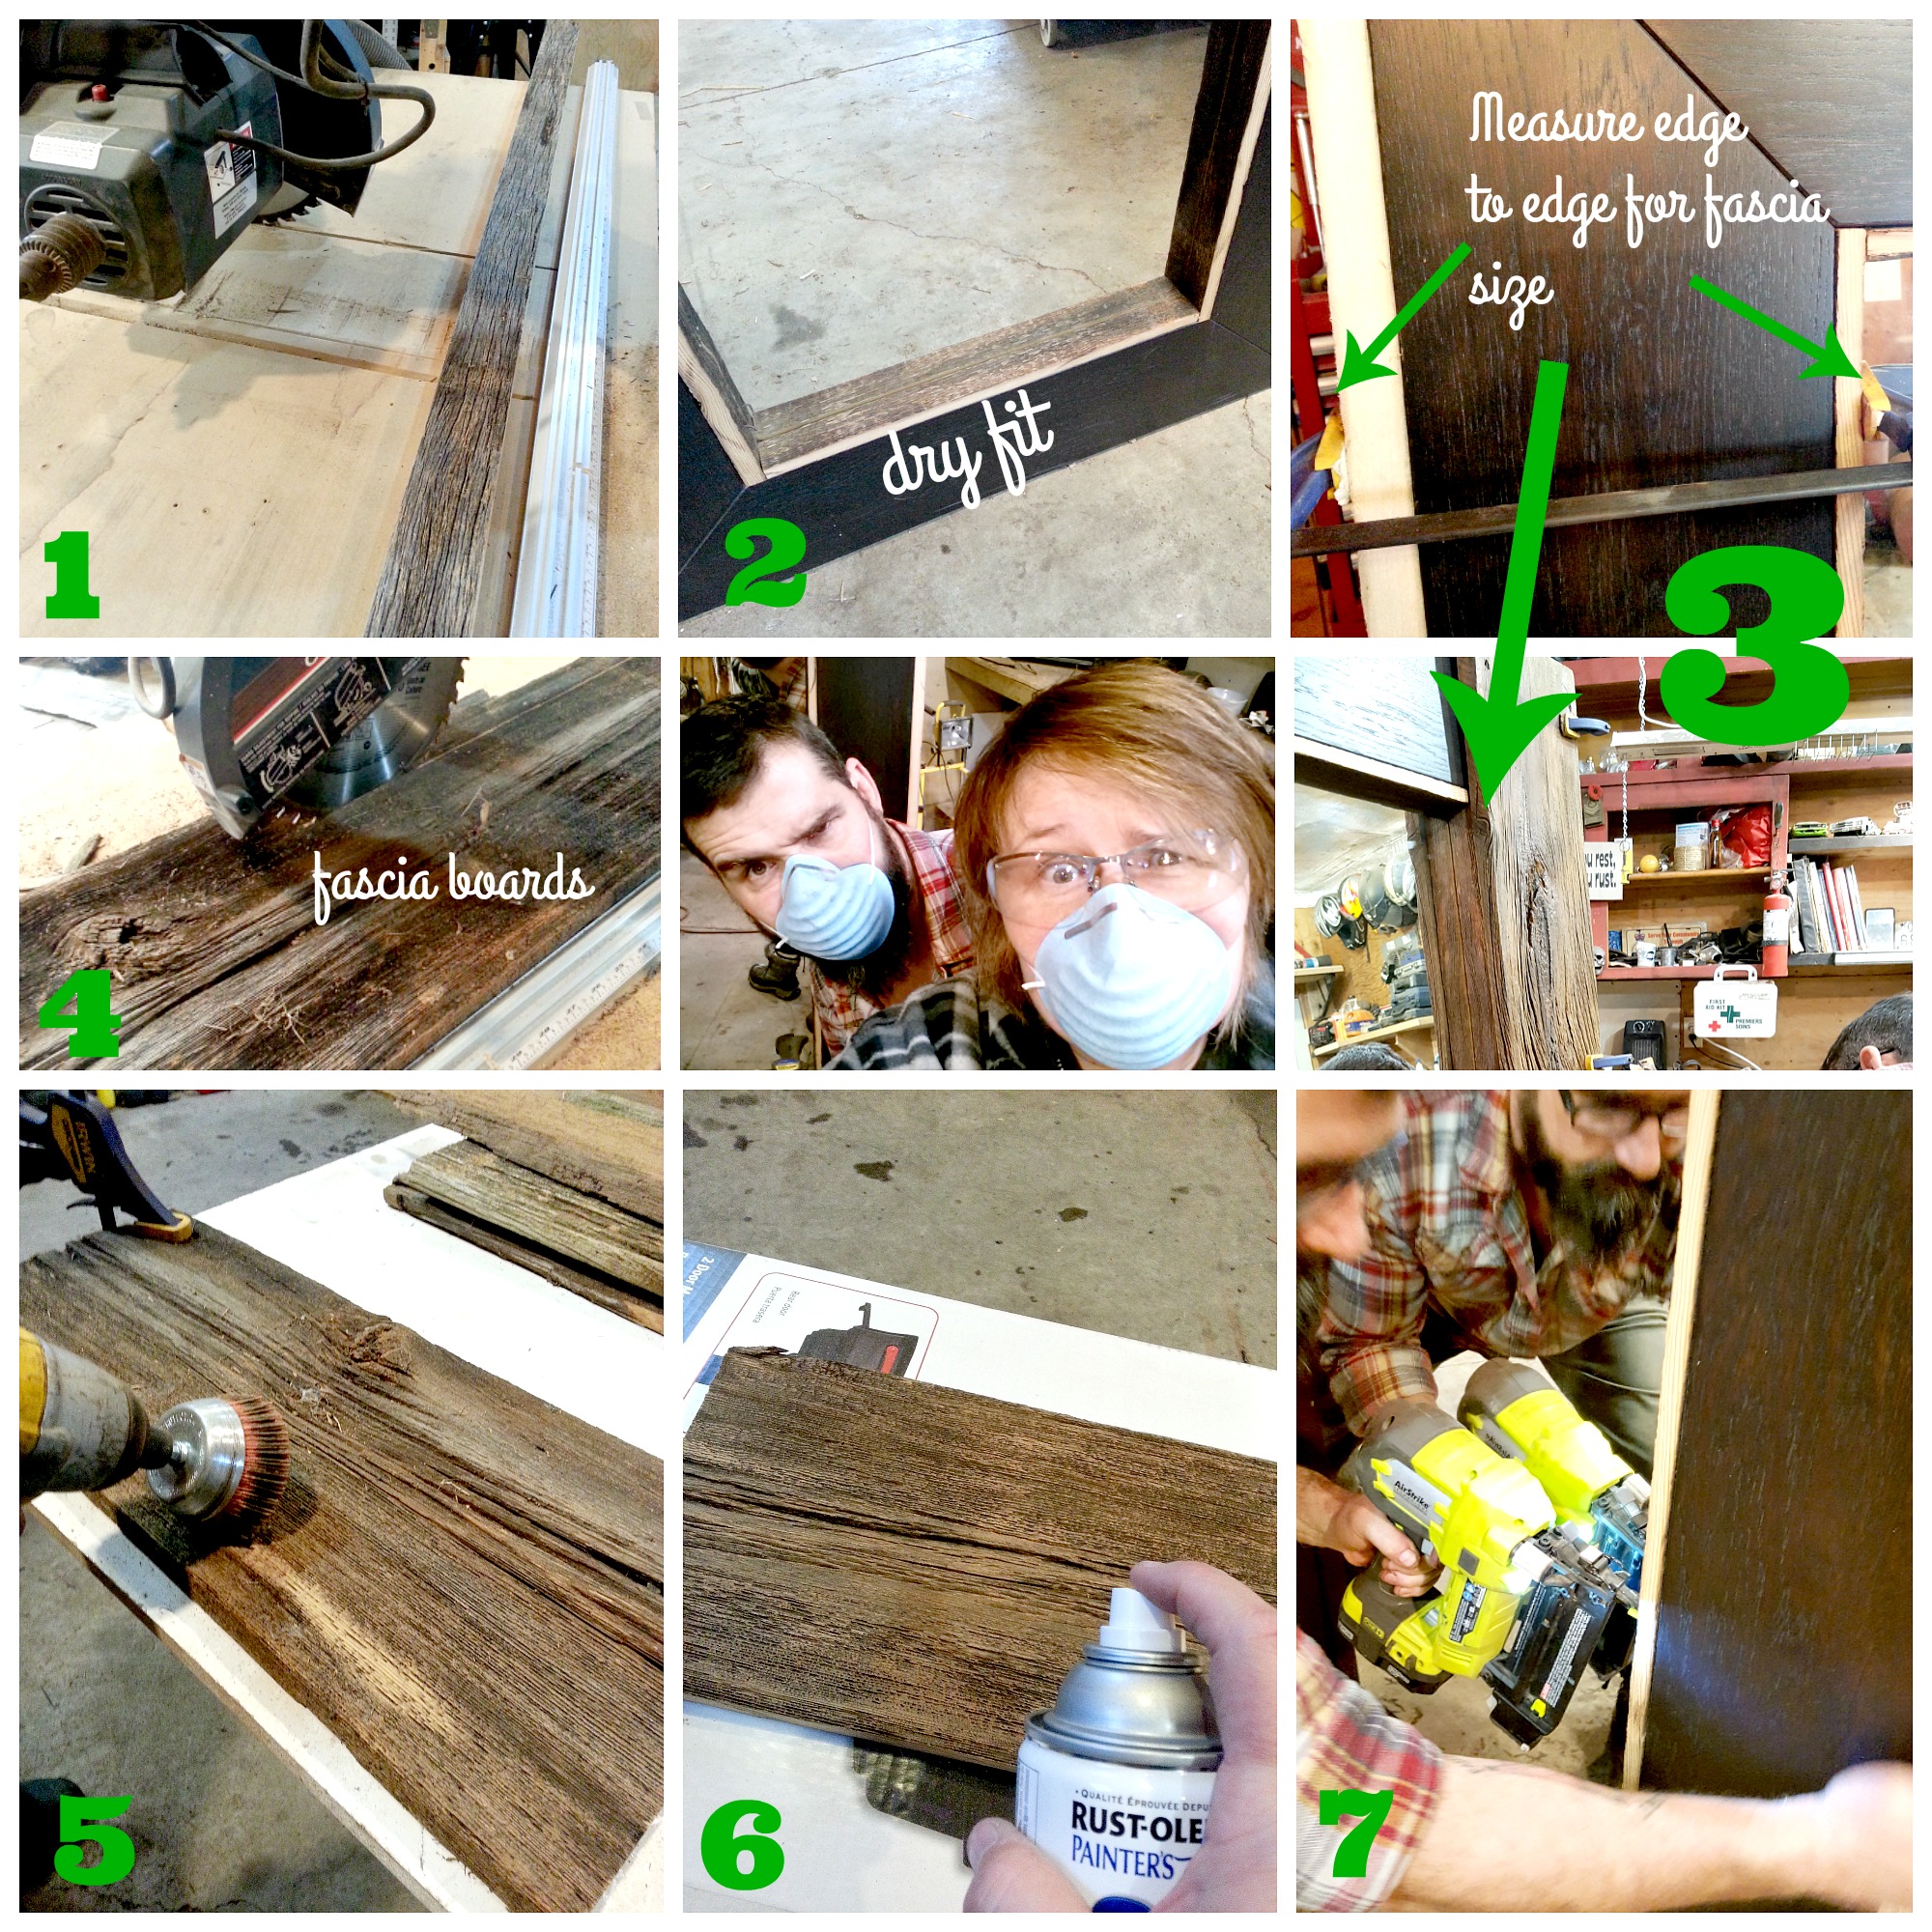
Choose your pieces of barn board (strive to pick pieces that are of uniform thicknesses), we picked 6 pieces, 2 that were wide and long enough to cover the long vertical sides, 2 top horizontal pieces and 2 pieces we used for the inside and outside edges of the mirror.
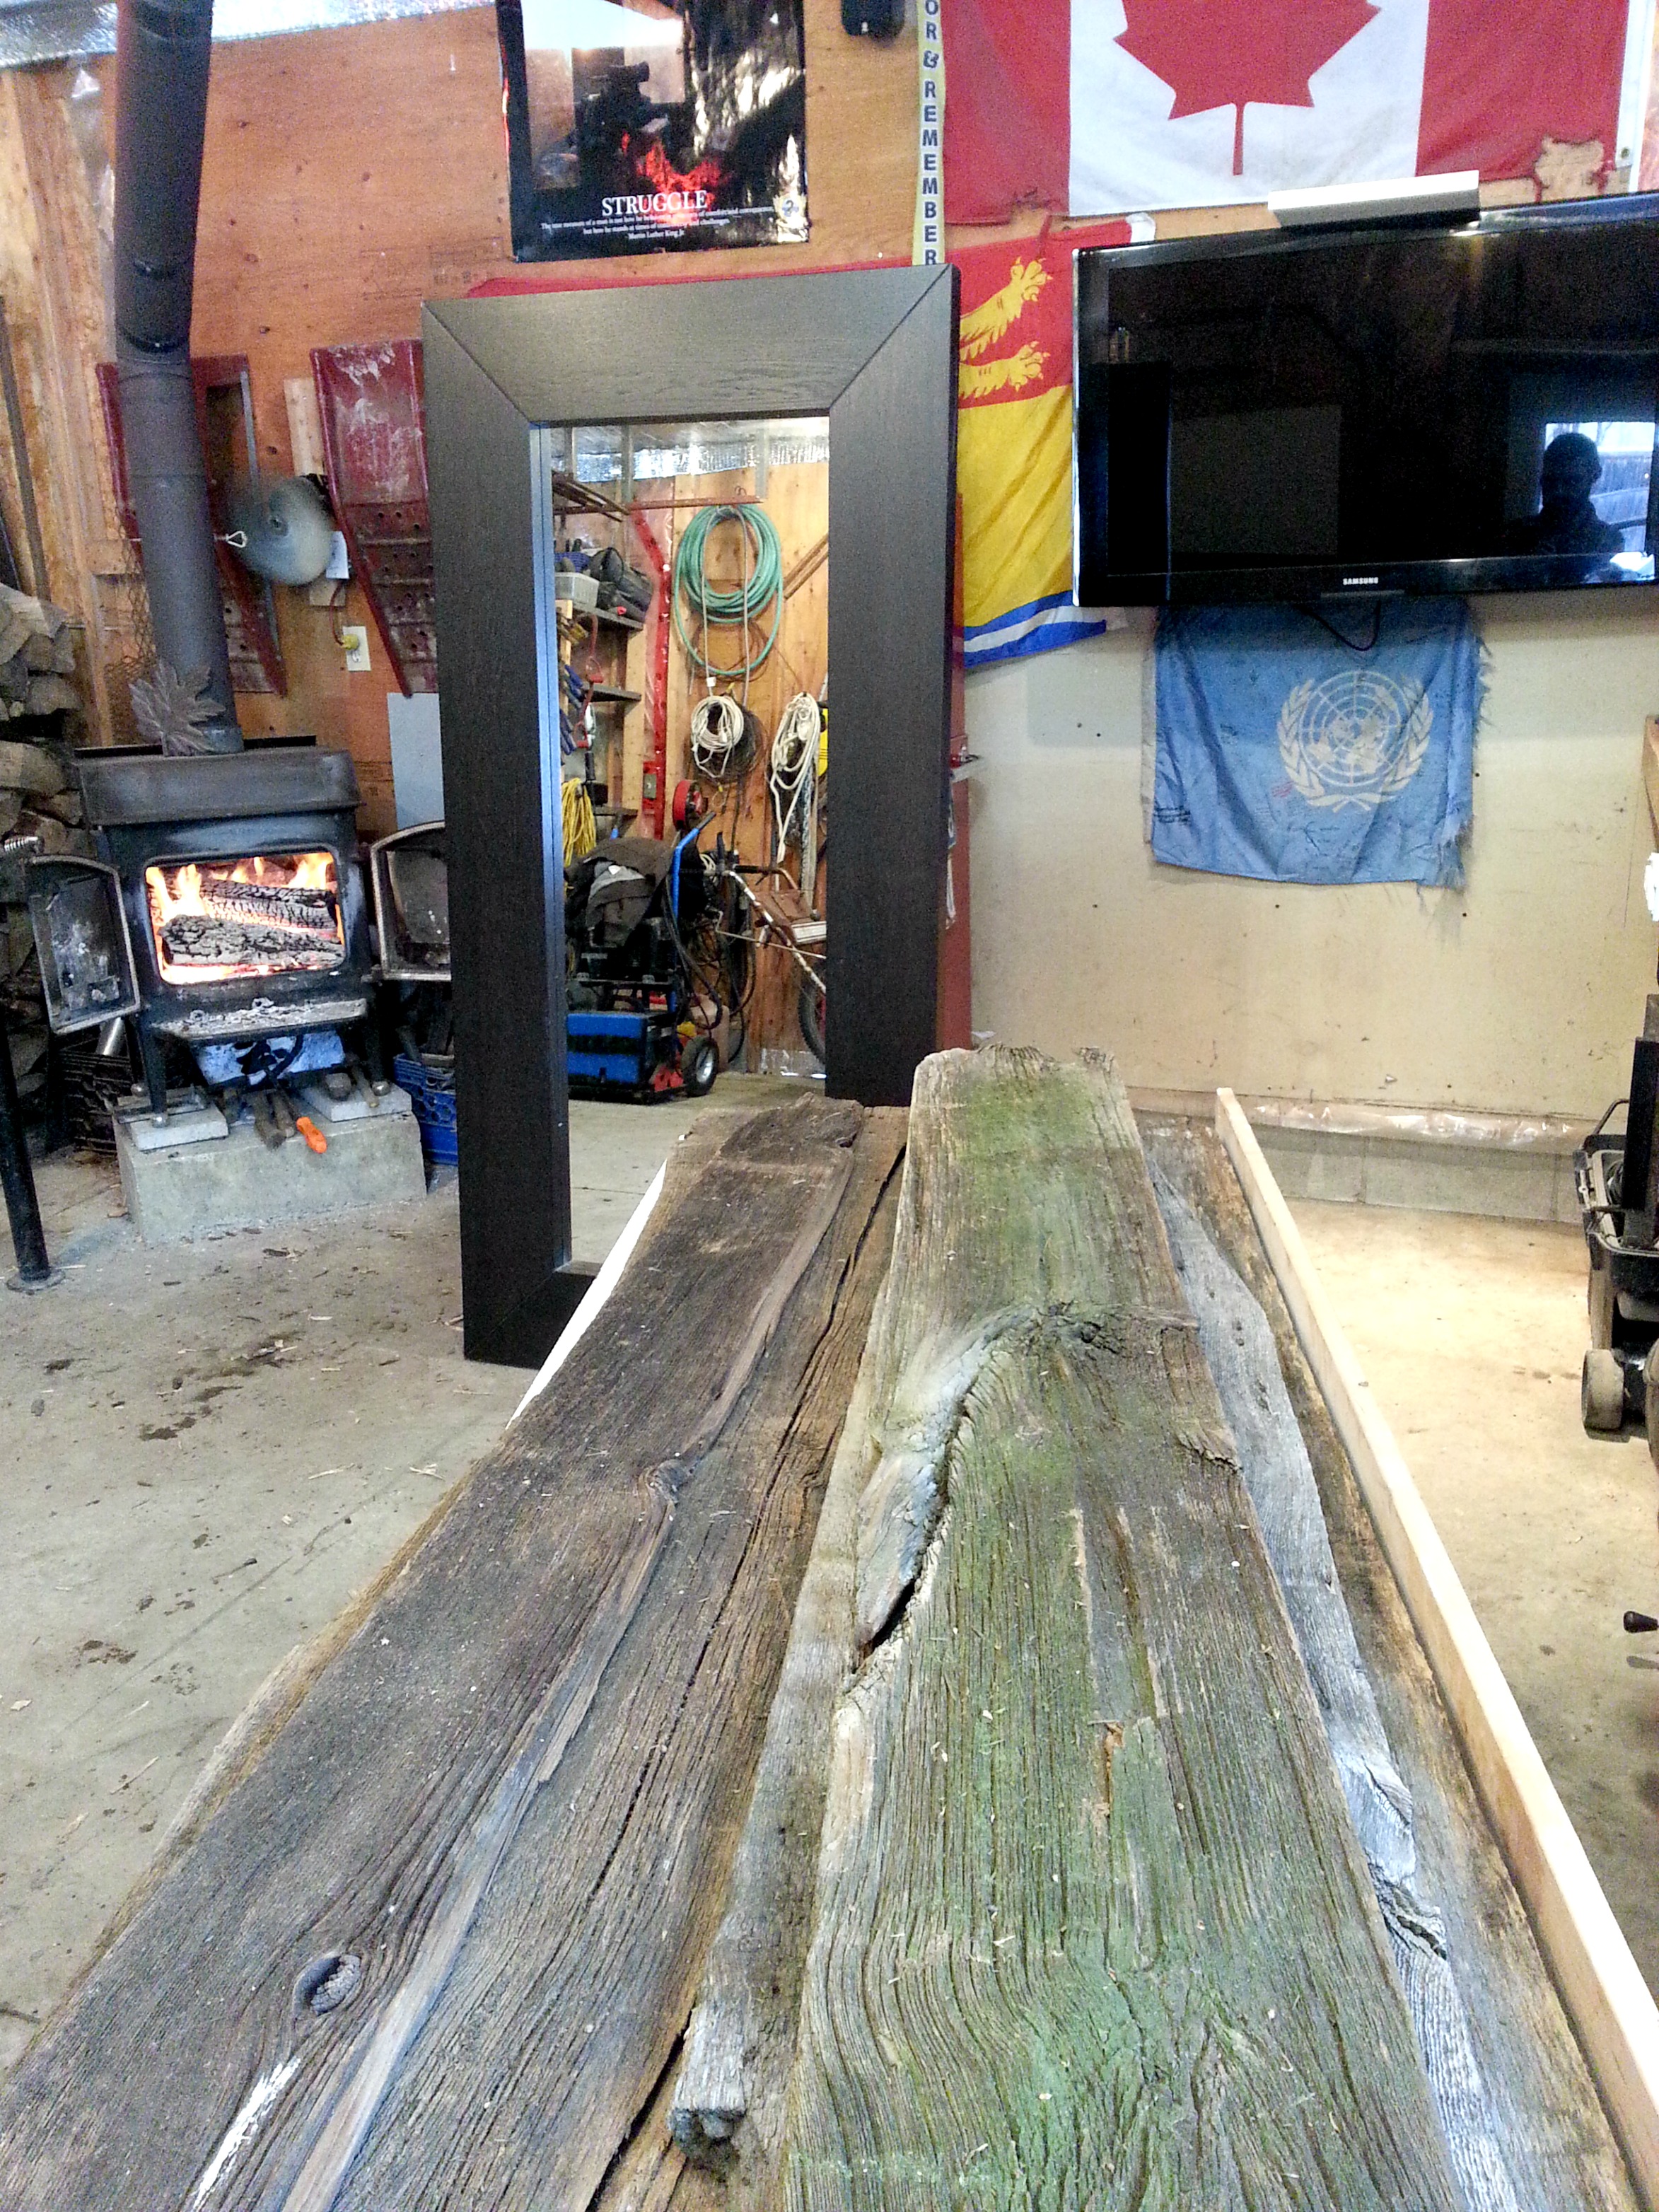
Barn board (BB) should be dried and brushed off of any loose pieces and debris, we let the boards dry in the shop for a few days.
1 Cut dedicated inside (4) and outside (2) edge boards to measured width and length, our specific design feature was to butt join all corners/edges.
2 Dry fit all cut pieces – use clamps where necessary. ** Note that since the bottom of the mirror and the top are not visible we chose not to cover those edges with BB.**
3 By clamping the BBs to the inside and outside edges of the mirror frame you will be able to measure and determine the total width of the front side fascia pieces and the top fascia pieces (see graphic below).
4 Cut dedicated fascia boards (4) as per the measurements determined by step 3.
5 Do not install barn boards yet, lay them flat on a table, clamp them down and use a drill with a nylon wheel brush to clean and smooth all barn board pieces. Use this technique to “sand” the cut barn board pieces to your desired patina. This technique will remove any large splintery pieces and leave you with an authentic barn board weathered look.
6 Once you have the desired barn board aesthetic brush and air spray (compressed air) any debris and dust off of the boards, spray the cleaned and prepared boards in a well ventilated area with a satin spray varnish. We used 2 coats on each piece. Leave to dry as per product instructions.
7 Once BB is dry, install all of the pieces in the same order as the dry fit process above. Install by applying PL glue to the back of each piece, clamp pieces in place and brad nail the barn boards to the mirror. (nail approx every 2′-0″)
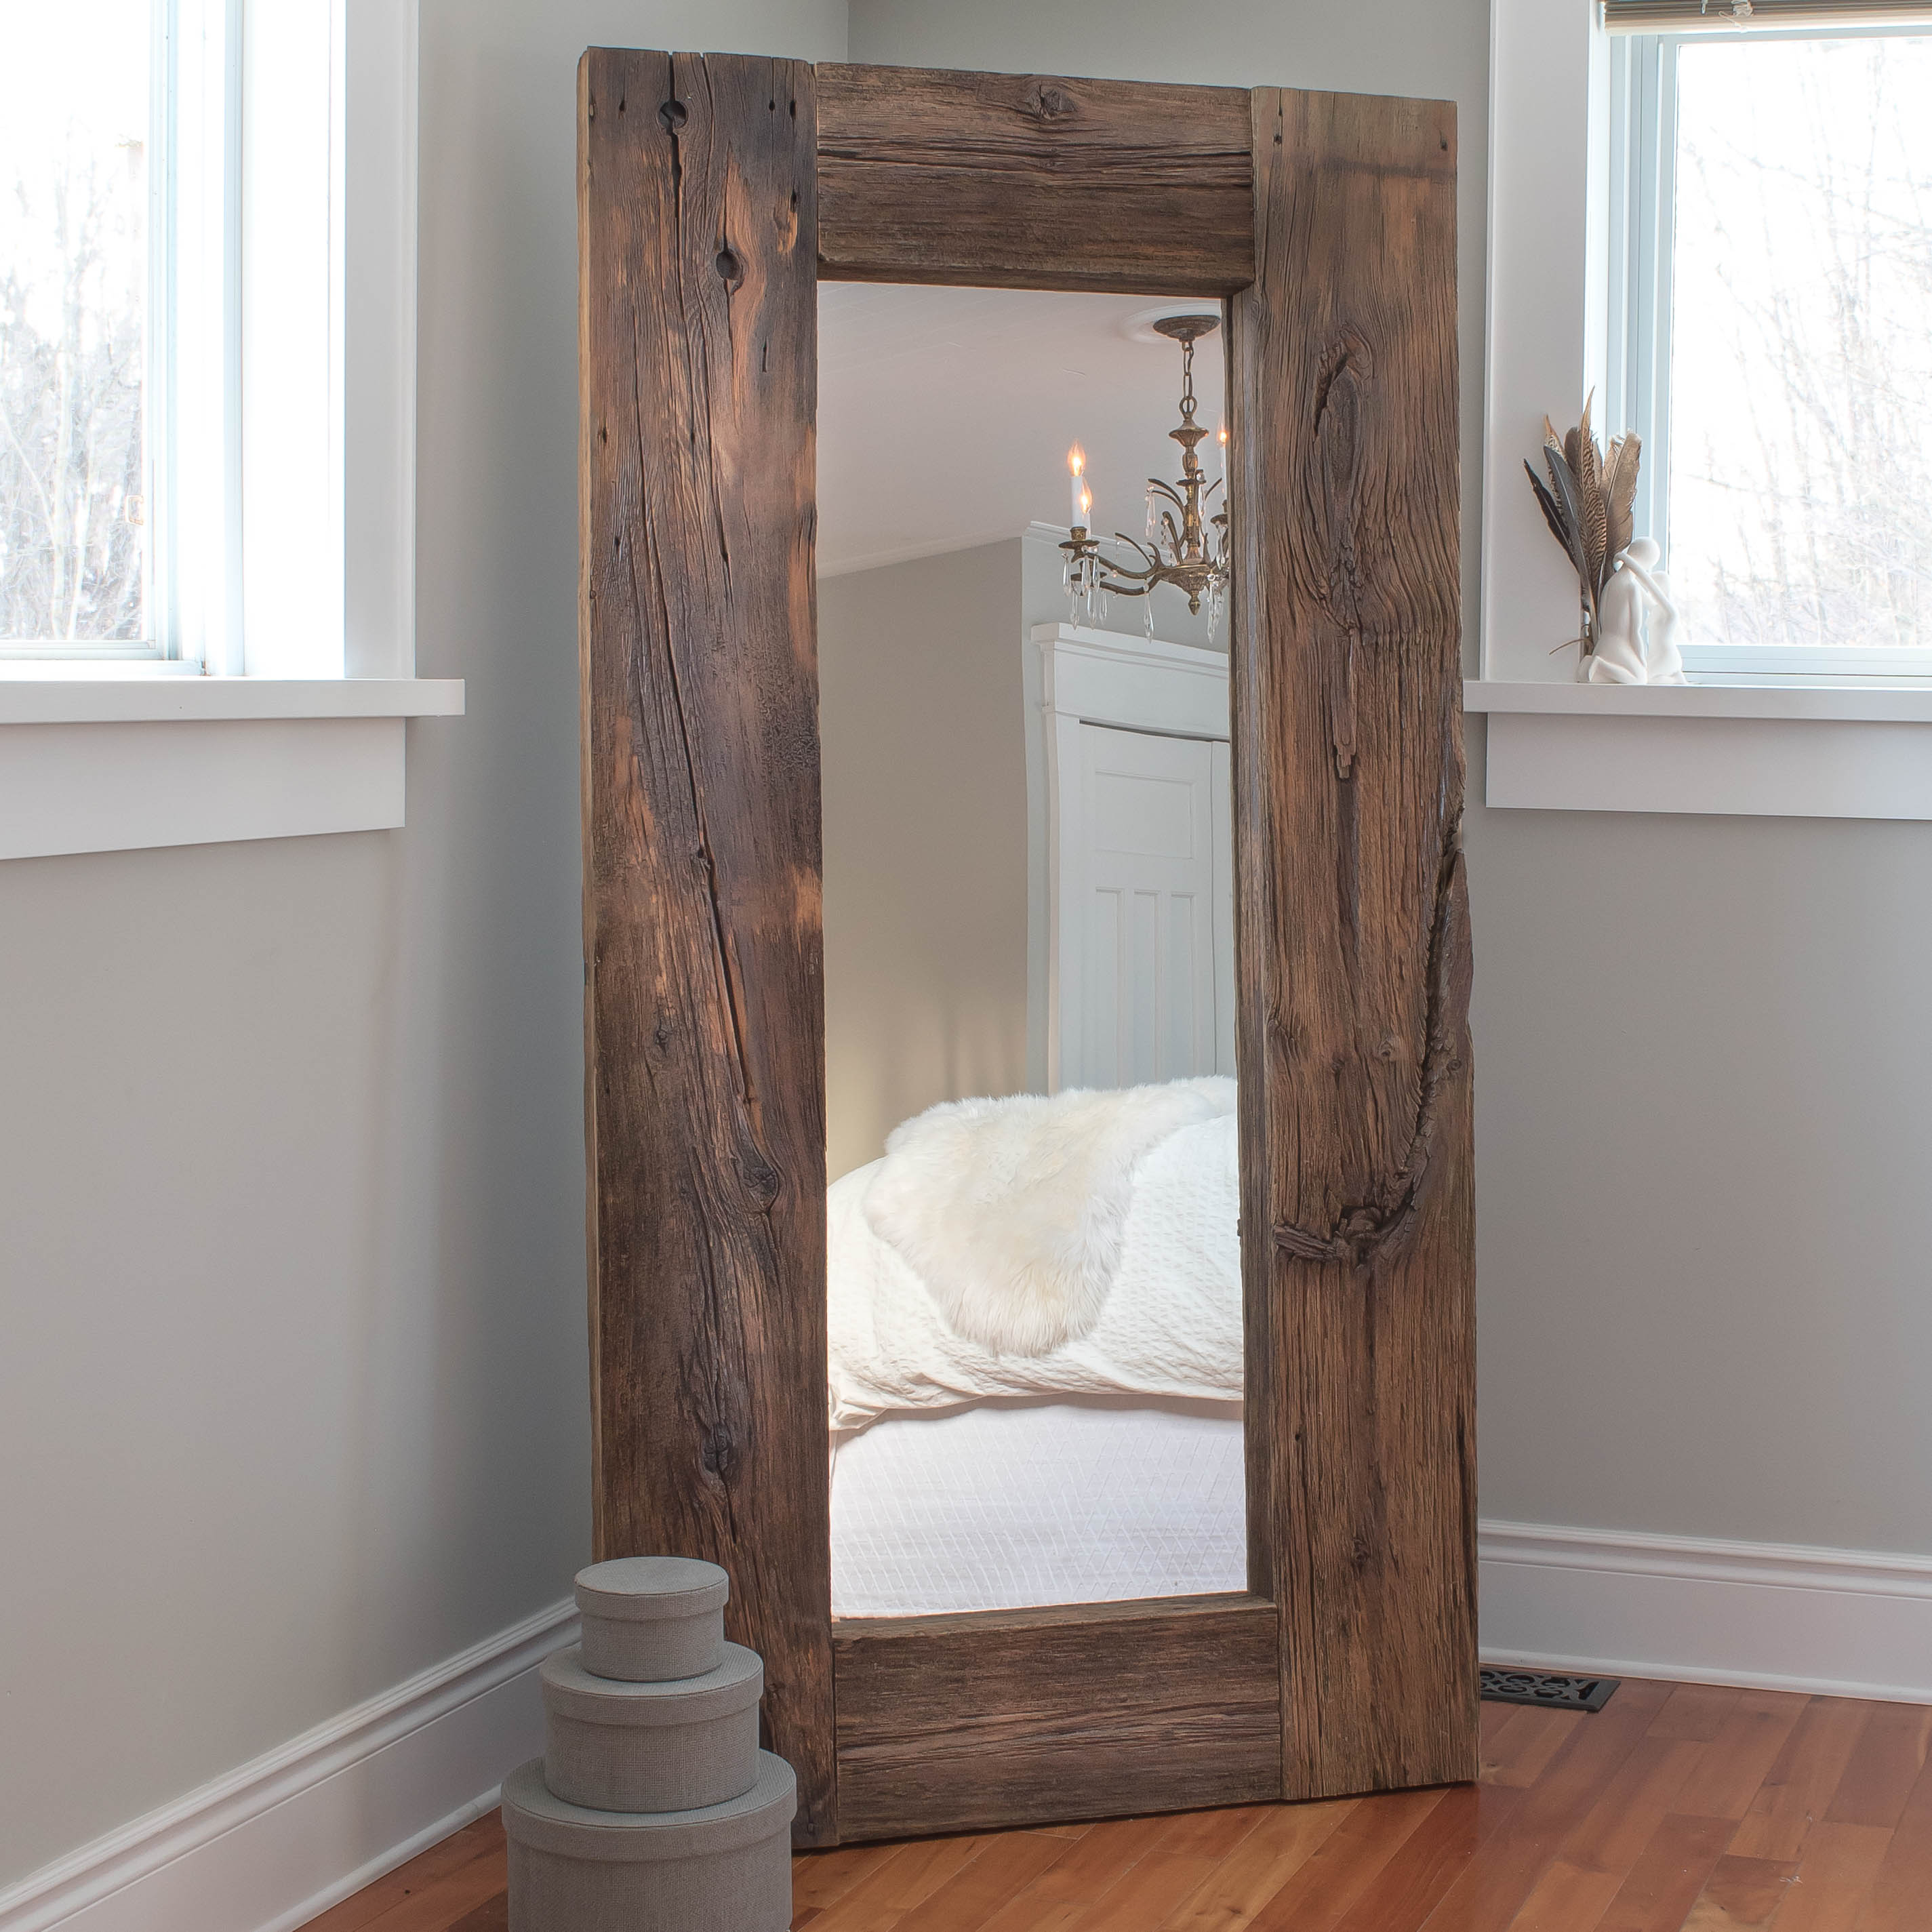
 There you go… one more project knocked off of our to-do list and basically free! This is how it looks all finished and in our room, what do you think?

Styled a little differently…

We are loving the way this turned out!
This series will be back in April with a special Earth Day edition of, “There for the Making”, yay!!! For now though, I hope you’ll pour over all of these inspirational projects listed below from all of my bloggy friends, they are so very clever!
 You can start by visiting my very talented friend, Erin over at DIY Passion. She has DIYed an organizational clipboard, I can’t wait to check it out – I need all the organizing help I can get. 😉
Enjoy and thanks so much for stopping in. xo
![]()
You can follow this series on Instagram too
~~~> #ThereForTheMaking <~~~
DIY Birch Business Card Holder by Minty Green Dream
Chalk Paint Chair Makeover by 2 Bees in a Pod
Sponge-Painted Picture Frame Makeover by Flourish & Knot
DIY Chalkboard Monogram by Personally Andrea
Gemstone Wrap Bracelet by Lifeovereasy
“Hello Sunshine” Wall Art by Two Purple Couches
St. Patrick’s Day Wine Bottle Makeover by Green with Decor
DIY Barn Board Mirror – Ikea Hack by Vin’yet Etc.
DIY Organizational Clipboard by DIY Passion
Geometric Planter by Love Create Celebrate
Toilet Paper Roll Turned Plastic Bag Holder by Design Inside the Box
Chair Makeover by Simple Nature Decor
Vintage Toolbox Turned Craft Storage by My Creative Days
AND
Brand new to Vinyet Etc… our YouTube channel!!! Oh my goodness, we had so much fun making this! Get caught up on what you might expect to see around here.

28 Comments
This mirror is GORGEOUS!!!!! Your wood pile is GORGEOUS too! I love hoarding old wood for projects! Beautiful project!
Thank you so much Lindsay, hoping we’ll get to some more cool barn board projects soon. 🙂
Great job! Love just about anything with those beautiful barn boards, but that’s especially nice.
Thanks Barb, you saw that our revel is coming soon-ish? 😉
I want all that barn wood in the snow! Your project is gorgeous! I want to make it for my bedroom. It looks a bit tricky when you clamp, but need to give it a try.
Maria
Laurie what a gorgeous redo!!! And the pic of you guys is adorable!
What a great idea for a blog series. And your mirror is perfect – elegant yet cozy. I’m looking forward to seeing the whole room. Lovely YouTube video too!
Thanks love, we had too much fun with that video! 😉
This is so gorgeous, I love it!!
Thanks Meg, glad you like it!
Fabulous project as always Laurie! I have reclaimed wood projects waiting to happen but I’m a bit intimidated to be honest, I’m appreciating this inspiration… the end result is so stunning! And so great to “meet” you via youtube!!! 🙂
xo
Hahaha, we had so much fun with that video, hope I didn’t scare you away for a real visit one day?! You can do it ref wood working, go for it!
Laurie, this is gorgeous! The texture, the varnish, the character… it’s all so beautiful!!
Thanks Emily!
I love your new mirror! I have to show it to my husband: I think he’d really like it too and we’re looking to make over our sliding mirror closet doors… Hm. Idea! I have to confess that I’m pretty good with the Ikea names because my husband is learning Swedish; so, by extension, so am I! 🙂
Hahaha, I must admit, I have trouble pronouncing some English words, so the Swedish names I kind of just skim over… haha lazy! That sounds like a plan, I love the idea of sliding mirror closet doors with barn boards framing them!
Love this project, Laurie! As usual, you guys have an amazing touch. Can’t wait to see the whole room!
Thanks love, I’m getting closer to finishing the room… not sure why I am having such issues getting to that finish line! xo
This turned out sooo nice! It looks like such an easy hack to do, and looks absolutely stunning
Hi Jessica, it was such an easy hack! Compared to most of our projects this one was fast and simple and it has such a huge impact in the room.
Wow that looks fantastic! Love this project
Thanks Jessica, I’m glad you like it.
It looks amazing!!
Thanks Lindsay!
This is stunning! I was looking for a tutorial on this recently and couldn’t find one I liked. I will definitely be pinning this for later.
Thank you so much, I hope you find it an easy tutorial, it was a super easy project!
Haha, I love the photos of you two in the masks! You did such an excellent job with this project — looks completely Pottery Barn bought 😉 And yes, I struggle with IKEA titles as well….I loathe having to tell someone what I’m looking for…lol
-Clarissa @ The View From Here
GORGEOUS! What a difference! I’ll have to head back to that local barn board supplier I found last weekend to do this:)