Welcome to – There For The Making – April’s Challenge!
Hey guys, welcome back to April’s #ThereForTheMaking challenge! There for the making is the brainchild of Sarah’s and you can find Sarah’s blog here. Her idea was to virtually gather other creative types together and every six weeks we would challenge ourselves to create and make something without buying anything. The projects that myself and my fellow bloggers will be sharing are made with things we already have kicking around in our homes… So, have a look in your craft or storage areas and join us, challenge yourselves to make something useful for your own home without going out to buy anything, it’s really fun.
This month we wanted to focus on Earth Day (April 22nd) and make projects that are recycled, up-cycled, Earthy and Eco-friendly, or all of those things combined.
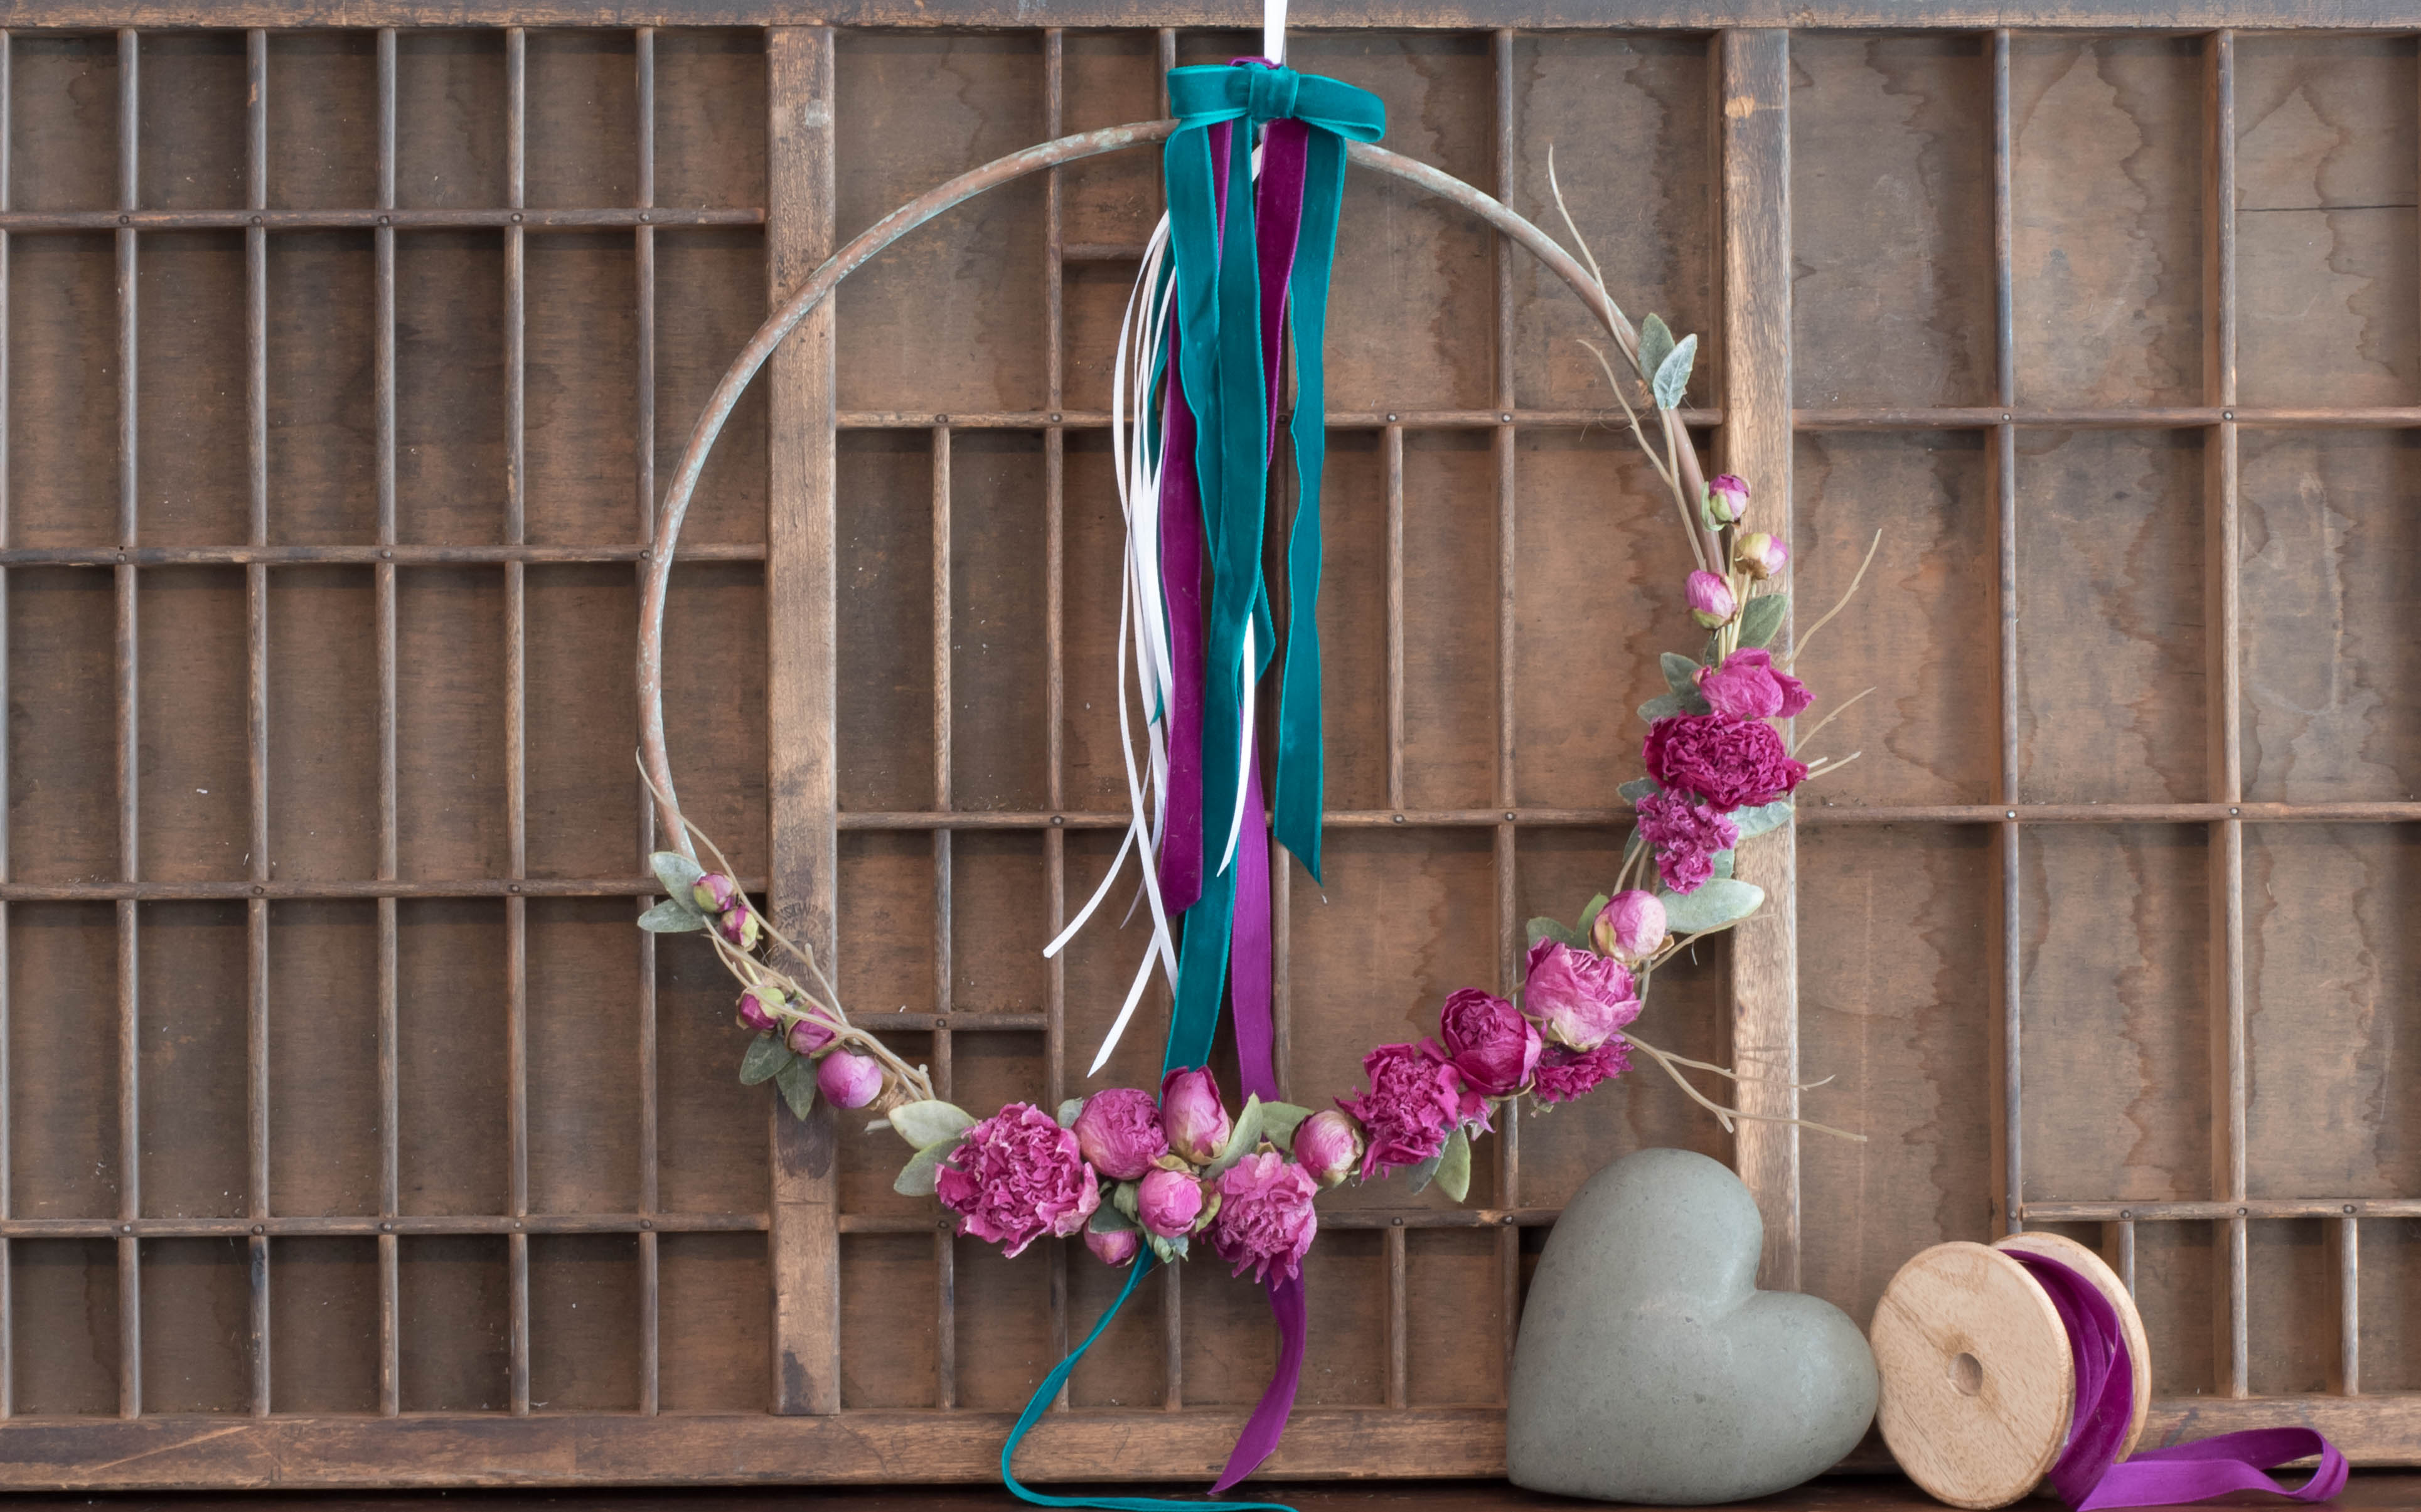
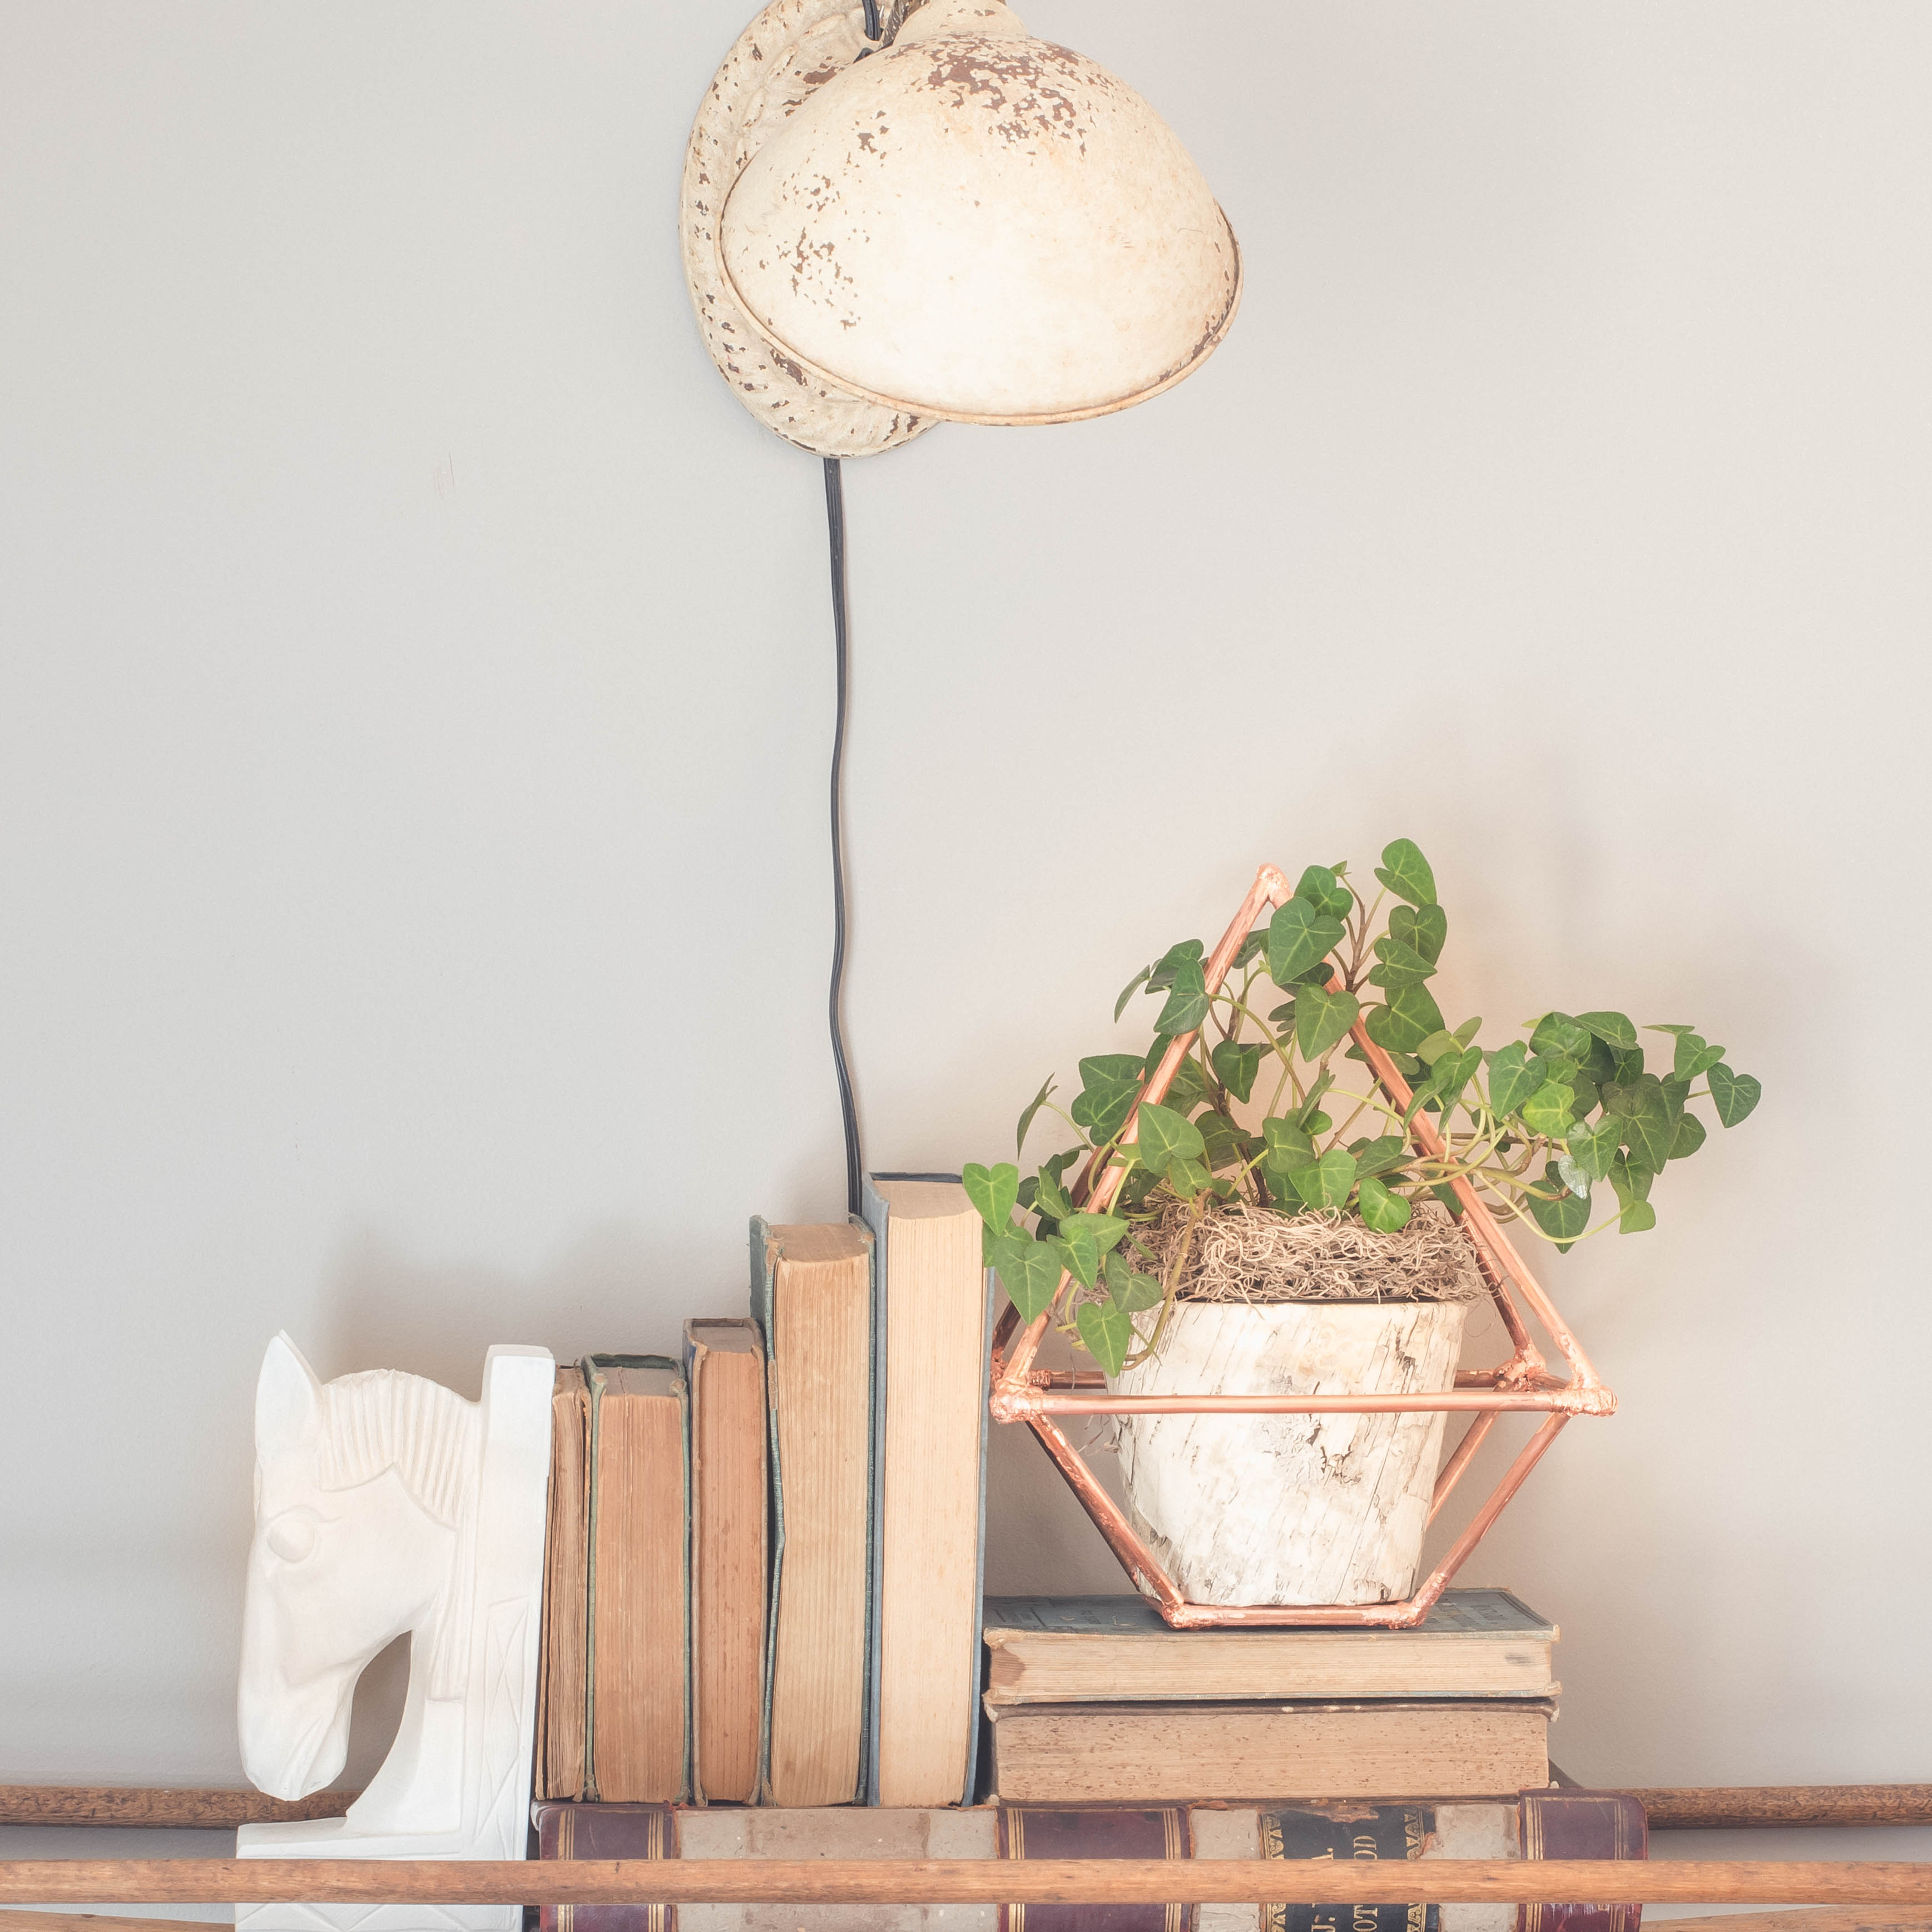
Have you ever worked with copper tubing? I absolutely love working with it (I will be hunting for more because I only have a tiny bit left – sniff sniff), it’s so easy to cut, to bend and it’s copper – hello! I first worked with copper tubing and made this wreath that I am still madly in love with, I used the tubing as the wreath’s base. You can see more of how I made this whole wreath here.
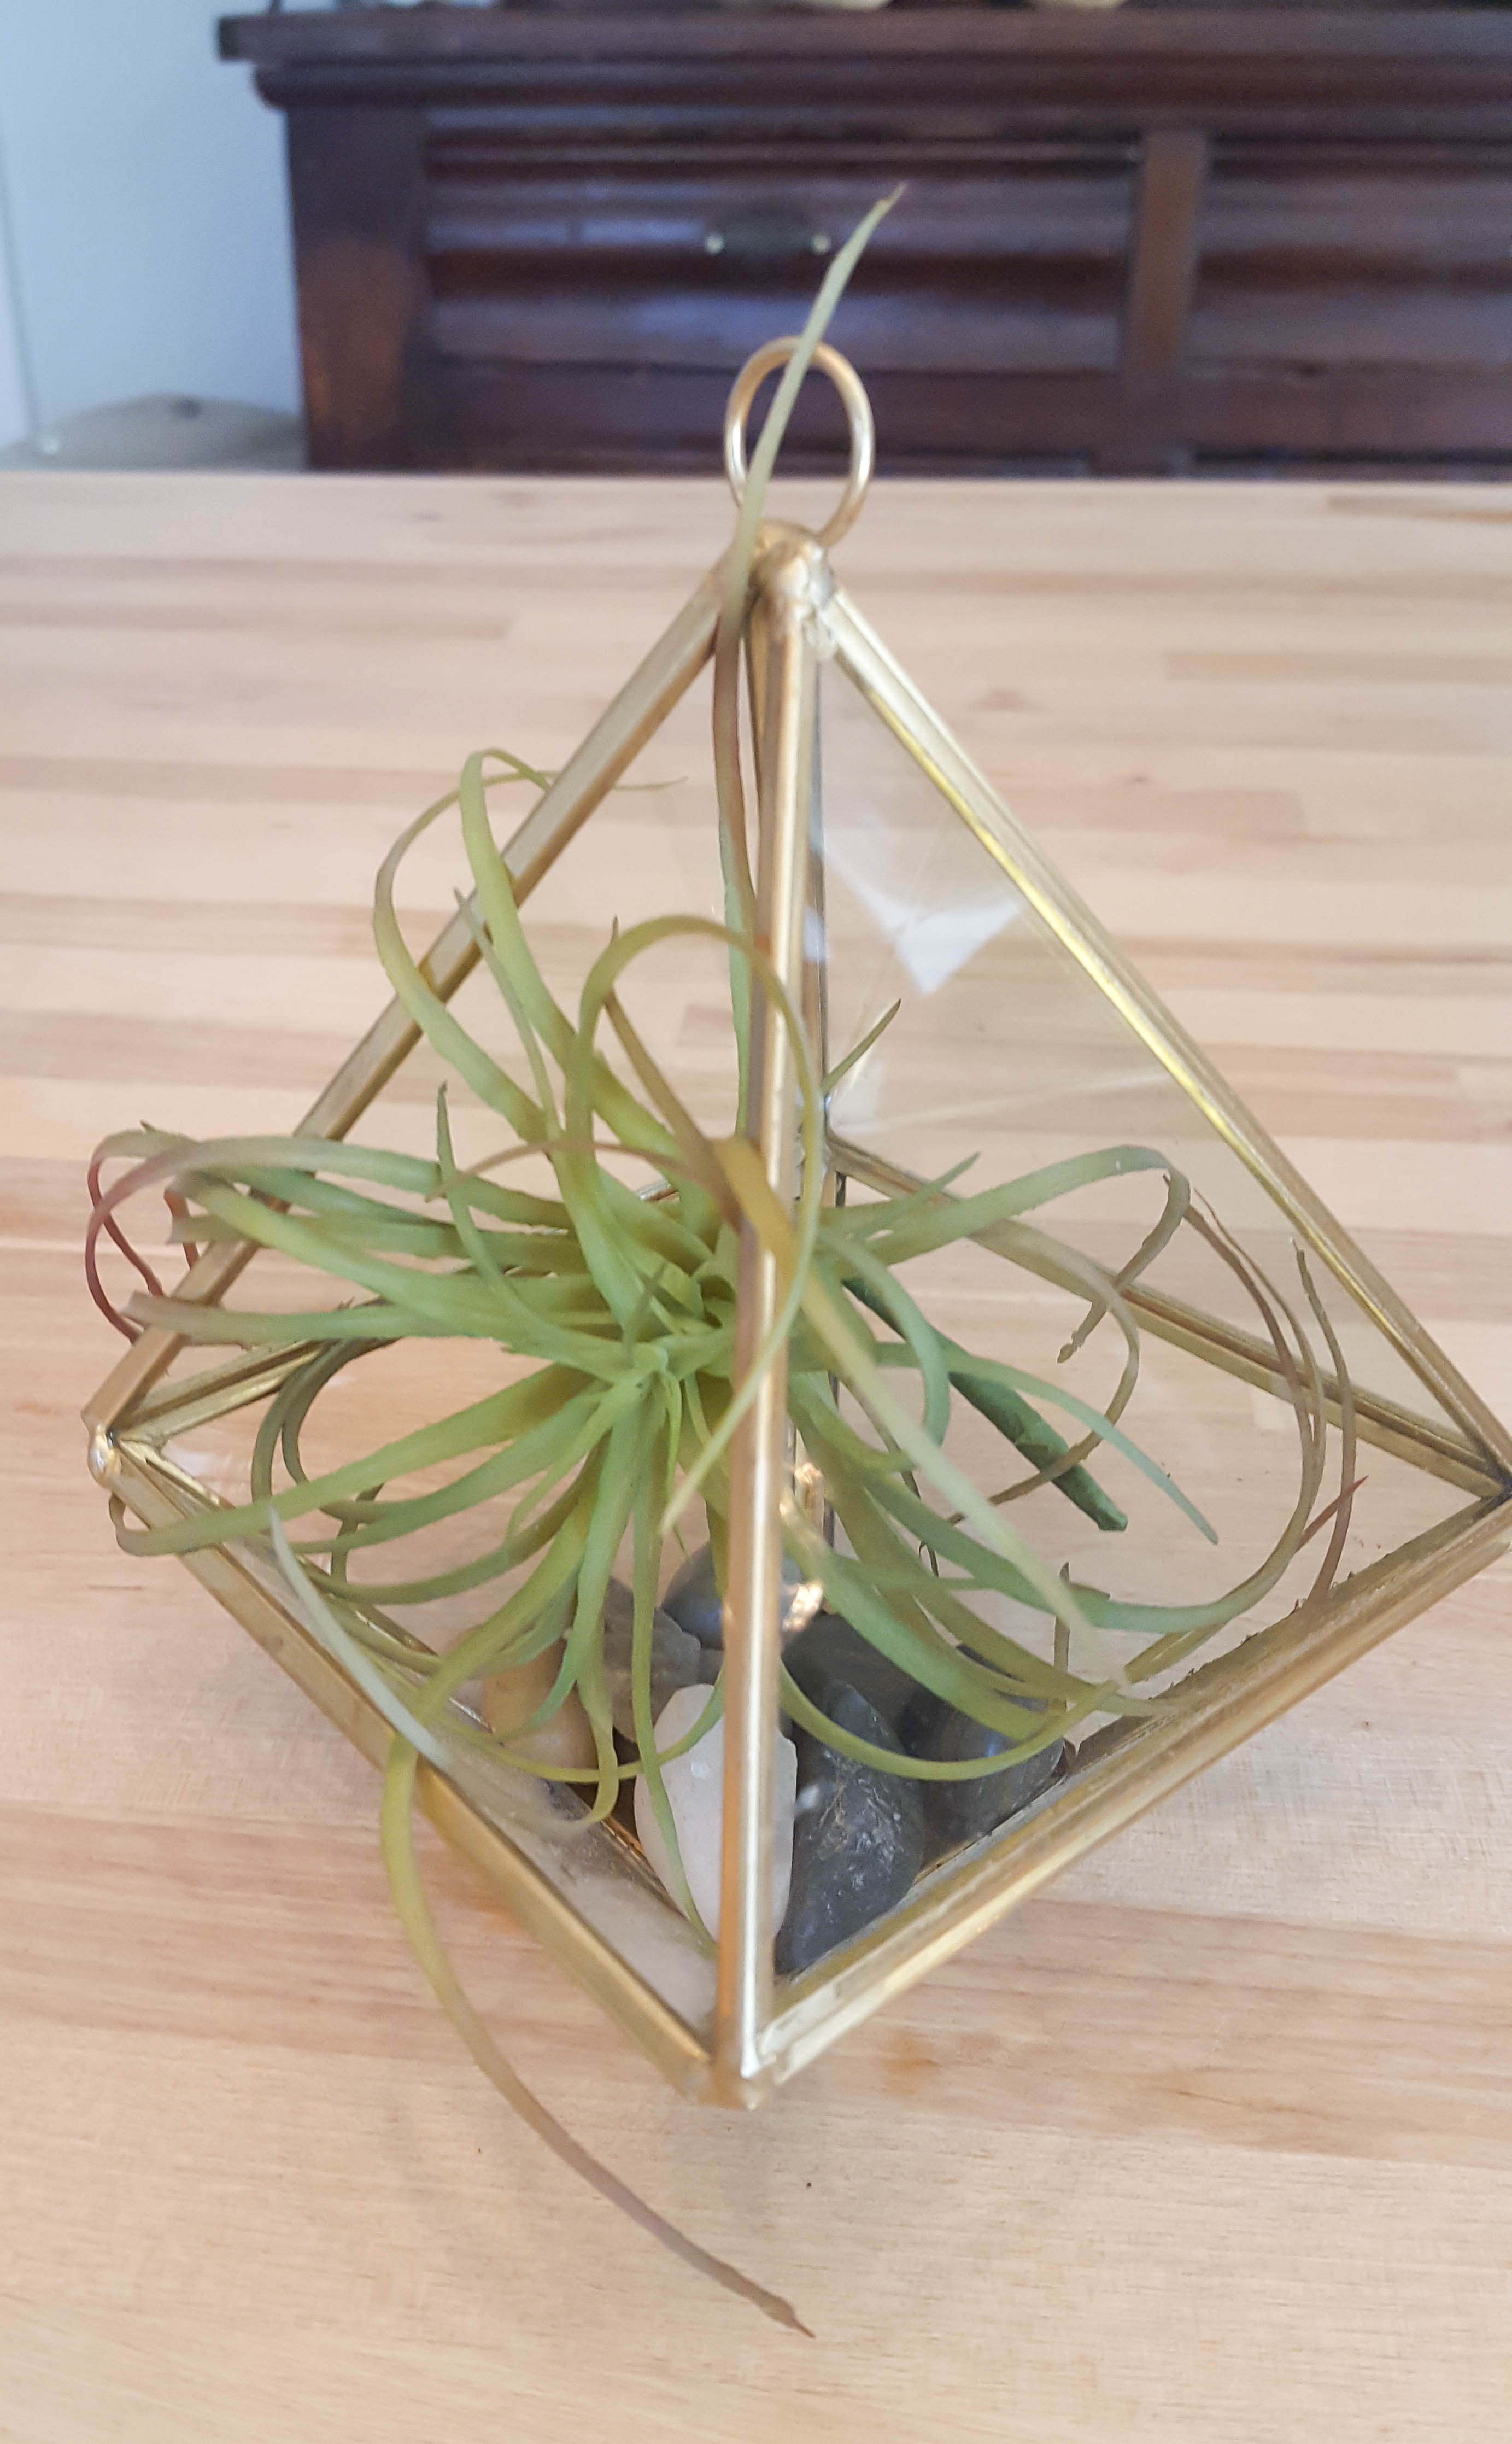
This time I decided to use what was left of the 1/4″ copper tubing to make a terrarium, a geometric plant holder basically, this little gold one was my inspo. I usually have a really good idea how a project is going to turn out before I start and what the process to build will be like, for this project though I was learning as I went along. I made some mistakes, still I’m very happy with how it turned out. It’s rustic, copper and just my style.
How I made this DIY Copper Terrarium.
Materials you will need:
1/4″ copper tubing
Sharpie marker
rubber mallet
dremel – with cutting wheels
measuring tape
painters tape (quick labels for cut pieces/holding cut copper pieces in place)
propane torch or blowtorch (preferred method for this project)
solder flux
copper leaf (optional)
Safety gear – eye protection glassed, ear protection, gloves
Metal work surface for torching solder
Steps to make Copper Terrarium:
Determine geometric shape you would like your terrarium to resemble – I used an existing terrarium (Pictured above) as a guide, I measured each side of my guide and doubled the size for this DIY one.

Straighten the roll of copper tubing by hand, this tubing bends nicely. Measure off the pieces you will need along the hand straightened copper and make the measurement marks with a sharpie.
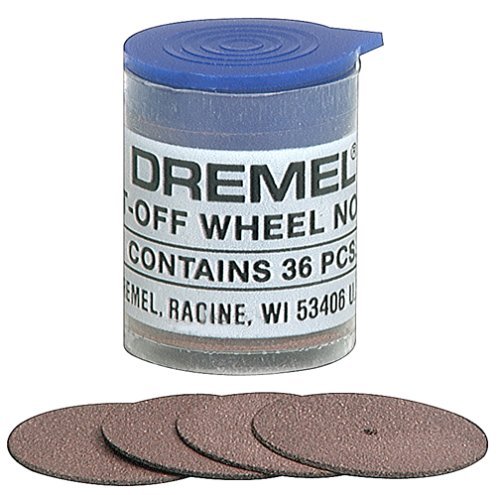
Dremel 409 Cut-off Wheels .025″ thick, 36 Pack
Cut the tubing on the measured sharpie markings with a dremel – using a cutoff wheel attachment. I used the bench vise to keep the tubing steady while I cut my pieces, worked like a charm and cut like butter.
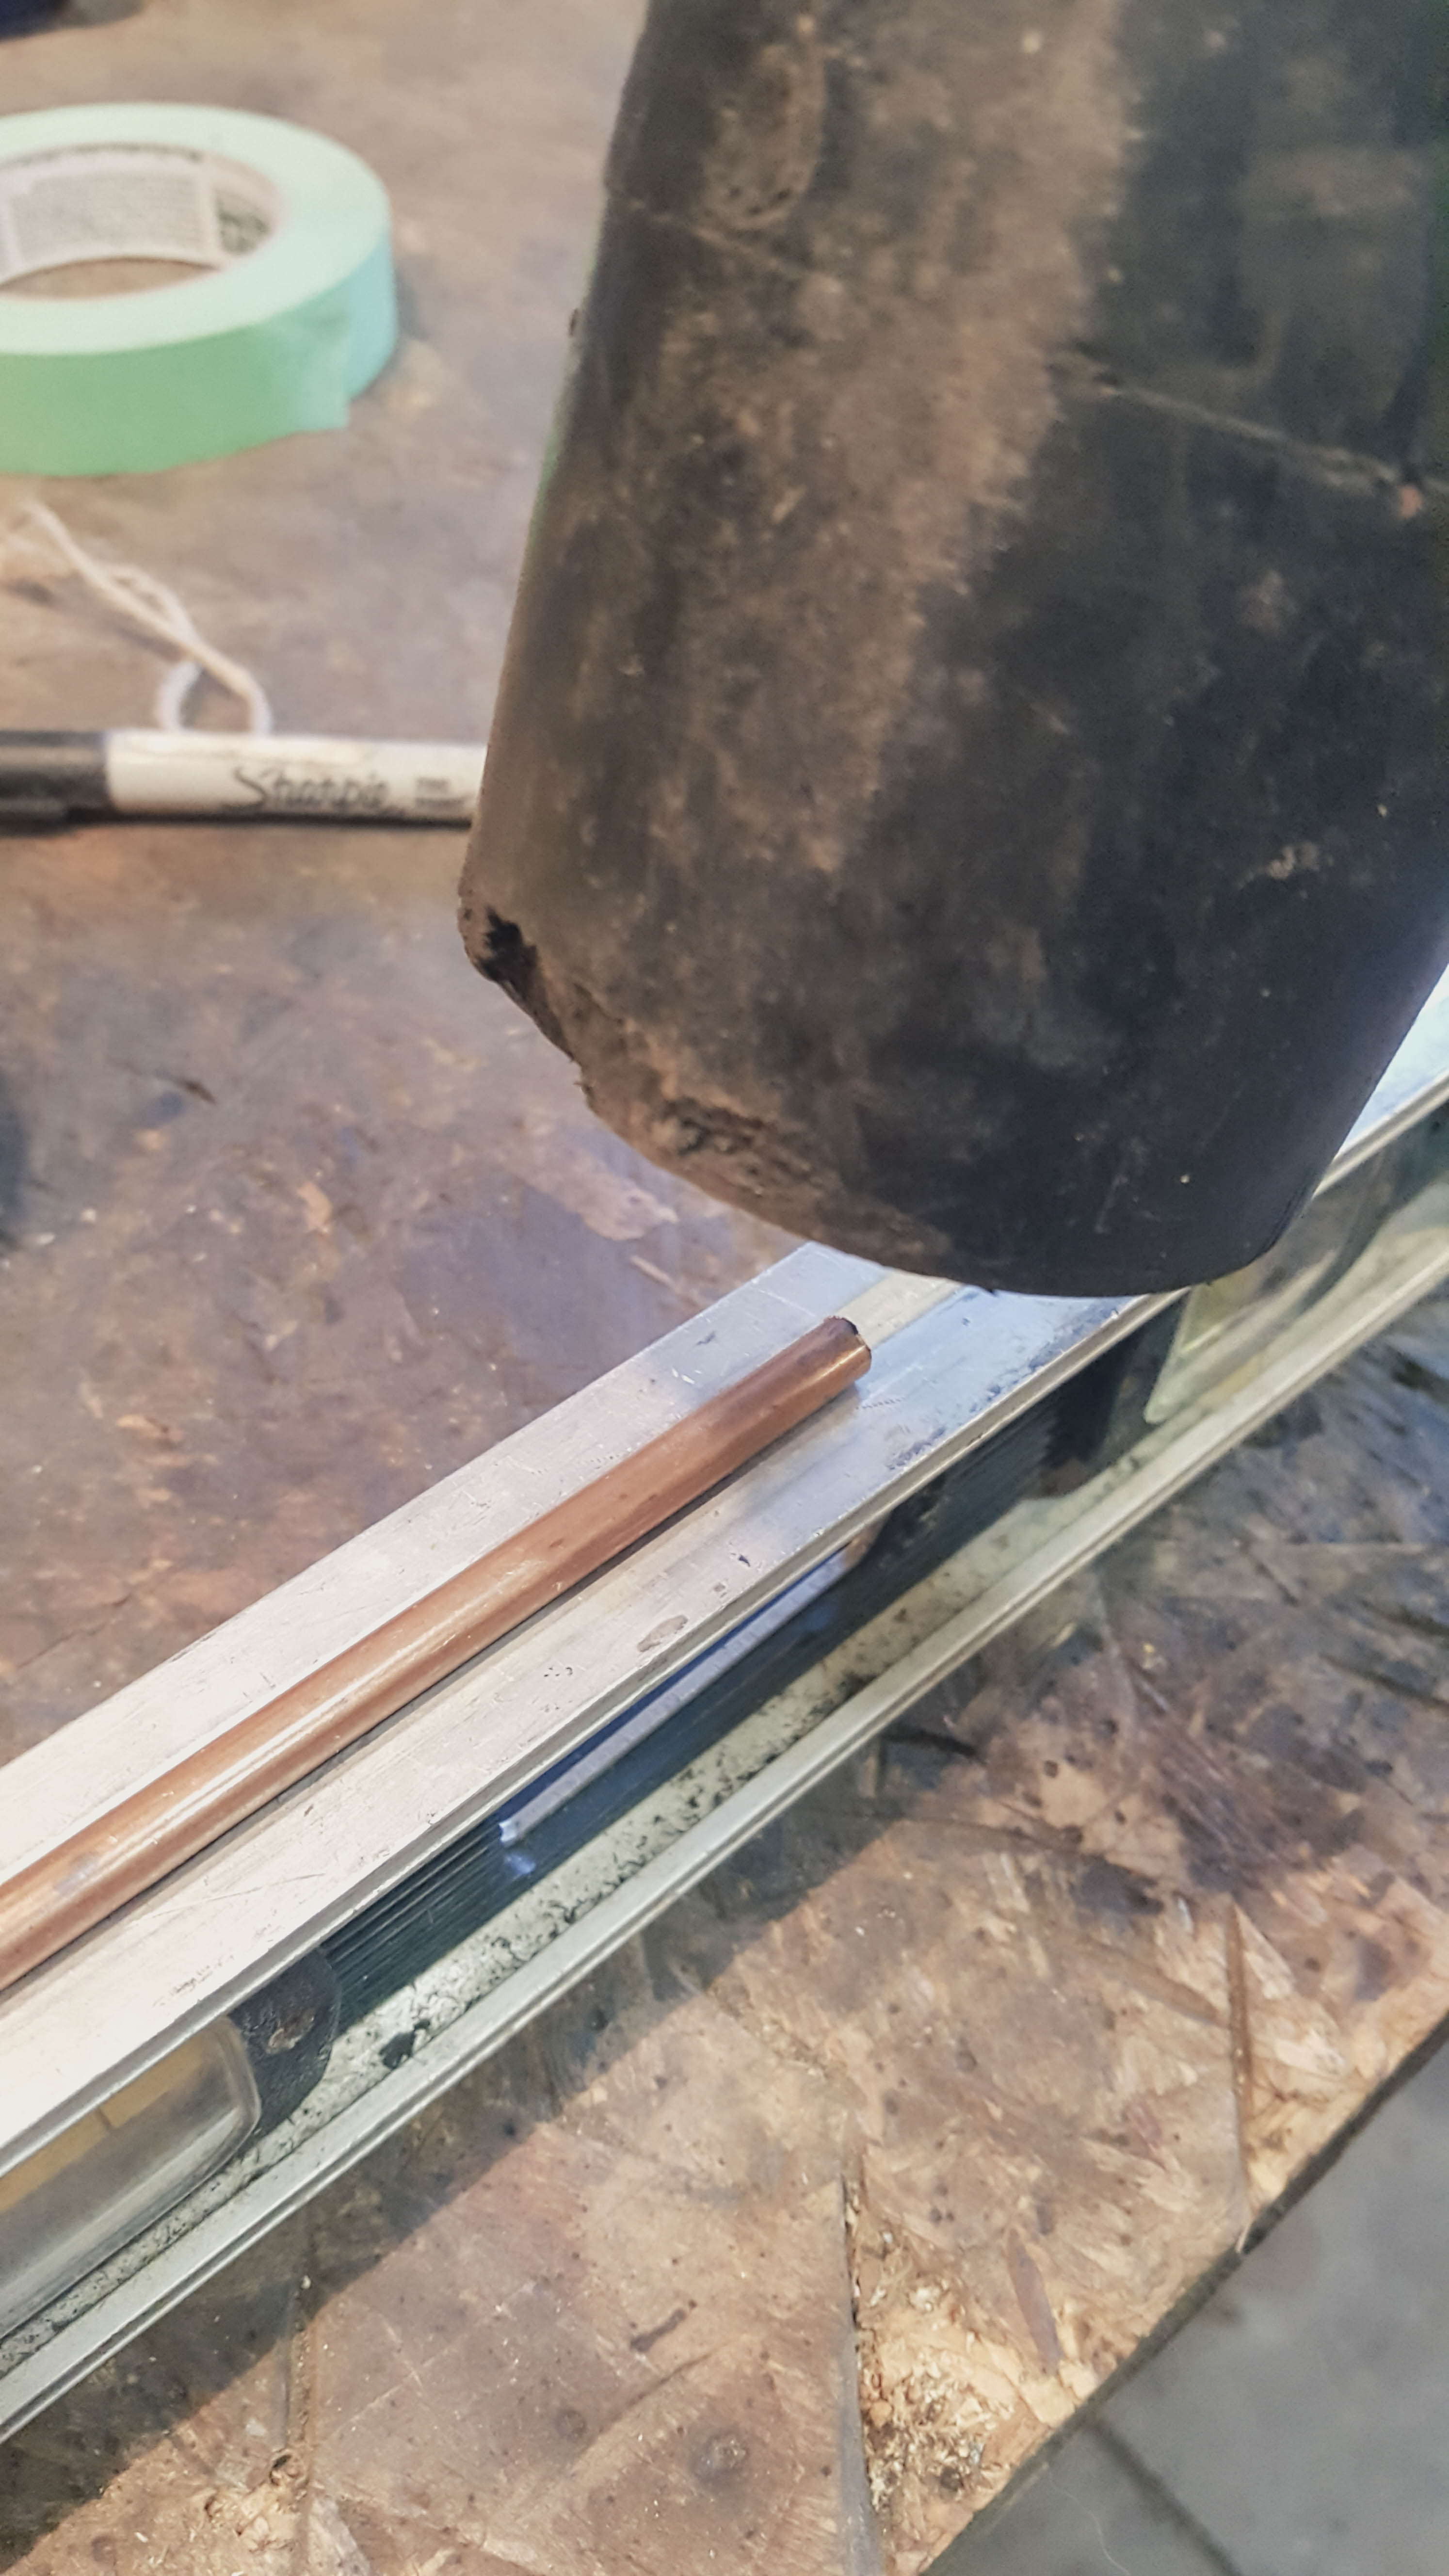
Once each piece is cut this is where you will use the rubber mallet to make sure each piece is perfectly straight (it is easier to handle the smaller cut pieces). I used the groove on the top of my long level. One by one I placed the individual cut copper pieces in the groove and gently tapped the copper piece with a rubber mallet until all the pieces were straight. This process didn’t take very long at all and straightened the tubing very well.

Keep the cut pieces organized by keeping the same sized pieces together wrap them with painters tape and label them.
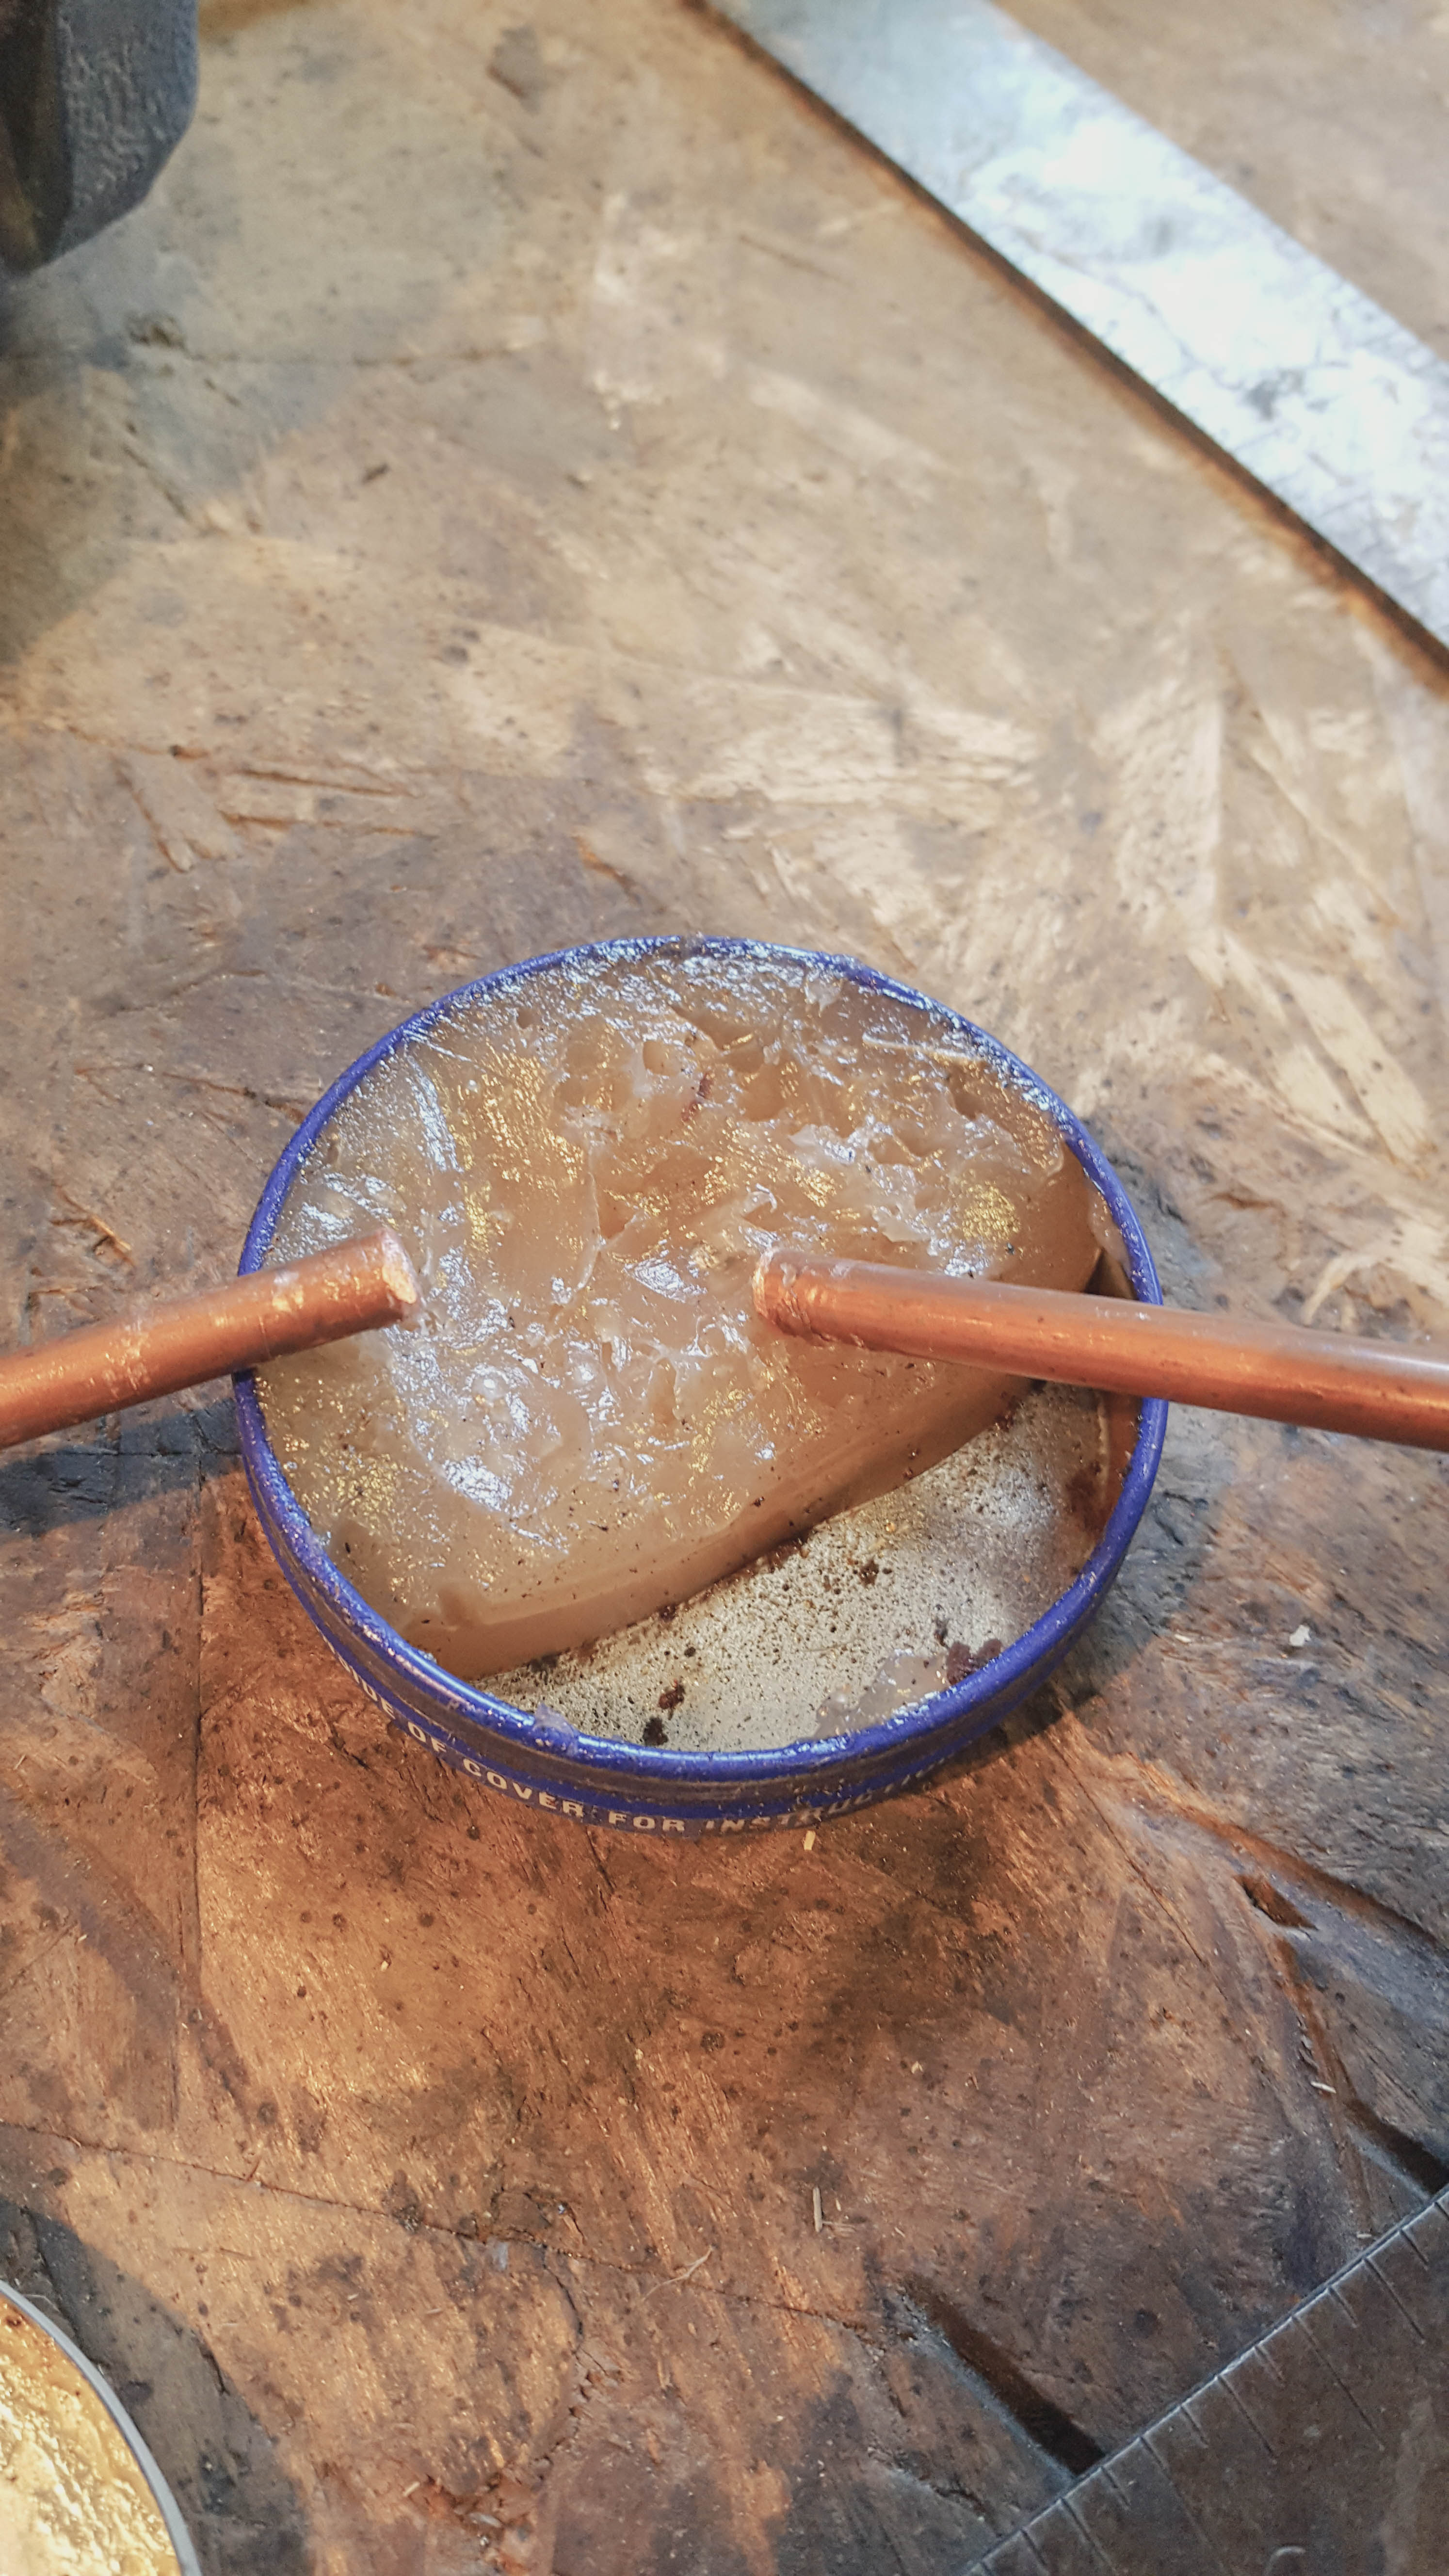
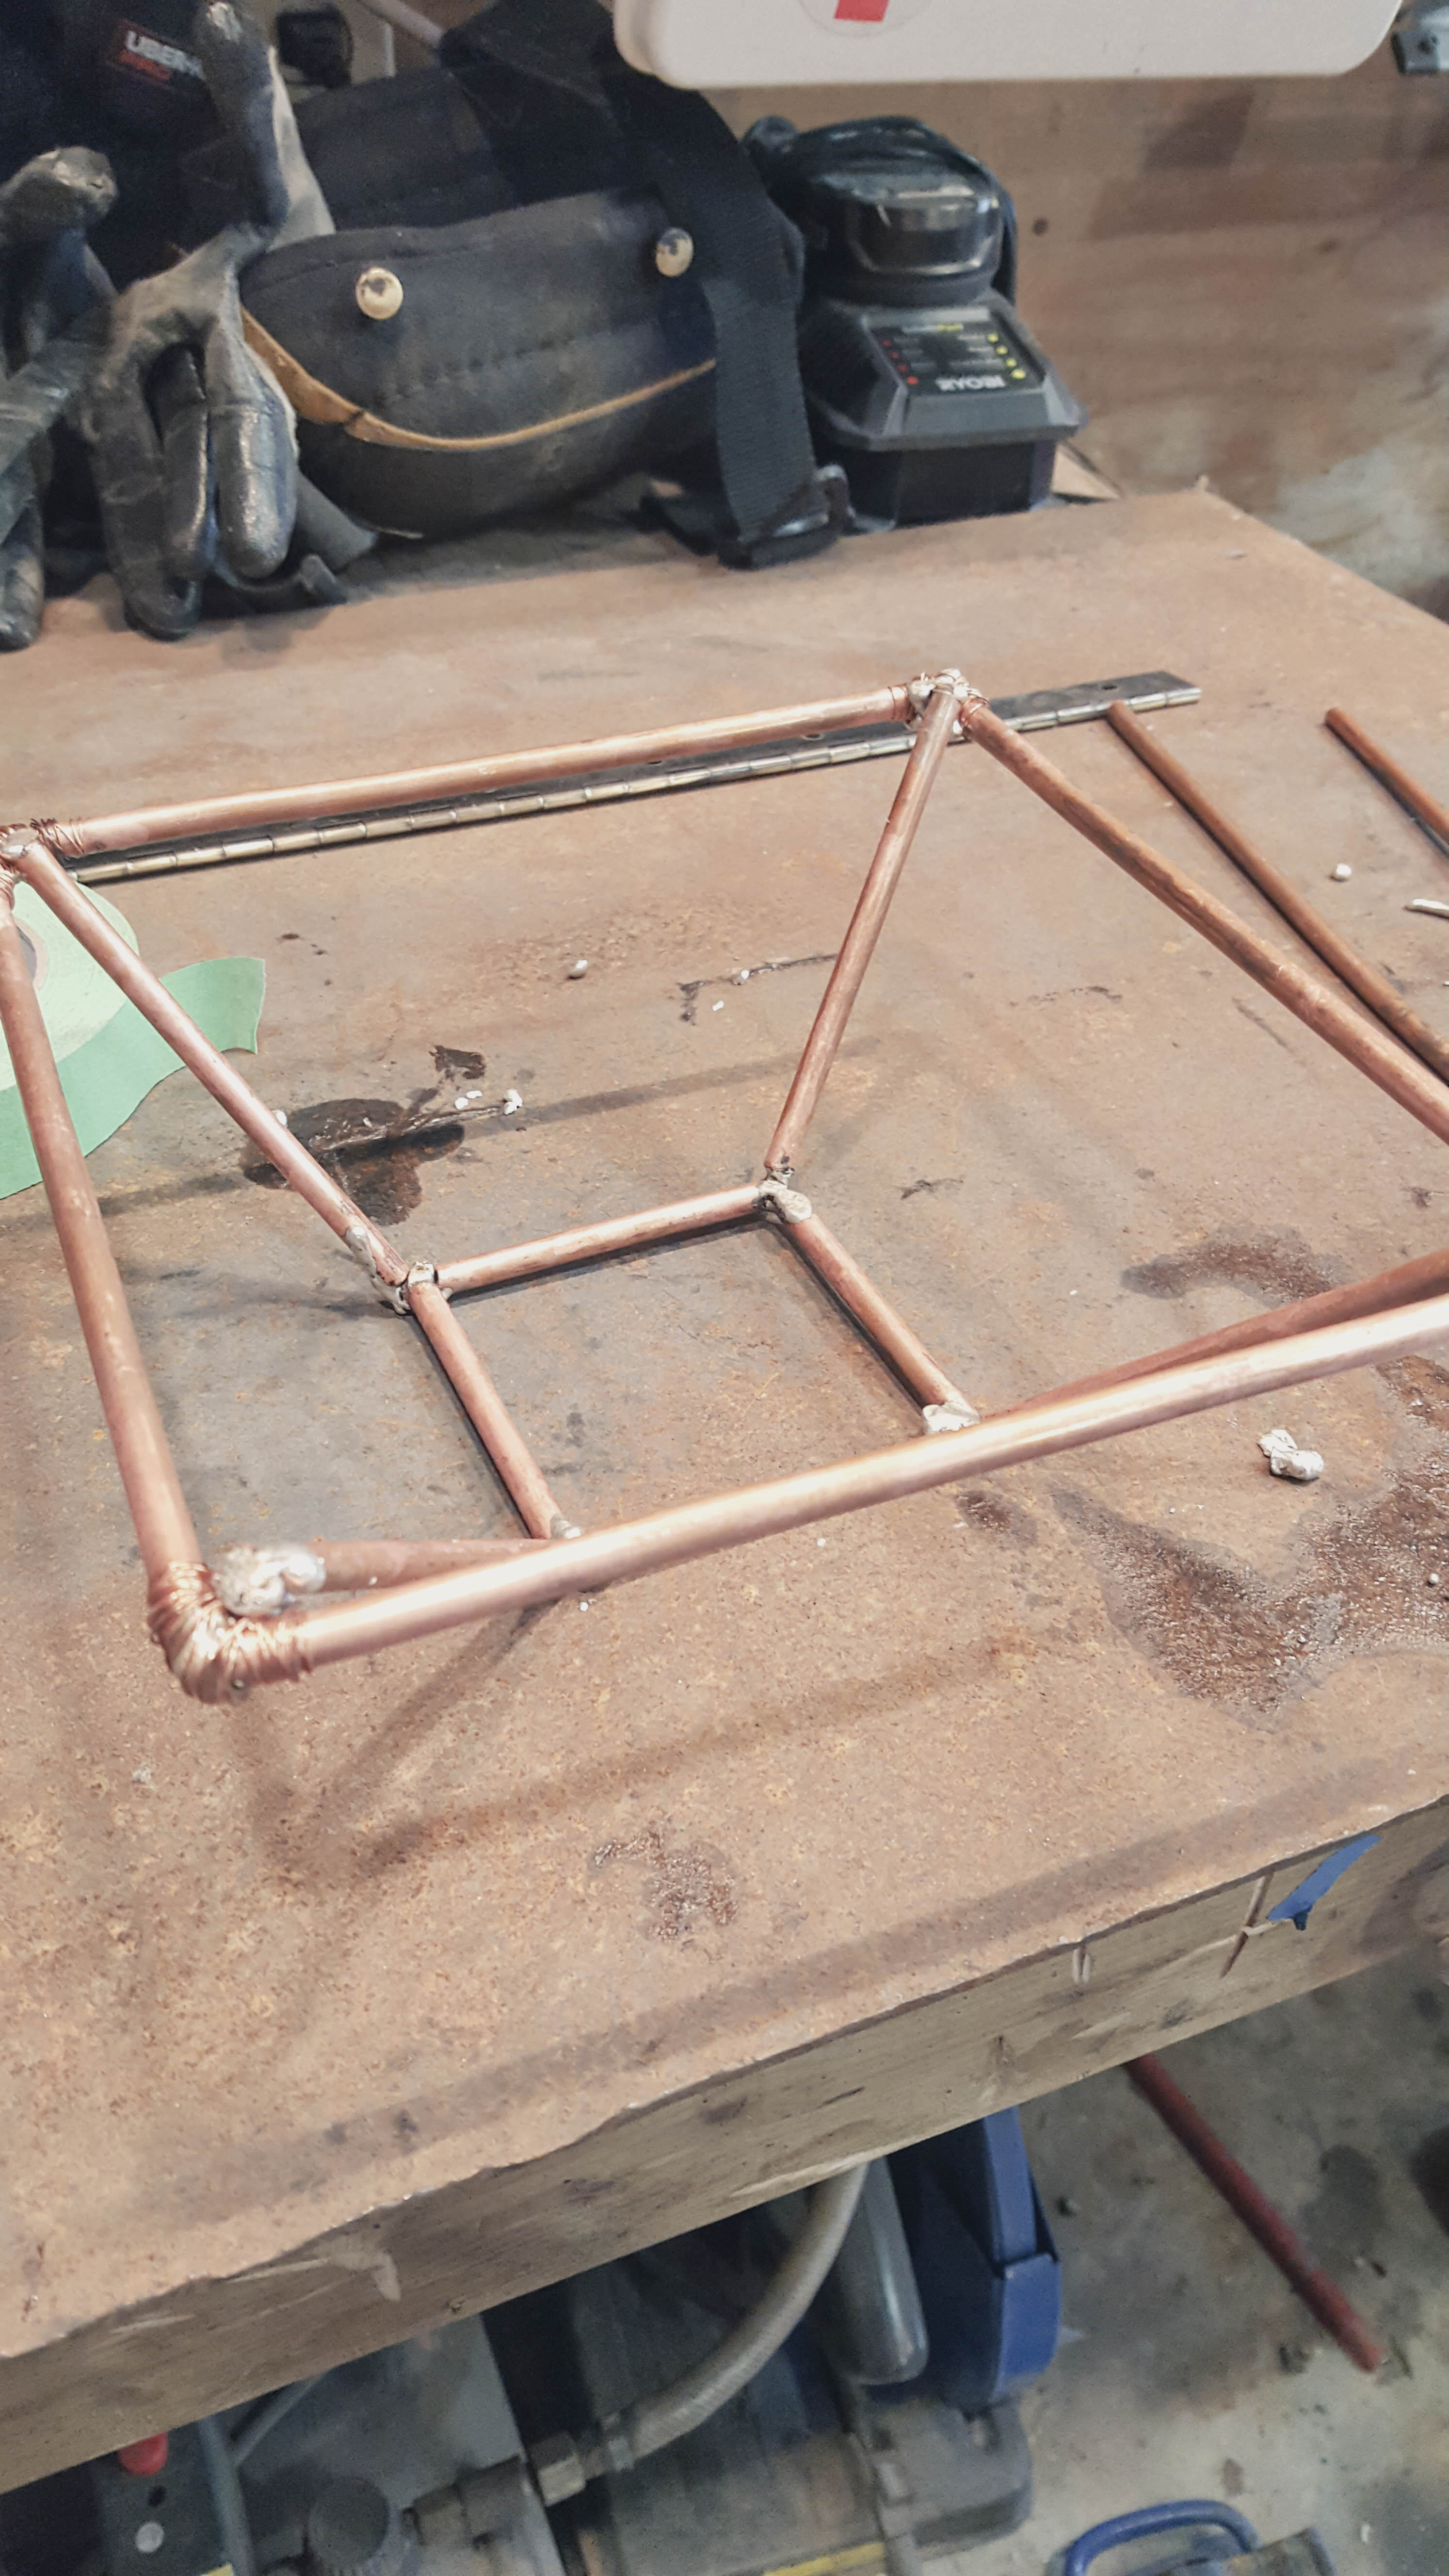
Start assembly with the bottom square. Apply a small amount of flux to each piece (both ends) and lay the pieces flat into the shape they will be soldered together, in this case, a square. Using painters tape secure the square down onto the metal work surface.

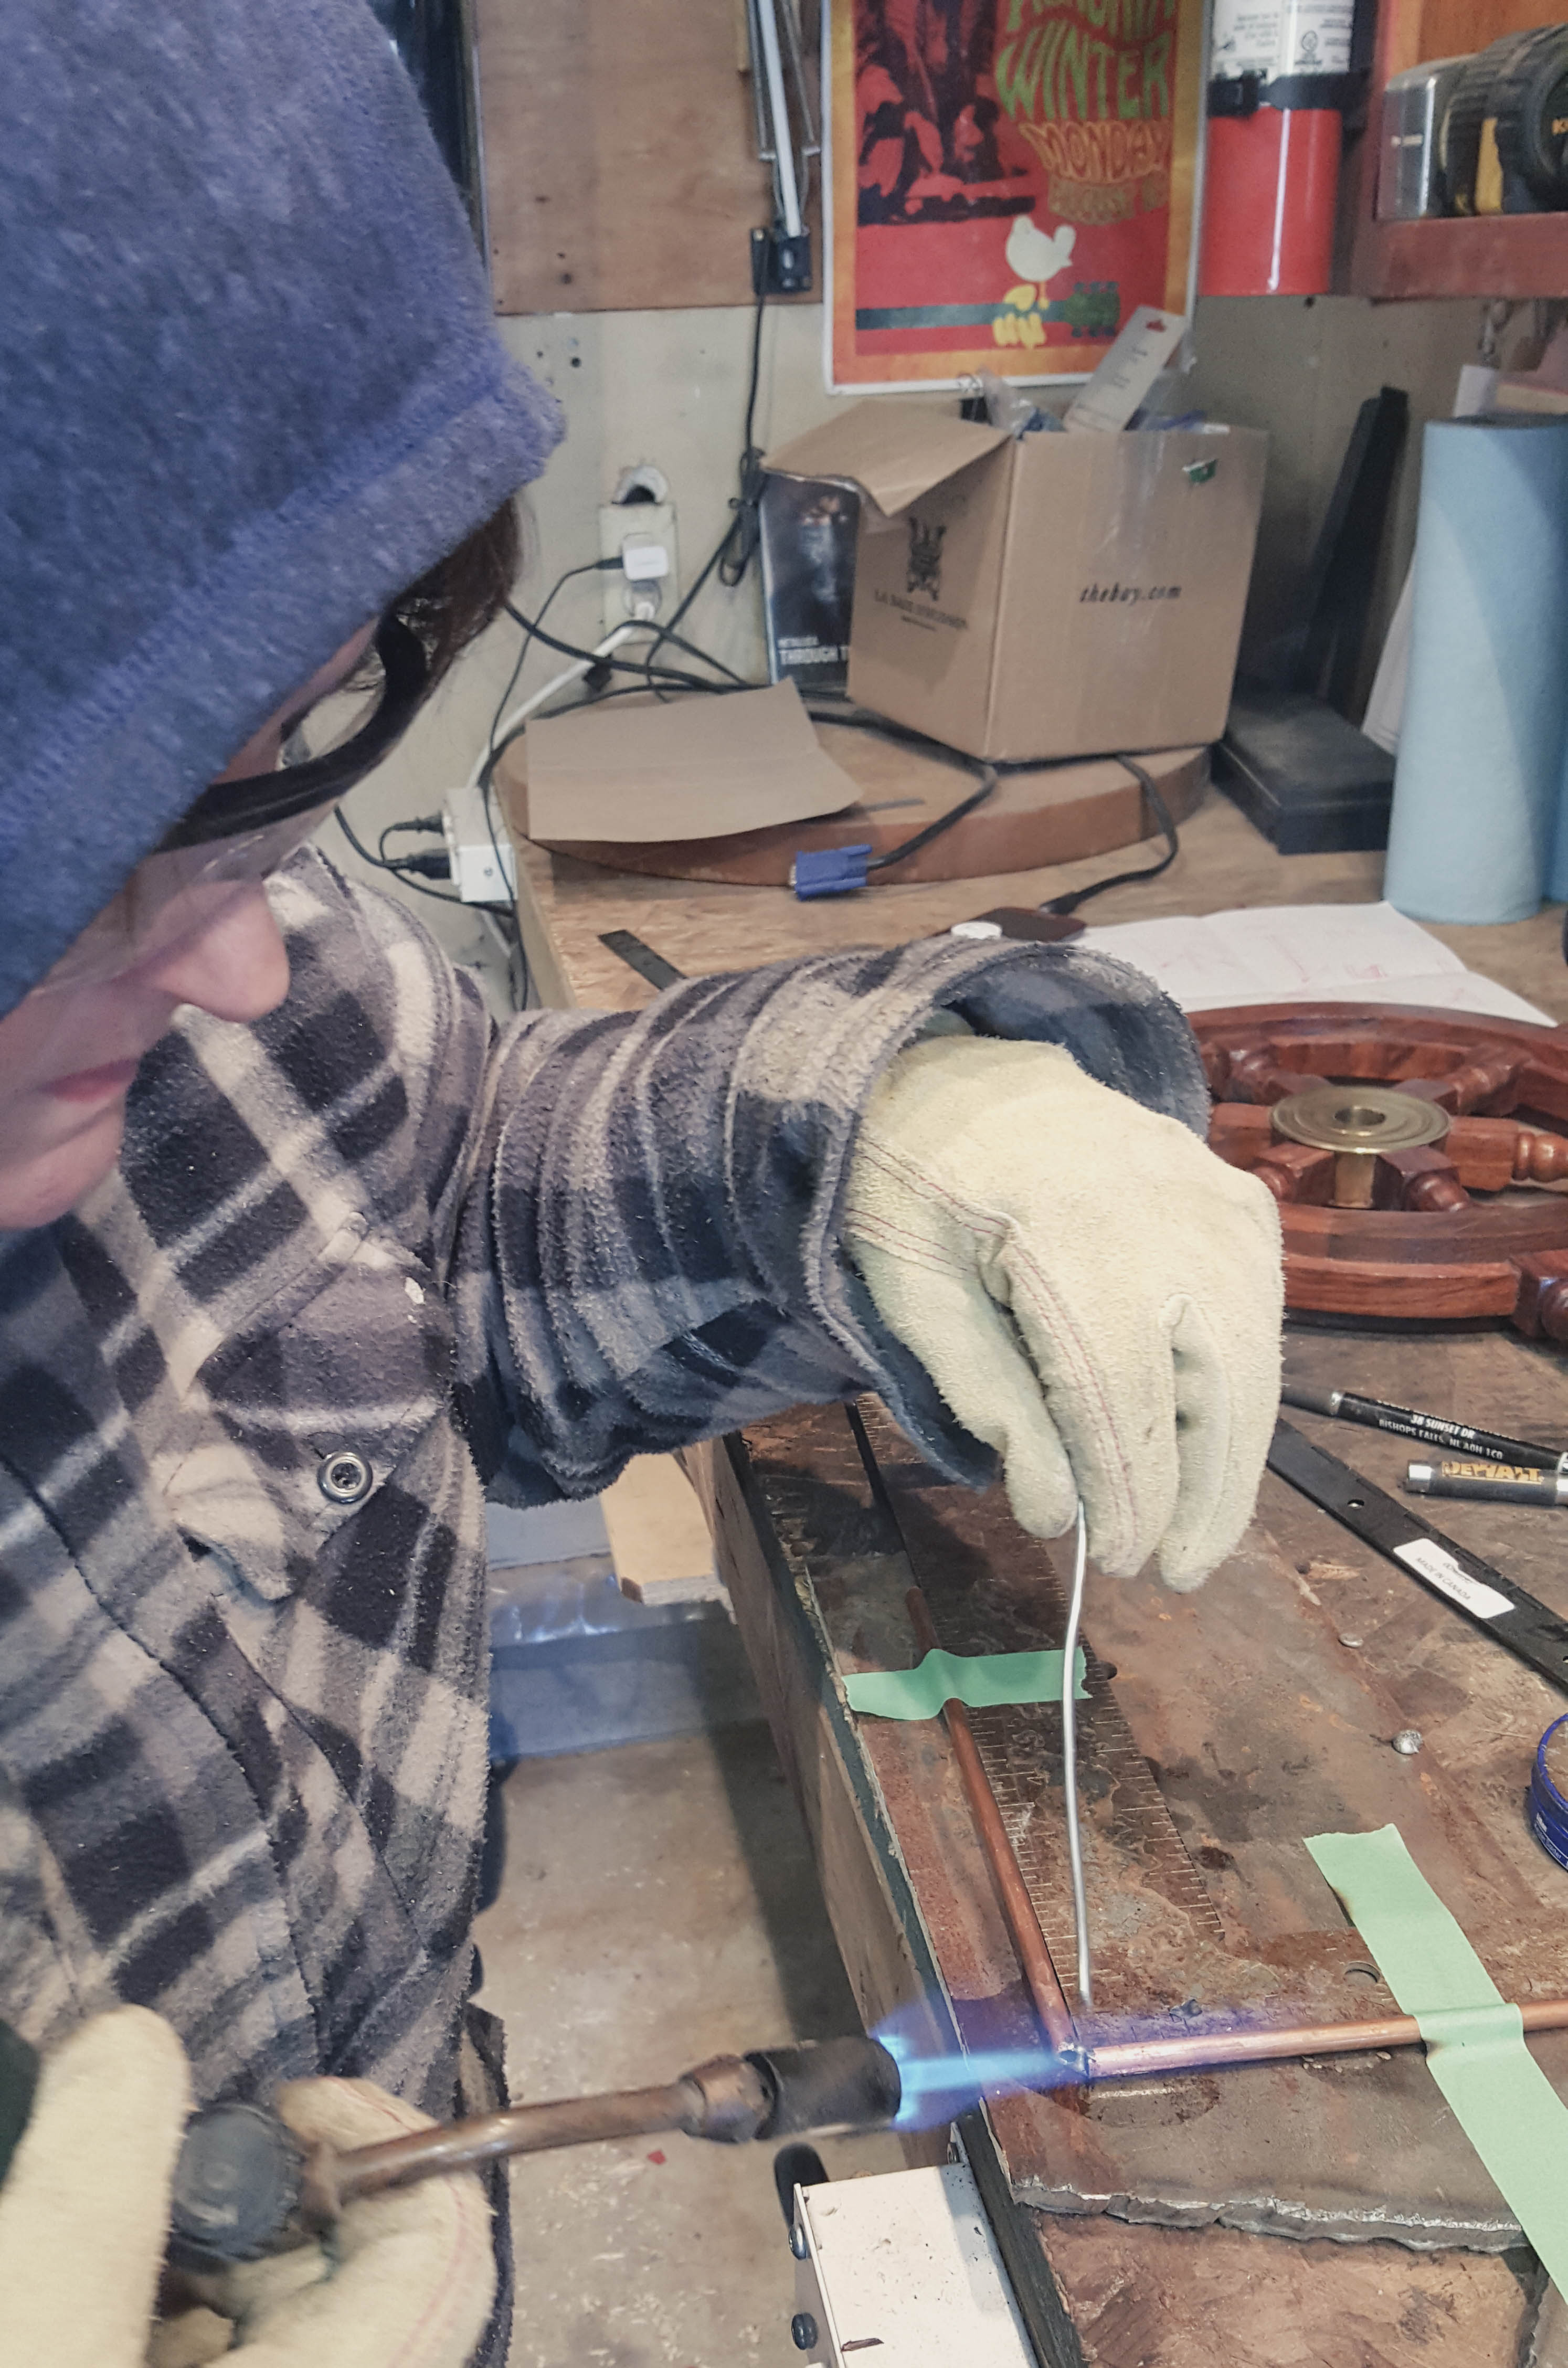
This is where I changed tactics… I started with using a soldering iron, but I did not find it was a fast enough process. I wanted to have the solder melt and hold the pieces together quickly. Thankfully Bud was in the shop working on a client’s project and I asked him for some ideas, he suggested I use the blowtorch! So a quick tutorial from him, off I went. I’m happy to say it worked wonderfully. Since I was very new to this process some of the solder really pooled into larger “welds” at some of the intersecting seams. I tried to weave some thin copper wire around those intersections to hide the bigger blobs (for lack of a better term) but wasn’t loving the look of the wire. I decided to leave the blobs and just finish the terrarium, I’d figure out the intersecting pieces later.
Next, assemble the center square, flux each tip and tape down the shape. Using the blowtorch, solder the pieces together.
So this is where I became a bad blogger… while trying to figure out how I could solder this together I didn’t take photos, gasp, I know! Basically once the 2 squares were done and cooled I used a box (at the correct height) and placed it in the center of the large square, the small square was then placed on top of the box and I welded each side piece at all intersections. The next piece for this terrarium looked like this.
The top triangle piece was the trickiest, again bad blogger – no photos! I found some heavy gauge wire and I cut, 2 – 2″ pieces. I used 1 piece of wire to connect 2 of the top pieces together (by sliding the wire in each open end of the copper tubing), then I did the same thing with 2 remaining top pieces. Once I had the heavy gauge wire in each end I bent the top triangle pieces and placed them on top of the large square, I welded/soldered the intersecting pieces together. I repeated this process again with the next 2 top pieces.
Let the piece cool completely (don’t forget copper conducts heat very well, use your safety gloves and let cool).
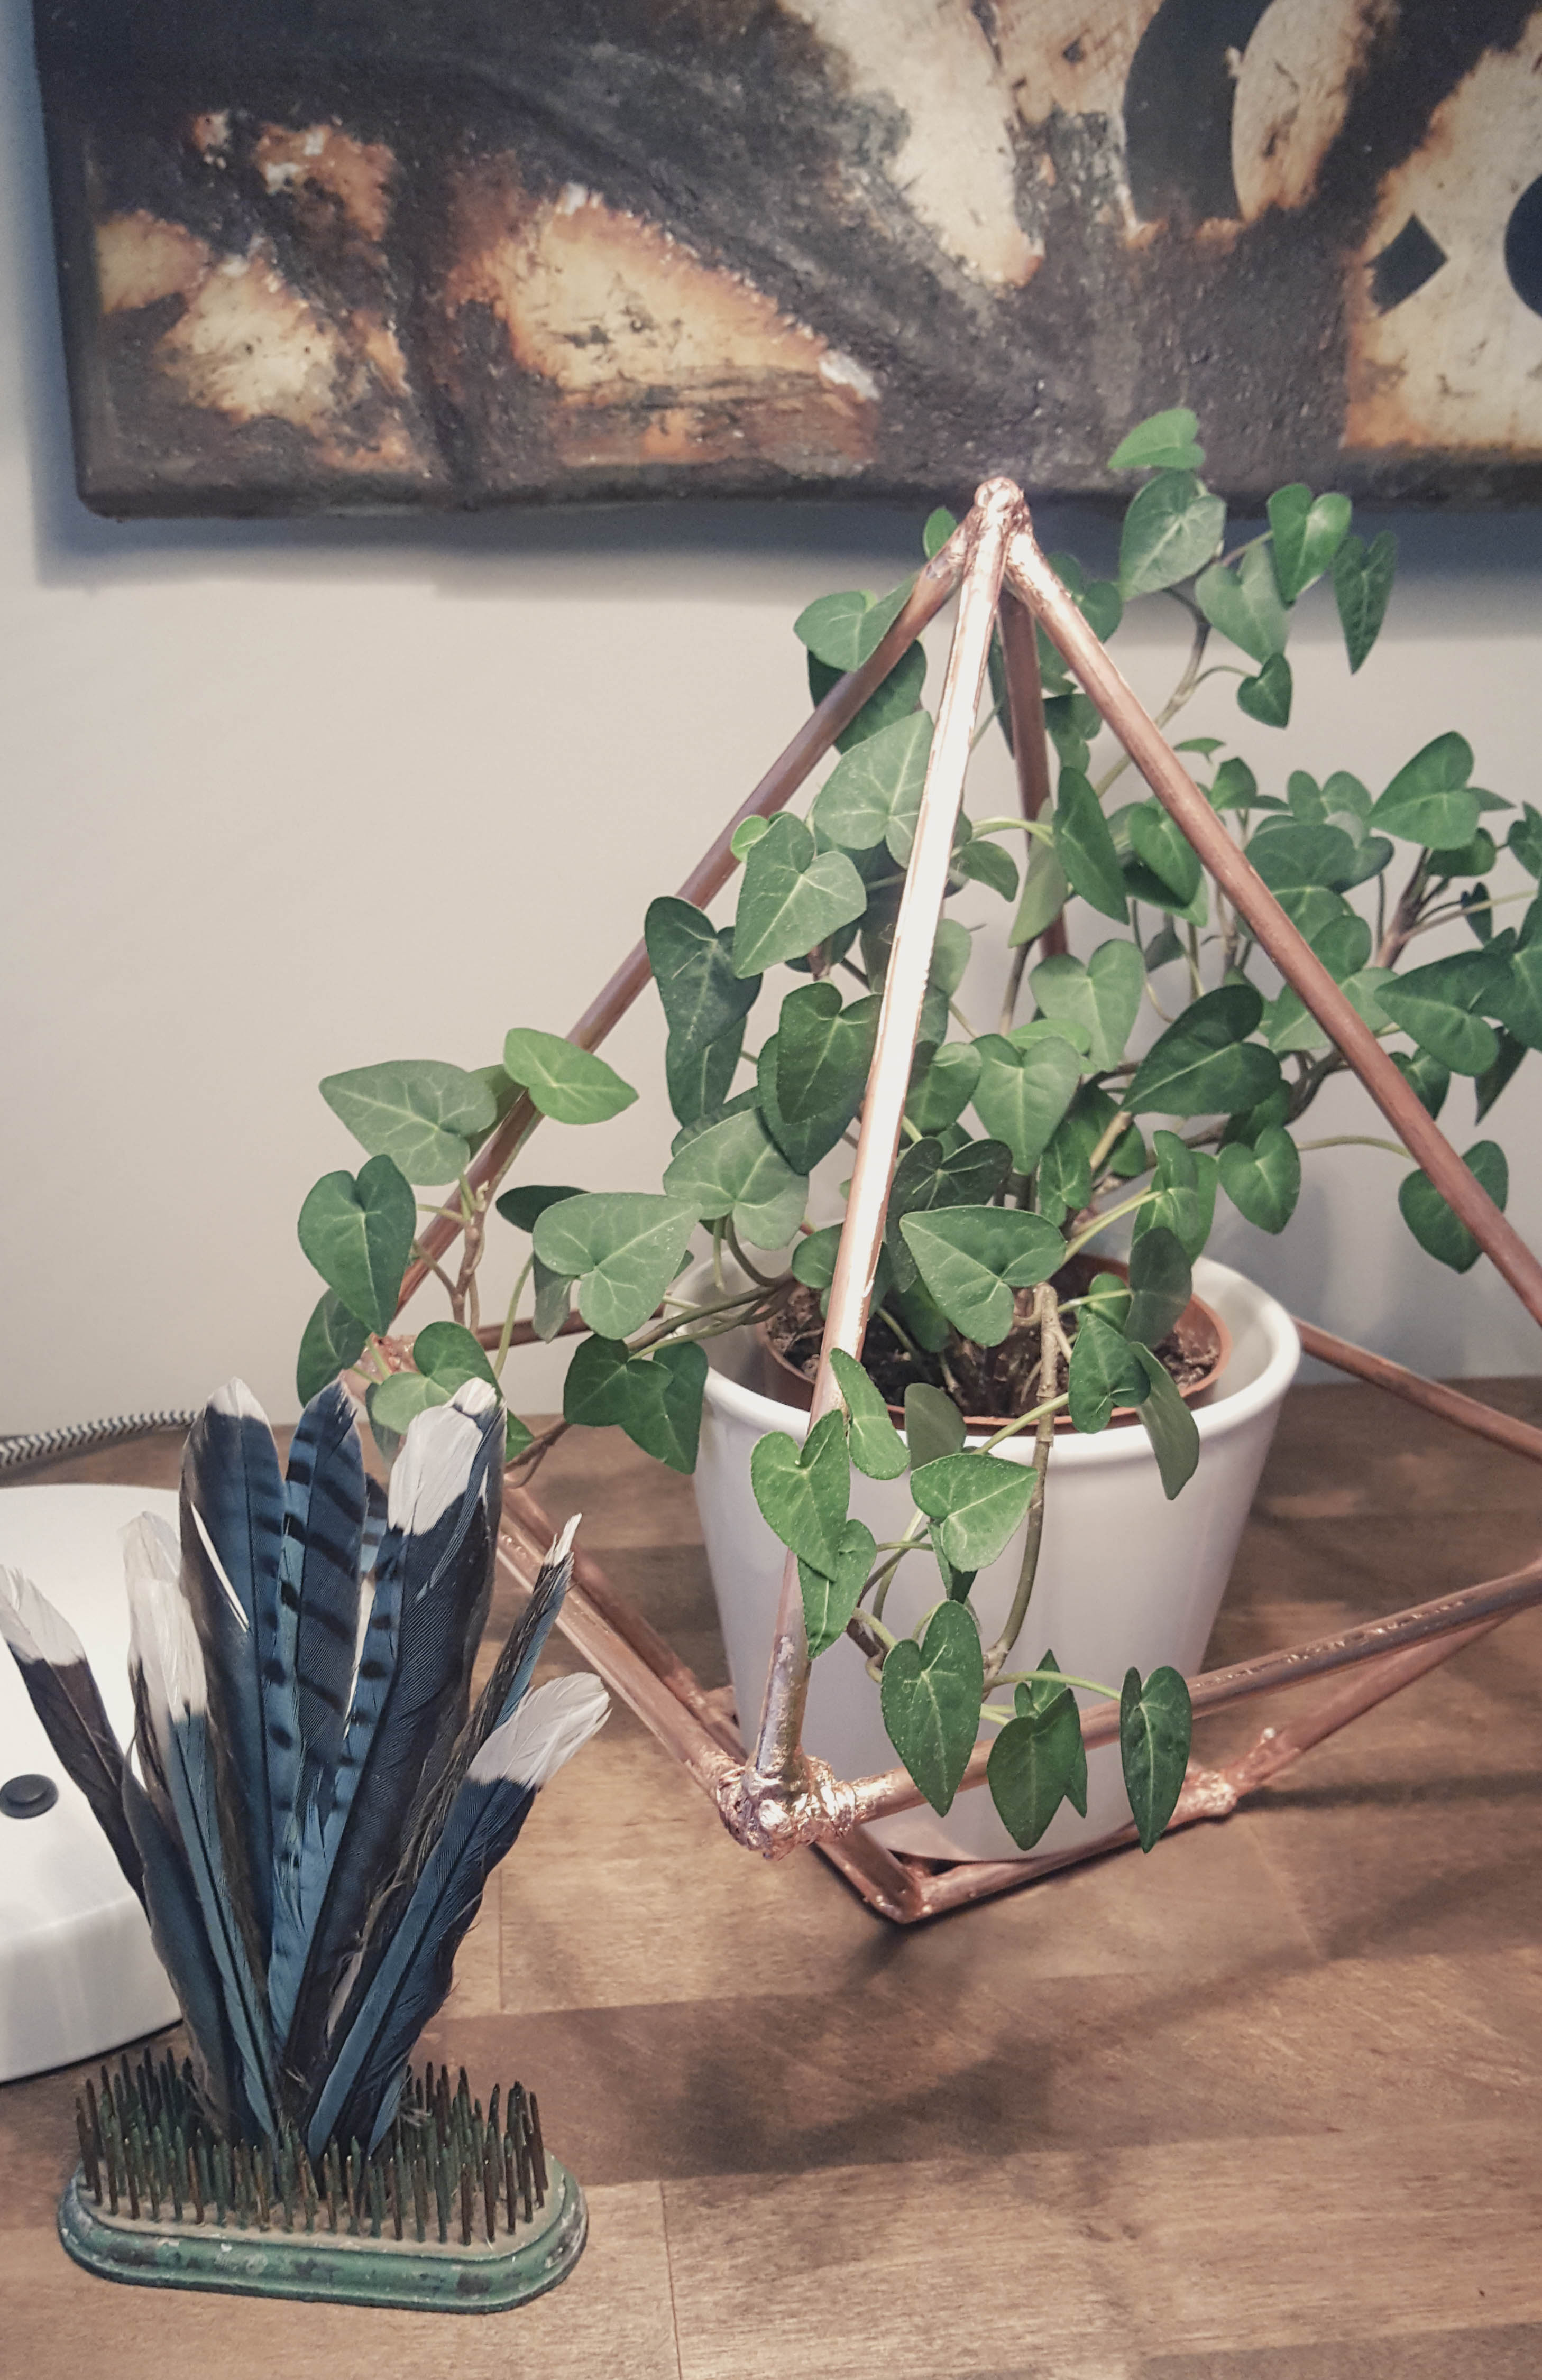
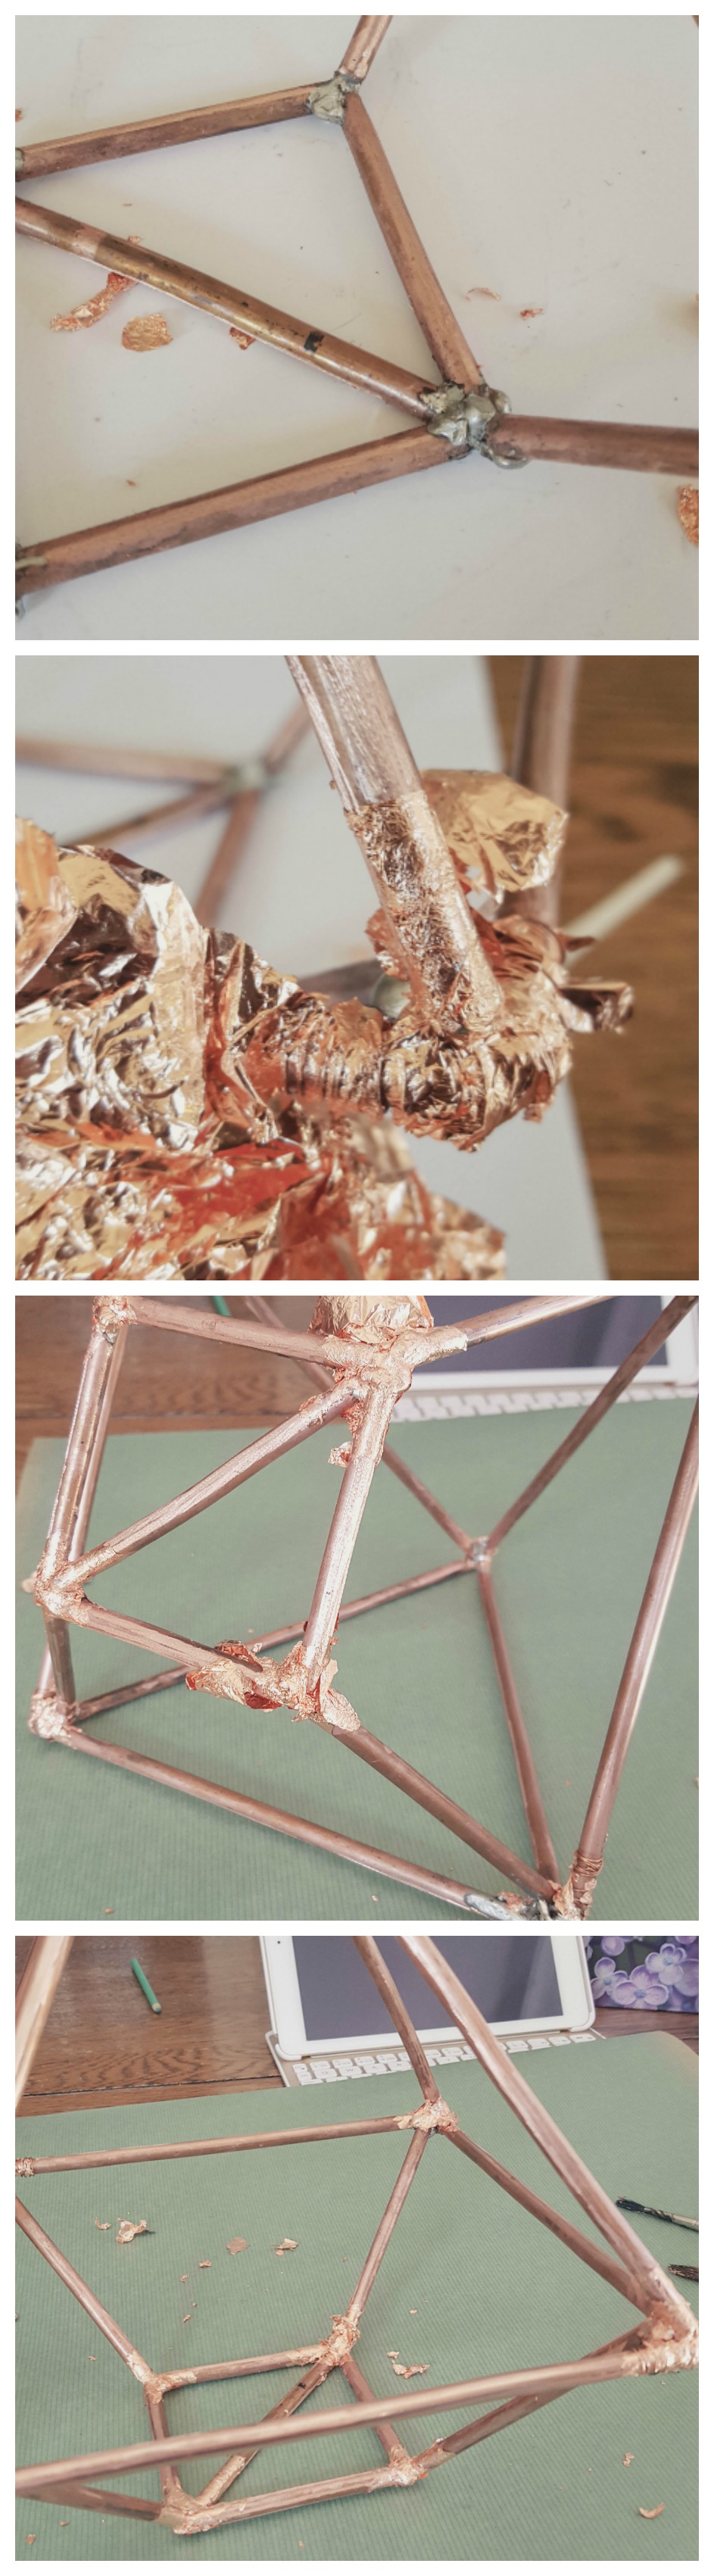 As I stated above I wanted to “hide” the soldered intersections… I didn’t love the blobby silver look of them… I need more practice blowtorch soldering. I brought the terrarium into the house and an idea hit me… I had a stash of copper leaf and that’s what I used to “hide” the silver soldered blobs. It worked perfectly! I didn’t mind the “thicker” intersections, I actually love the look of this rustic terrarium and adding the copper leaf really finished it for me. I’m excited to practice this method some more… I’m thinking a light shade next? I’ll keep you posted. 🙂 I was so pleased with how this turned out I put my favourite plant in it and I lugged it all over the house until I found just the right spot. Hahaha
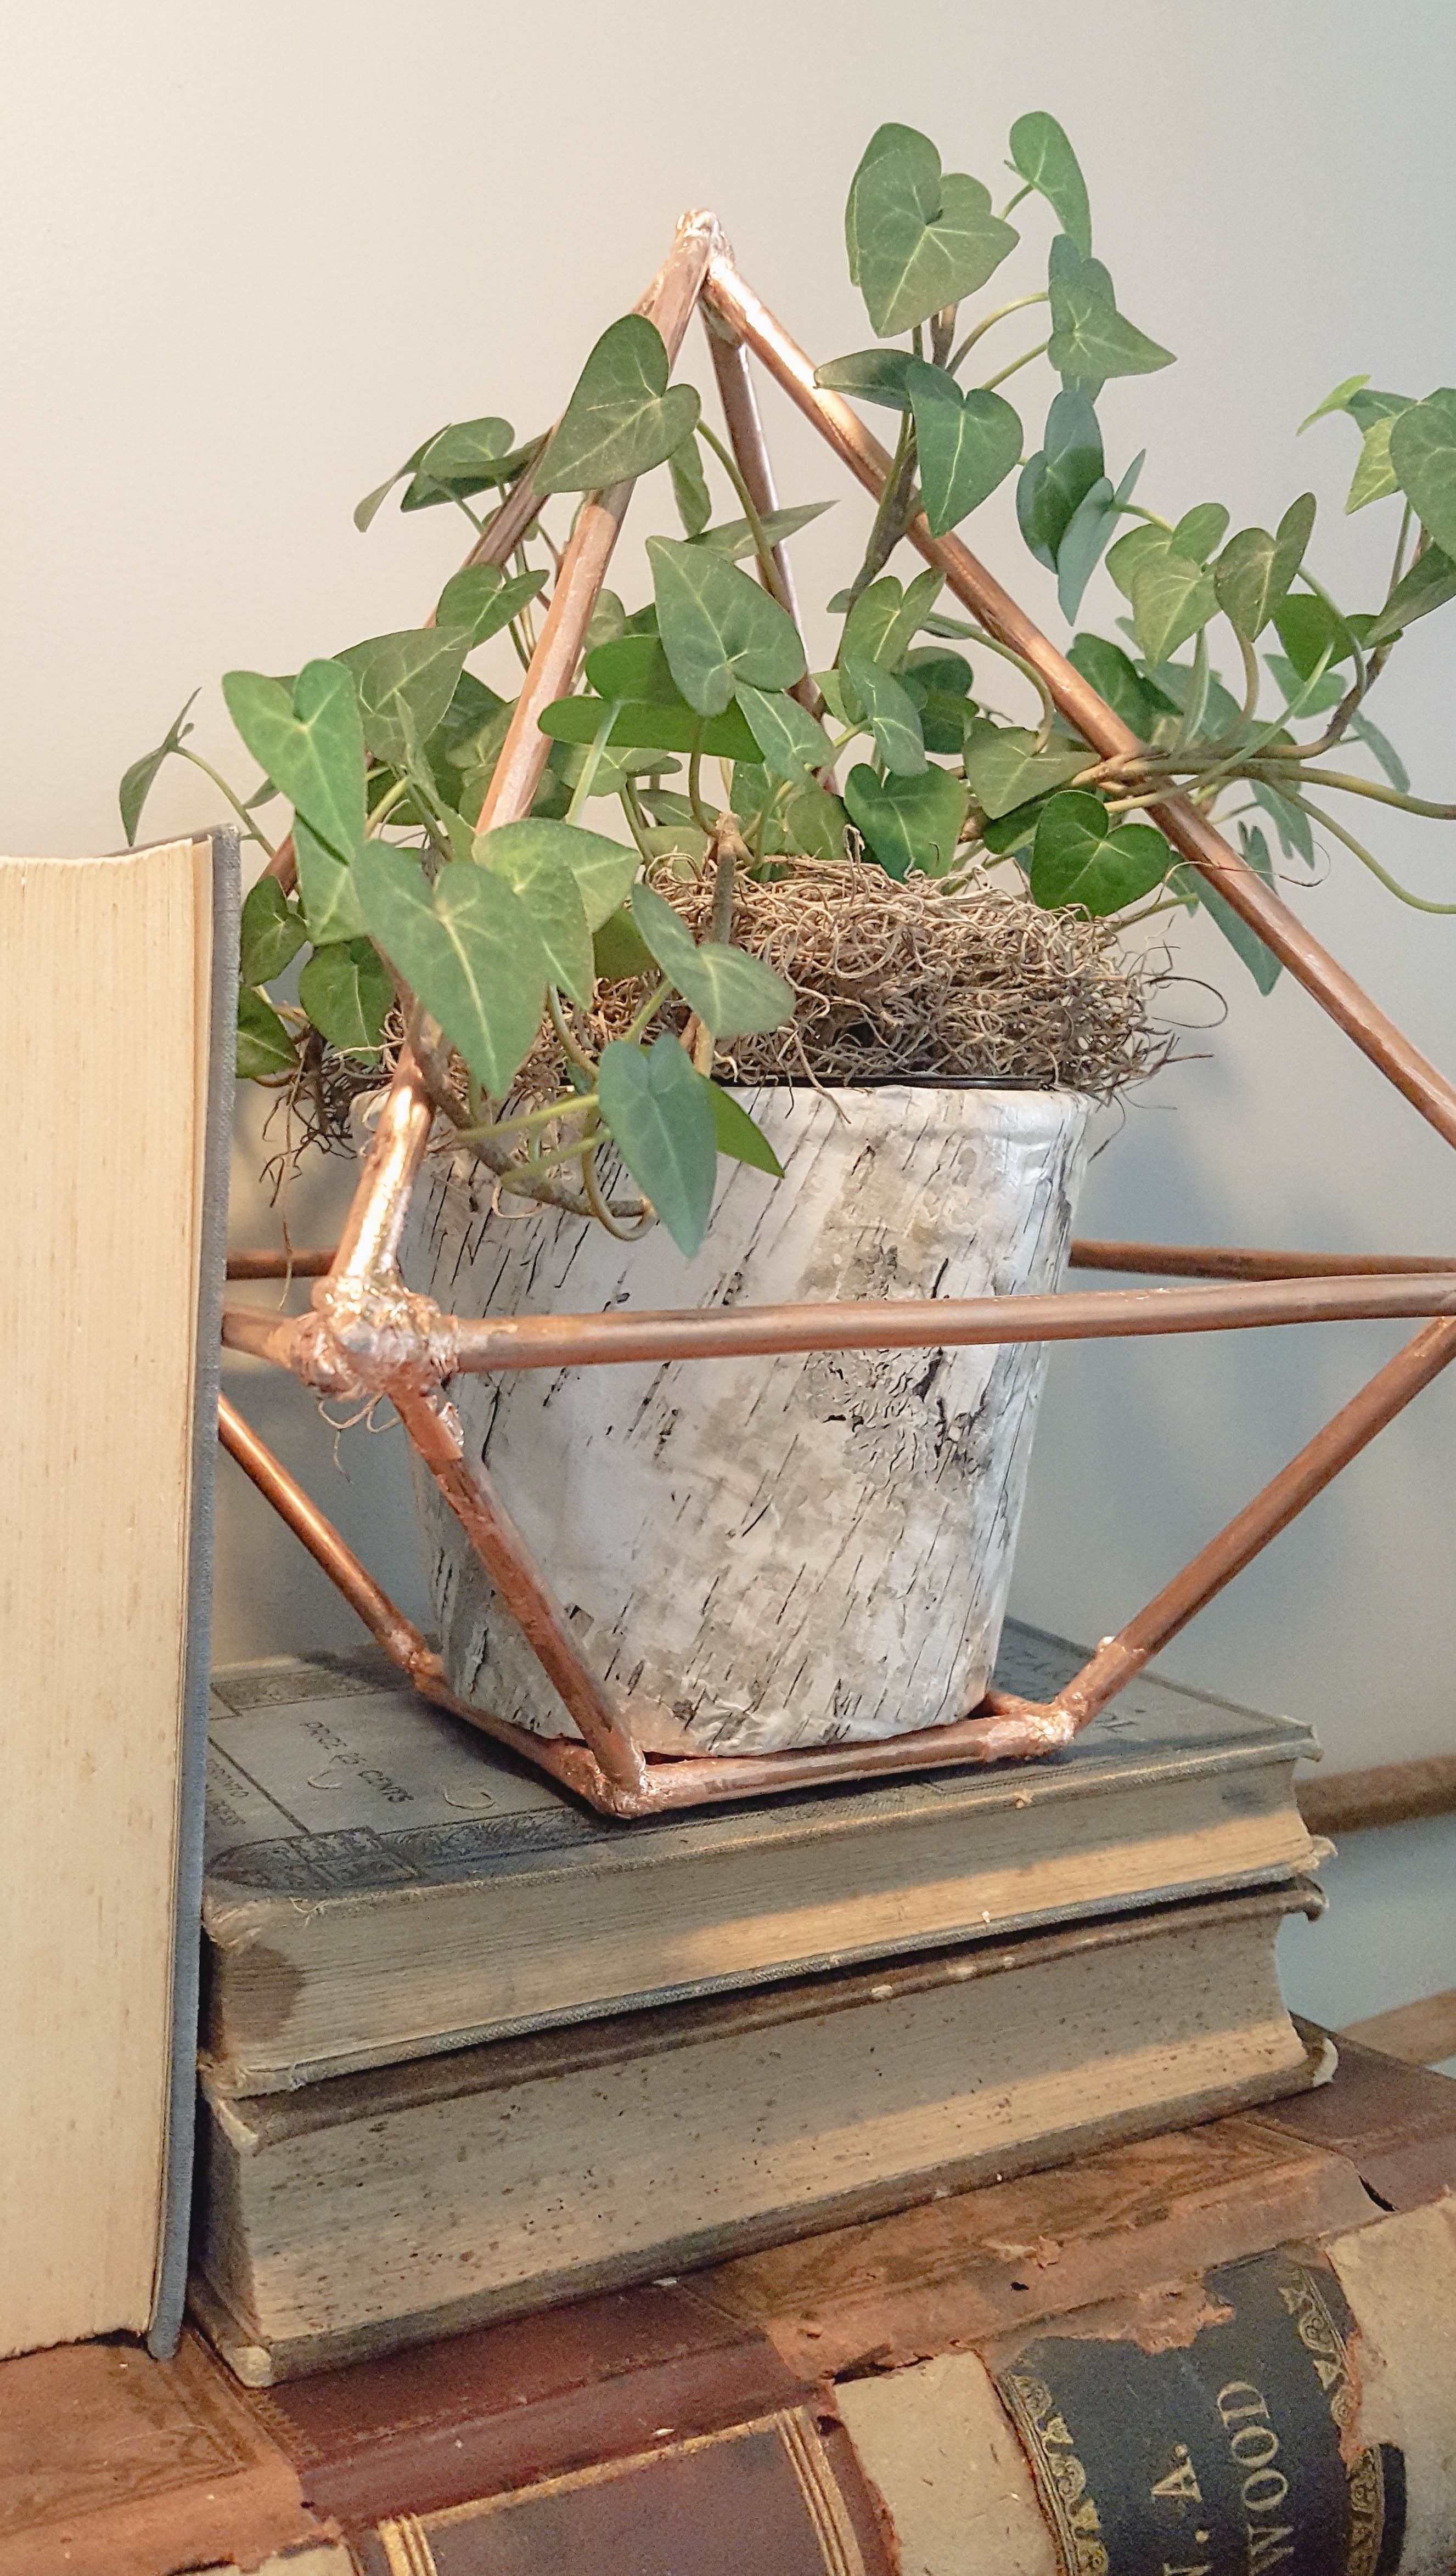
I decided the plain white Ikea pot needed a little something…
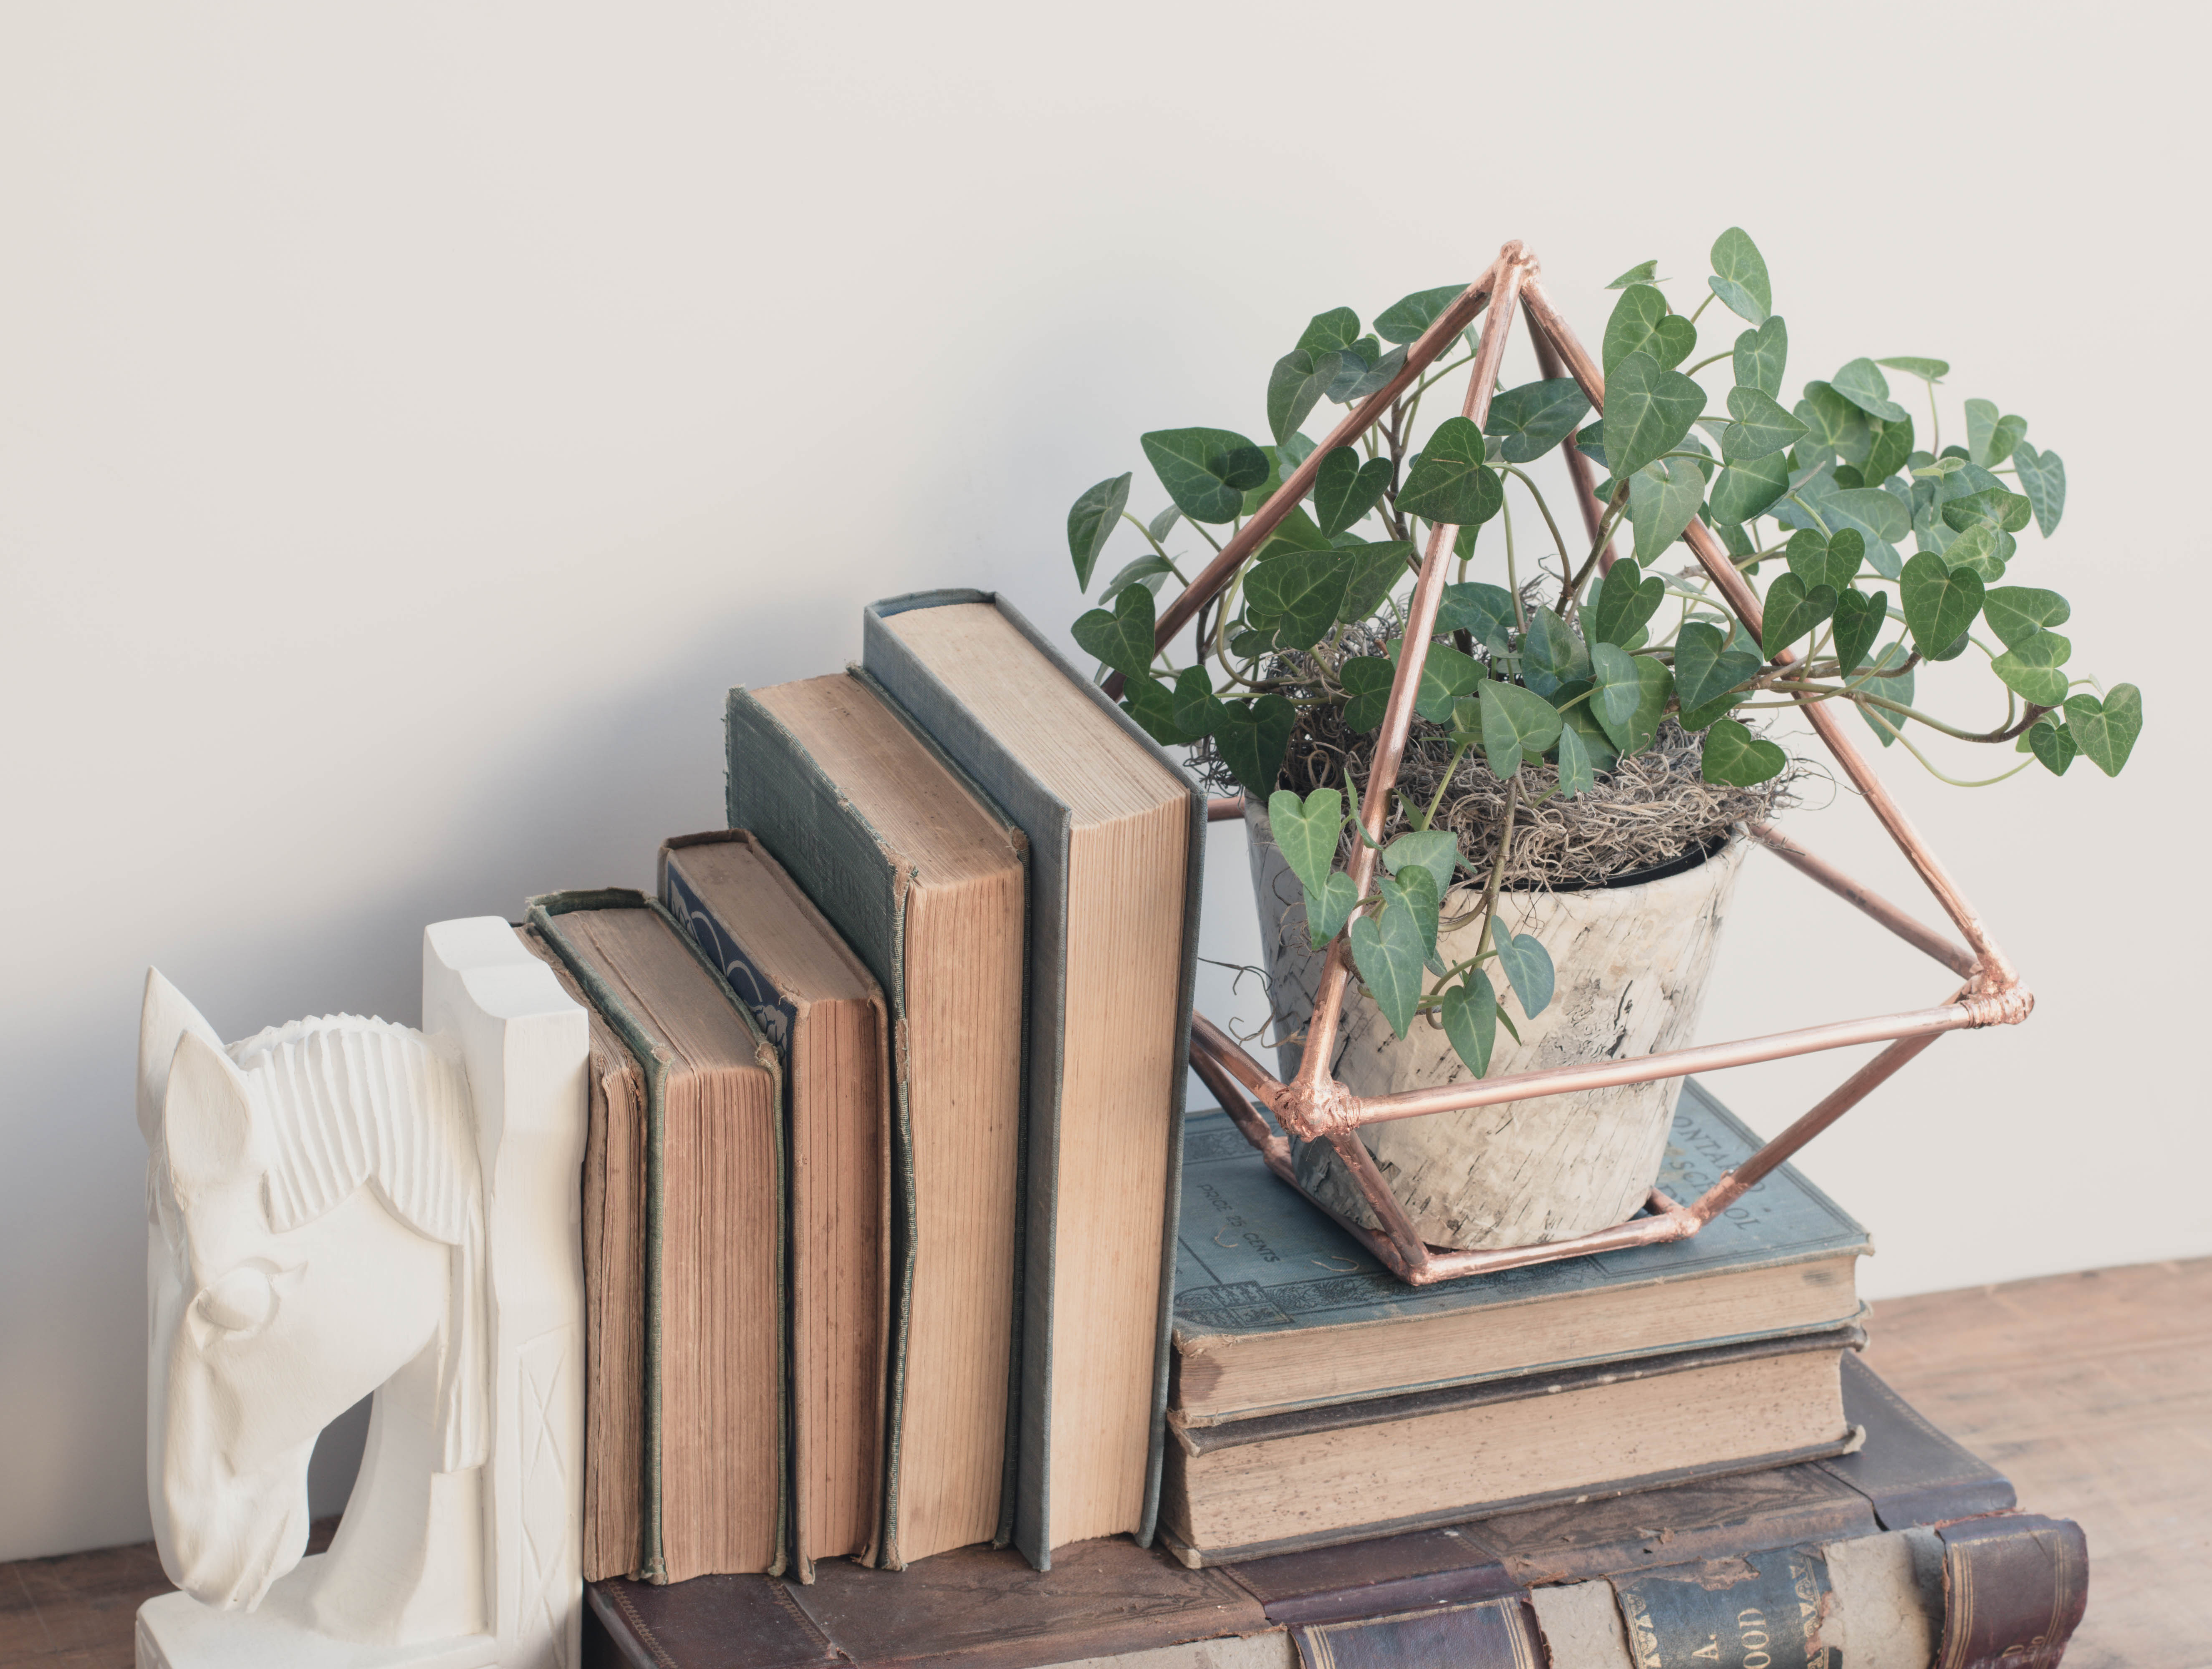
I used matte mod podge to cover the white pot with some birch bark wrapping paper that I had left over from Christmas, LOVE!
I’m a bit of a house plant fanatic, LOVE my plants! This little terrarium was a perfect way to show off my favourite plant (sweetheart Ivy – it’s a cut off from my wedding bouquet) and I thought it was a great project for Earth Day too, it’s upcycled and recycled – and plants very earthy! There you have it, I hope you like my rustic terrarium? If you’d like to make one for yourself and have any questions, just let me know, I’ll try my best to answer them.
Continuing with the Earth Day inspiration, be sure to check out my fellow participants in this month’s There for the Making challenge. Each of them created a beautiful project without spending any money, and all of them have something to do with repurposing – perfect for Earth Day!
There for the Making: Earth Day Edition!
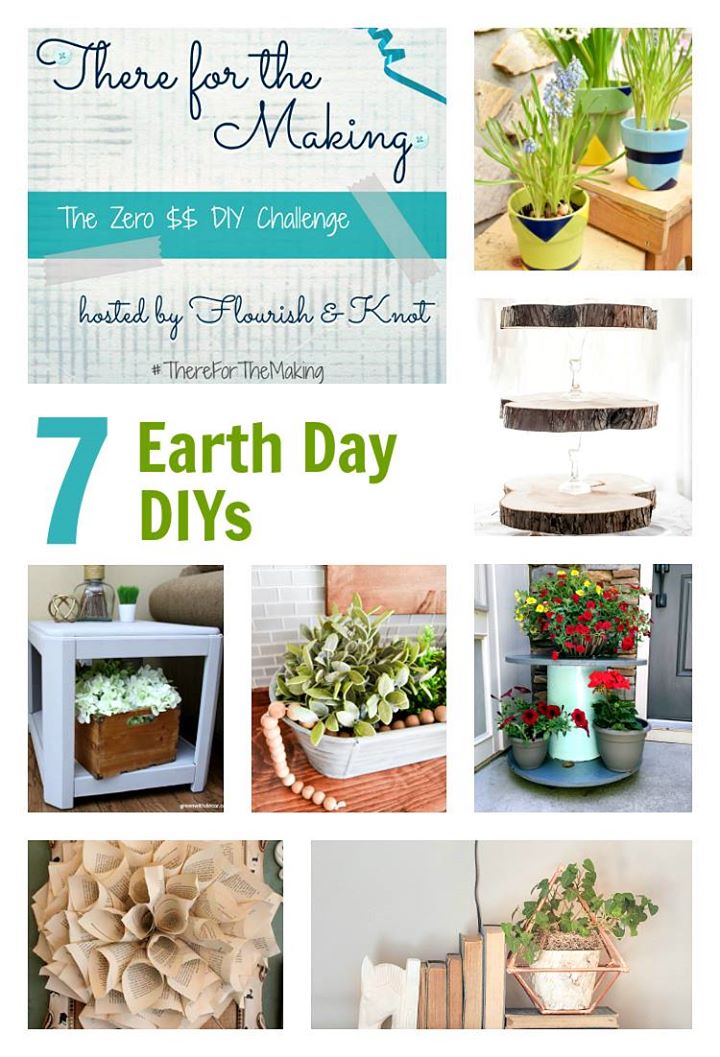
2 Bees in a Pod | Wire Spool Plant Stand
Flourish & Knot | Painted Geometric DIY Flower Pots
Green with Decor | Chalk-Painted Table
My Creative Days | Painted Galvanized Planter
My Life From Home | DIY Book Page Flower
Personally Andrea | Rustic Three-Tier Wood Slice Stand
VinYet Etc. | DIY Copper Terrarium That’s me!
Thanks again for stopping in!
![]()
This post contains affiliate links. Thank you for supporting Vin’yet Etc. xo
16 Comments
Wow Laurie – you are super creative and talented! Love your copper terrarium – it looks amazing!
Thank you so much guys! xo
So then I got out the blowtorch… Those are some mad DIY skills, Laurie! Love it. Your terrarium looks fab (I think I saw one – not as nice as yours – in a shop!) and the copper is just gorgeous.
Thanks, Sarah! Hahaha, yep that’s kind of how I create, I grab and use what ever works. It didn’t turn out exactly how I envisioned, but I love how it’s rustic, fits my style perfectly. 🙂
I loved your wreath too and I’m now totally in love with copper tubing, perfect combo of industrial and glam, and this is an amazing tutorial! Thank you for this! xx
You totally have to go use that copper tubing, it’s so easy to work with. You are very welcome, I can’t wait to see what you make! xo
This is awesome! Copper is one of my favorite metals. So beautiful!
Such a great project!! It is copper and fantastic all around! Love it!
LOVE the copper! What a creative idea!!!
Wow this looks so amazing! I have been wanting to learn to solder and now I just might really do it! I rusticy edges too! They really make the piece look unique. Great job!
I really love this! The copper is so pretty!
Wow, what a fun project!
Love, love, LOVE it Laurie! I too am obsessed with copper, and just metallics in general. Super cool. 🙂
SUCH a good project! LOVE it Laurie! I really want to try soldering copper one day!
I just love the concept of this challenge. And your terrarium is lovely. I agree it’s difficult to always think of taking photos when you’re in the middle of something. Dressing up the IKEA planter that way is a great idea!
Wow! Love a project that needs a blow torch! Turned out beautifully!