Since I’ve been blogging (a month and a bit), I’ve been extremely influenced by the creativity out there… inspired enough to do my own version of what they did, call it copying, doing a knock-off or I’ve even heard the term slagging… regardless, I felt inspired enough to get off my butt and try some different things, maybe my version on things will do the same for you.
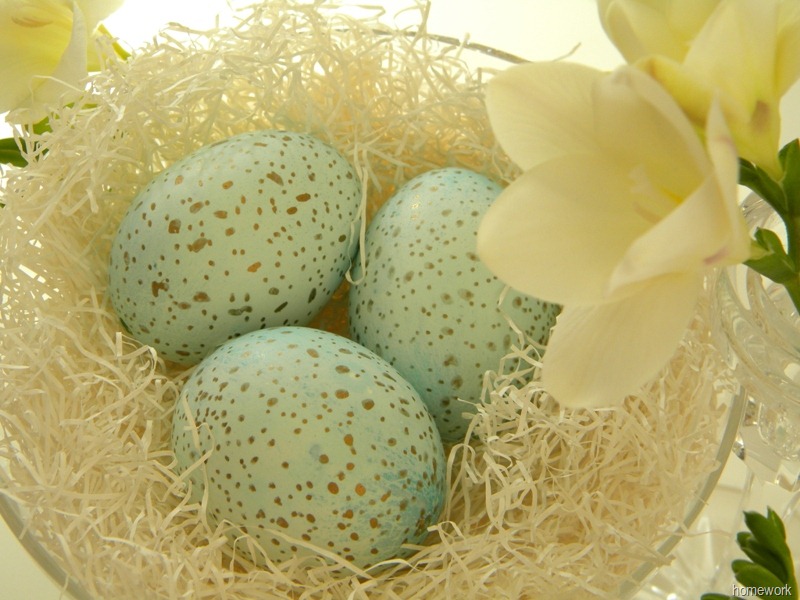
~ My first inspiration is Easter eggs… they seem to be EVERYWHERE! Wrapped in twine, dyed with natural dyes, wrapped in burlap, gold gilded… you get the point, inundated with eggs. 😉 My inspiration comes from Carolyn, you can find her blog HERE… Her whole blog is actually very nice, I highly recommend checking her out.
These are the eggs she posted and you can find that post HERE.
 Aren’t these so pretty!? I wanted to try them… so I skimmed her post, that’s one of my weaknesses, skimming… pictures intrigue me, but the reading of how to, lets just say I need to work on that! I picked up some food colouring at the grocery store, yep, blue and green should make this colour, right? Again, lack of the reading on my part… home to try it, I added the eggs and hard boiled them, skimmed how to dye (from another how-to post on google), add drops of the dye to hot water and a bit of white vinegar… oh no white, apple cider vinegar will work… right? Let me back up a bit, I didn’t skim how to dye eggs until my eggs weren’t absorbing the colour at all from the dye I added… ran to skim how to dye, then added the apple cider vinegar… I really have to work on reading posts all the way through, and then do them…
This is how my eggs turned out… I’m pretty happy with them and Pinterest is going crazy pinning them from the Instagram picture I posted. Okay, crazy is an exaggeration, 24 for a baby blog is my version of crazy… 😀
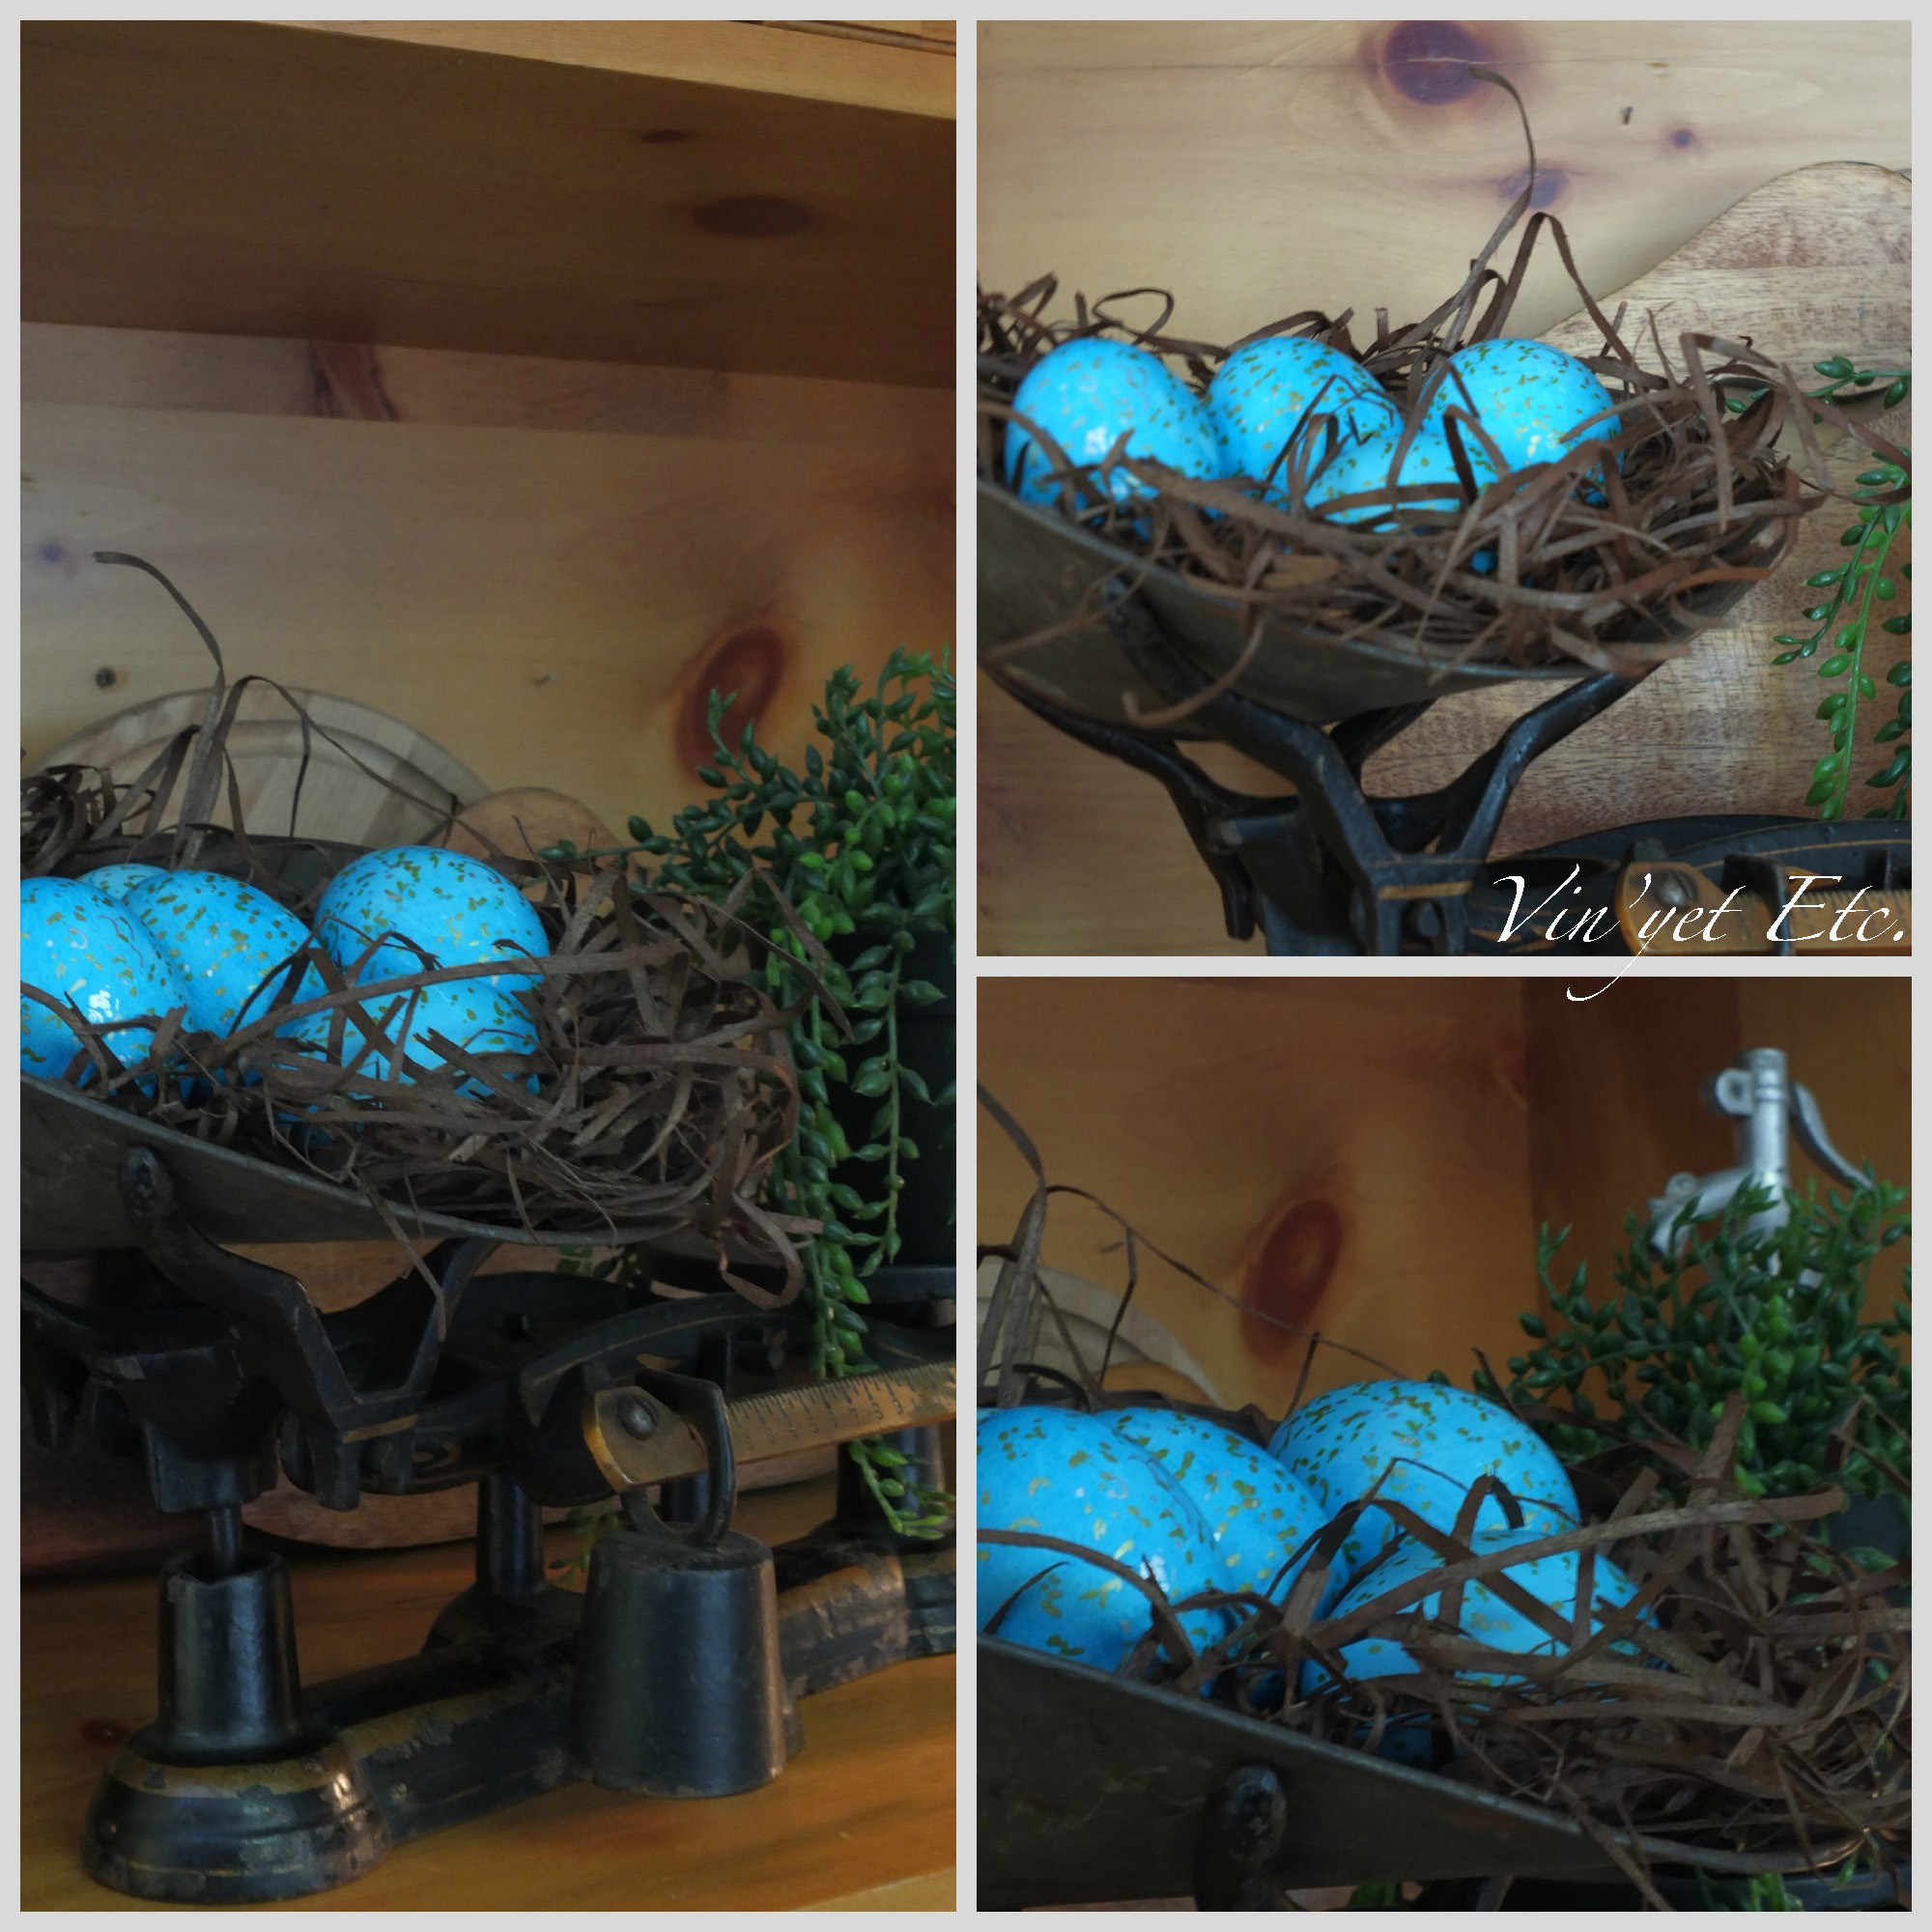
What I used: blue & green food colouring (added like a mad woman until the eggs started to turn), apple cider vinegar (same technique of adding like mad), gold and silver metallic permanent markers (just speckled until I liked the look) and some dark “grass” for contrast.
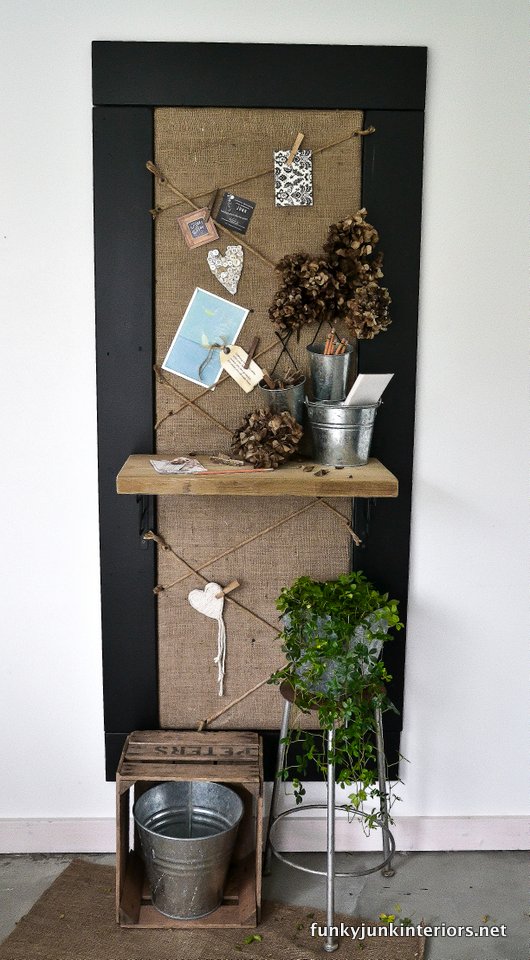
~ My second inspiration is by one of my all time favourite bloggers… love her style, she’s open and so much fun to read… she’s also a fantastic ambassador for all bloggers. You can find her blog HERE, I’ll be very surprised if you don’t already know who she is… her name is Donna and she is the owner of Funky Junk Interiors… oh and did I mention that she loves “JUNK”, yep, pretty much love her! 😉
This is the project that has inspired me, you can find that post HERE.
In writing this piece I realized that I spent more than her, how did that happen, I used stuff from around the house… sheesh…
This is what my after looks like, same kind of idea, my own spin…

What I used: a sliding glass door that I took off of an Ikea cabinet, dollar store cork squares (4 bucks – $2 more than Funky Junk Donna, I’ll have to try harder next time), burlap (had that laying around the house) and I dipped into my twine stash… (that’s another little obsession, boy this blogging business really puts a glaring spotlight ones obsessions) I used some photo matting that has been around forever and spray adhesive, oh and some cute little black carpet nails, at least I think that’s what they are?
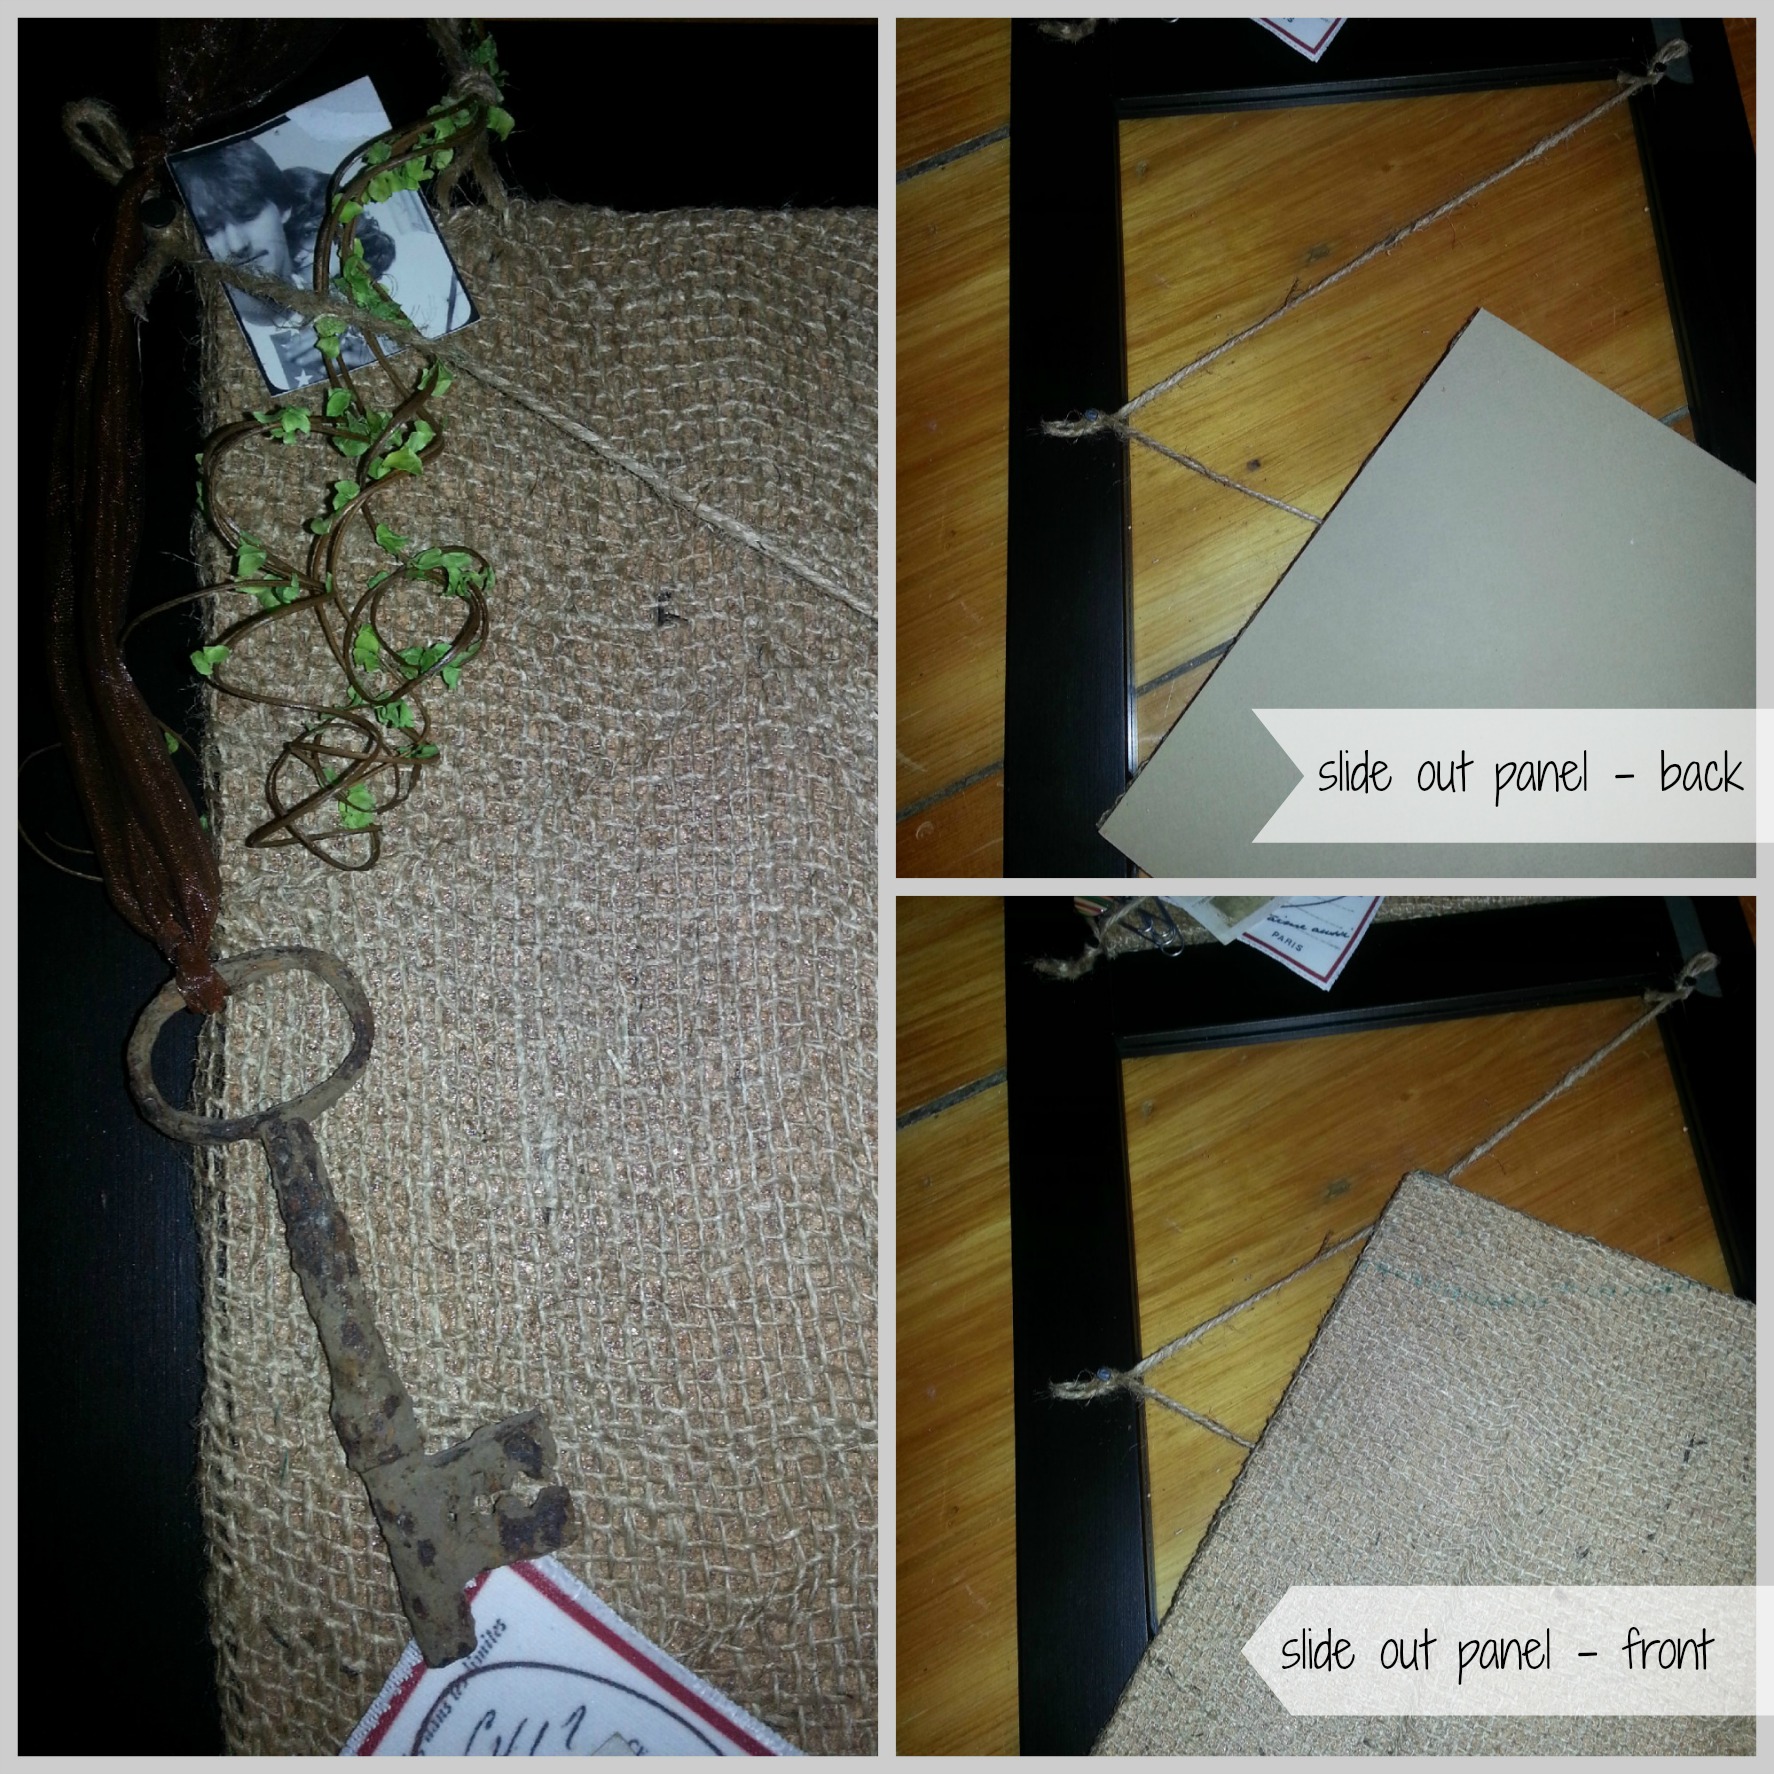
How I did it: I removed the sliding glass doors and wanted to keep the glass intact. I really liked the frame of it and thought I could figure something out… I cut the cork to fit in the glass section, sprayed the cork with glue and covered it with burlap, I then traced the cut piece of cork onto the matte and cut that a bit bigger, spray glue the cork onto the matte and it’s a pressure fit into the glass section, I can remove it any time I need to and the pins for the cork board will not damage the glass.
There are my spin-offs, let me know what you think, if you have any questions, I would love to hear from you!
~ Laurie
Please note that all images that are not my own link directly back to the originator, thanks so much ladies for letting me go on about you and for the inspiration to try my own version of your projects… Cheers xo


16 Comments
Sweet! Love both those projects. You did a fabulous job (I like your eggs better!)
Hahaha, thanks Anne! I really was going for the light colour, but kind of decided I liked the dark…
~Laurie
Hi Laurie – I like how your memo board turned out and your Easter eggs look beautiful!
Thanks Heather, I really appreciate you stopping by! You rock! xo
~Laurie
I love your eggs – super cute. I tried, and tried, and TRIED, to speckle eggs this year but they were all a complete failure….apparently I don’t have the speckling gene. Glad you do!
Hahaha speckling gene… love that! Thanks for the visit, I do appreciate it so! xo
~ Laurie
PS I’ve seen your work, your speckles are probs amazing! Too hard on your self! 🙂
Hi Laurie:
Your blog is beautiful and absolutely doesn’t seem like its a month old. Keep up the awesome work!!!
Awww thanks so much Nads!!!! I see your just as awesome as your sister! 😀 xoxox
~ Laurie
Turned out really cute. I’m not a big Easter buff, but maybe I should revisit the idea; I need more crafts in my life!
Hi Tia, thanks for stopping in… funny you should say that, this is the very first time I’ve ever done Easter eggs… our son is allergic to eggs (bummer) and he’s flown the coop, so I thought I’d give it a try, they are very eye catching against the dark “grass”, I love the creativity that some folks have in doing Easter eggs…
~Laurie
Beautiful. I hope once I get the time to go into my creative side to be able to put ideas to life.
🙂
Thank-you! Go to the creative side, it’ll never let you down! Thanks for stopping in.
~ Laurie
It turned out great, and it’s really practical. I could really make one of these for our kitchen. Thanks for sharing!
Hi Kelly,
I like the fact that I can restore the frame to go back to as is if needed, but I really like having a bulletin board… too easy to make.
~Laurie
Great projects, Laurie, thanks for sharing! I will have to keep those eggs in mind for next spring.
Thanks Dani!