Welcome to April’s #12MonthsofDIY challenge! This month’s fun task was to #ReThinkReuse something from a thrift store… this my friends is right up my alley and really my favourite past time! Myself and my lovely Canadian friends were inspired to make this month’s DIY challenge consist of thrifted finds from Value Village, thrifting is a fantastic way to rethink and reuse items and one of the easiest ways to go green, by saving those things from the landfill and reducing our footprint we can shop and create useful things for ourselves at the exact same time, win, win! The fact that this Friday is Earth day this challenge just felt like the perfect time to get down with our thrifty selves.
Are you on INSTAGRAM? Make sure to follow me there, see how YOU can be involved in our #12MonthsofDIY series this year! We’d love to see what you create!

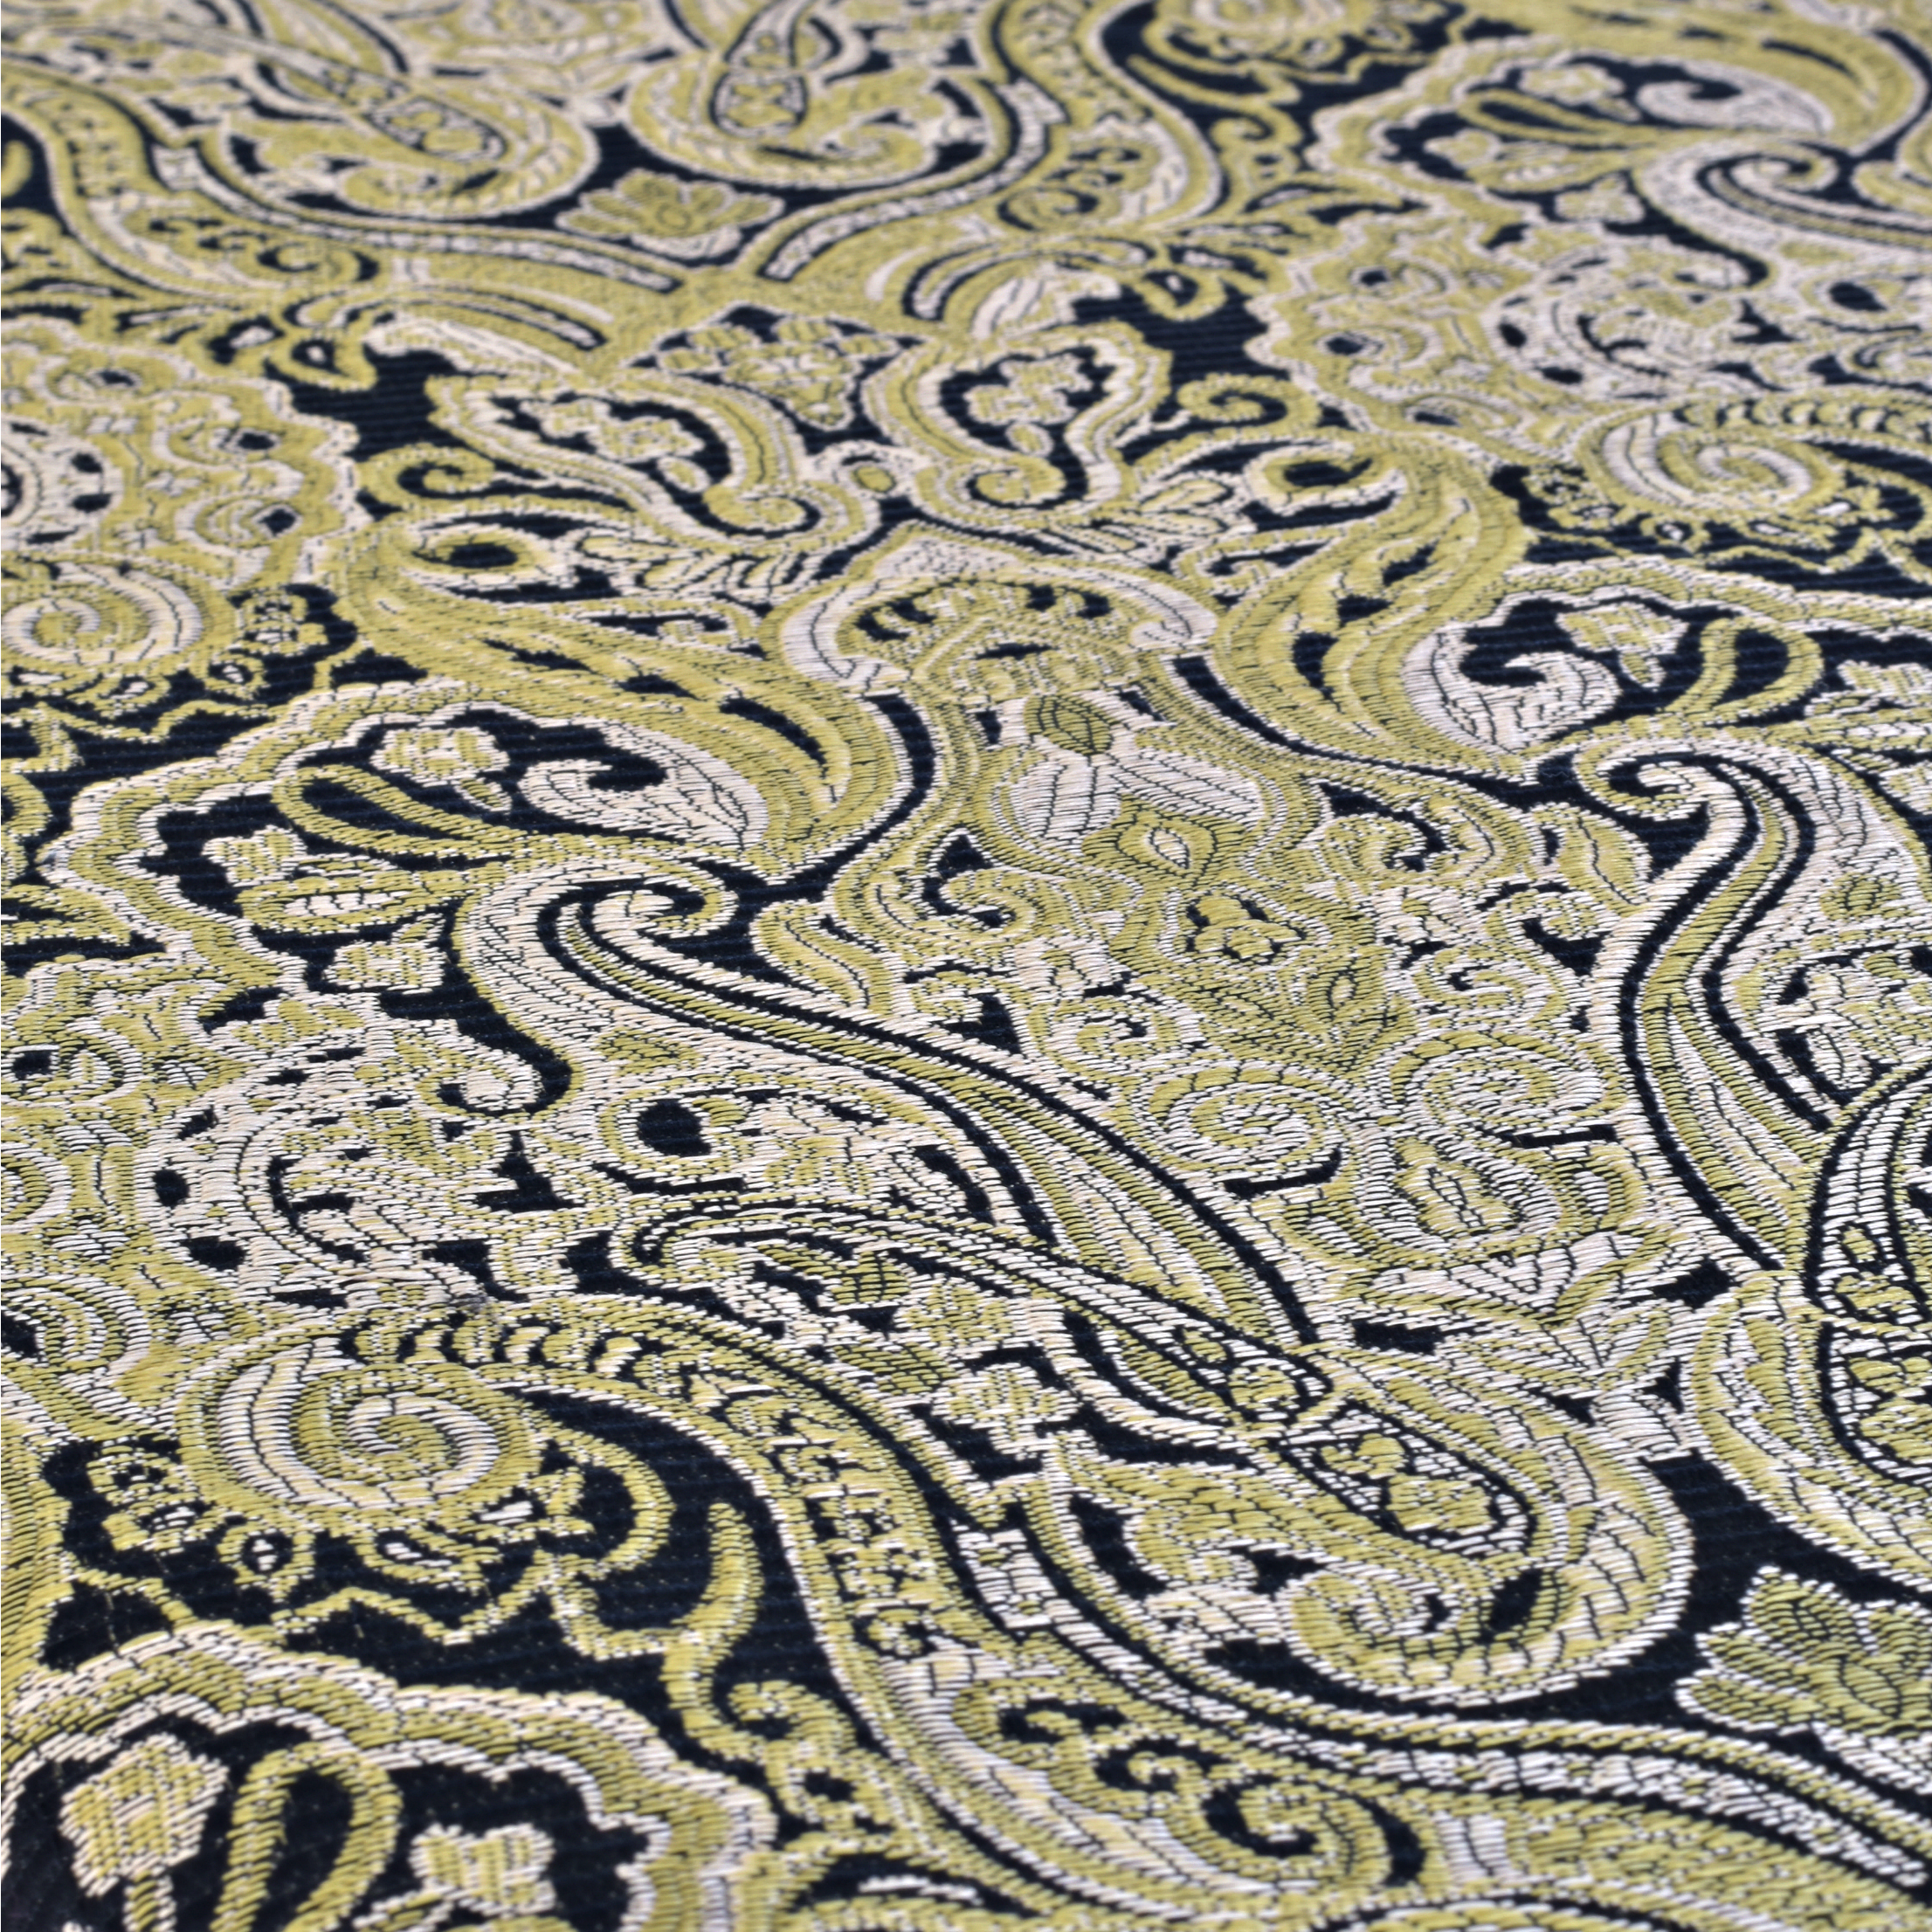
Since this was a thrifting challenge I knew exactly where I needed to go, off to my local Value Village I went! I found some gorgeous and thick upholstery quality fabric and knew right away what I wanted to make as soon as I laid eyes on this fabric, I decided right in the store I was going to make a new Roll-N-Go travel bag.
What is a Roll-n-go travel bag? It’s basically the best carry-all ever for your cosmetics and toiletries! I’ve had this one for 13 years…
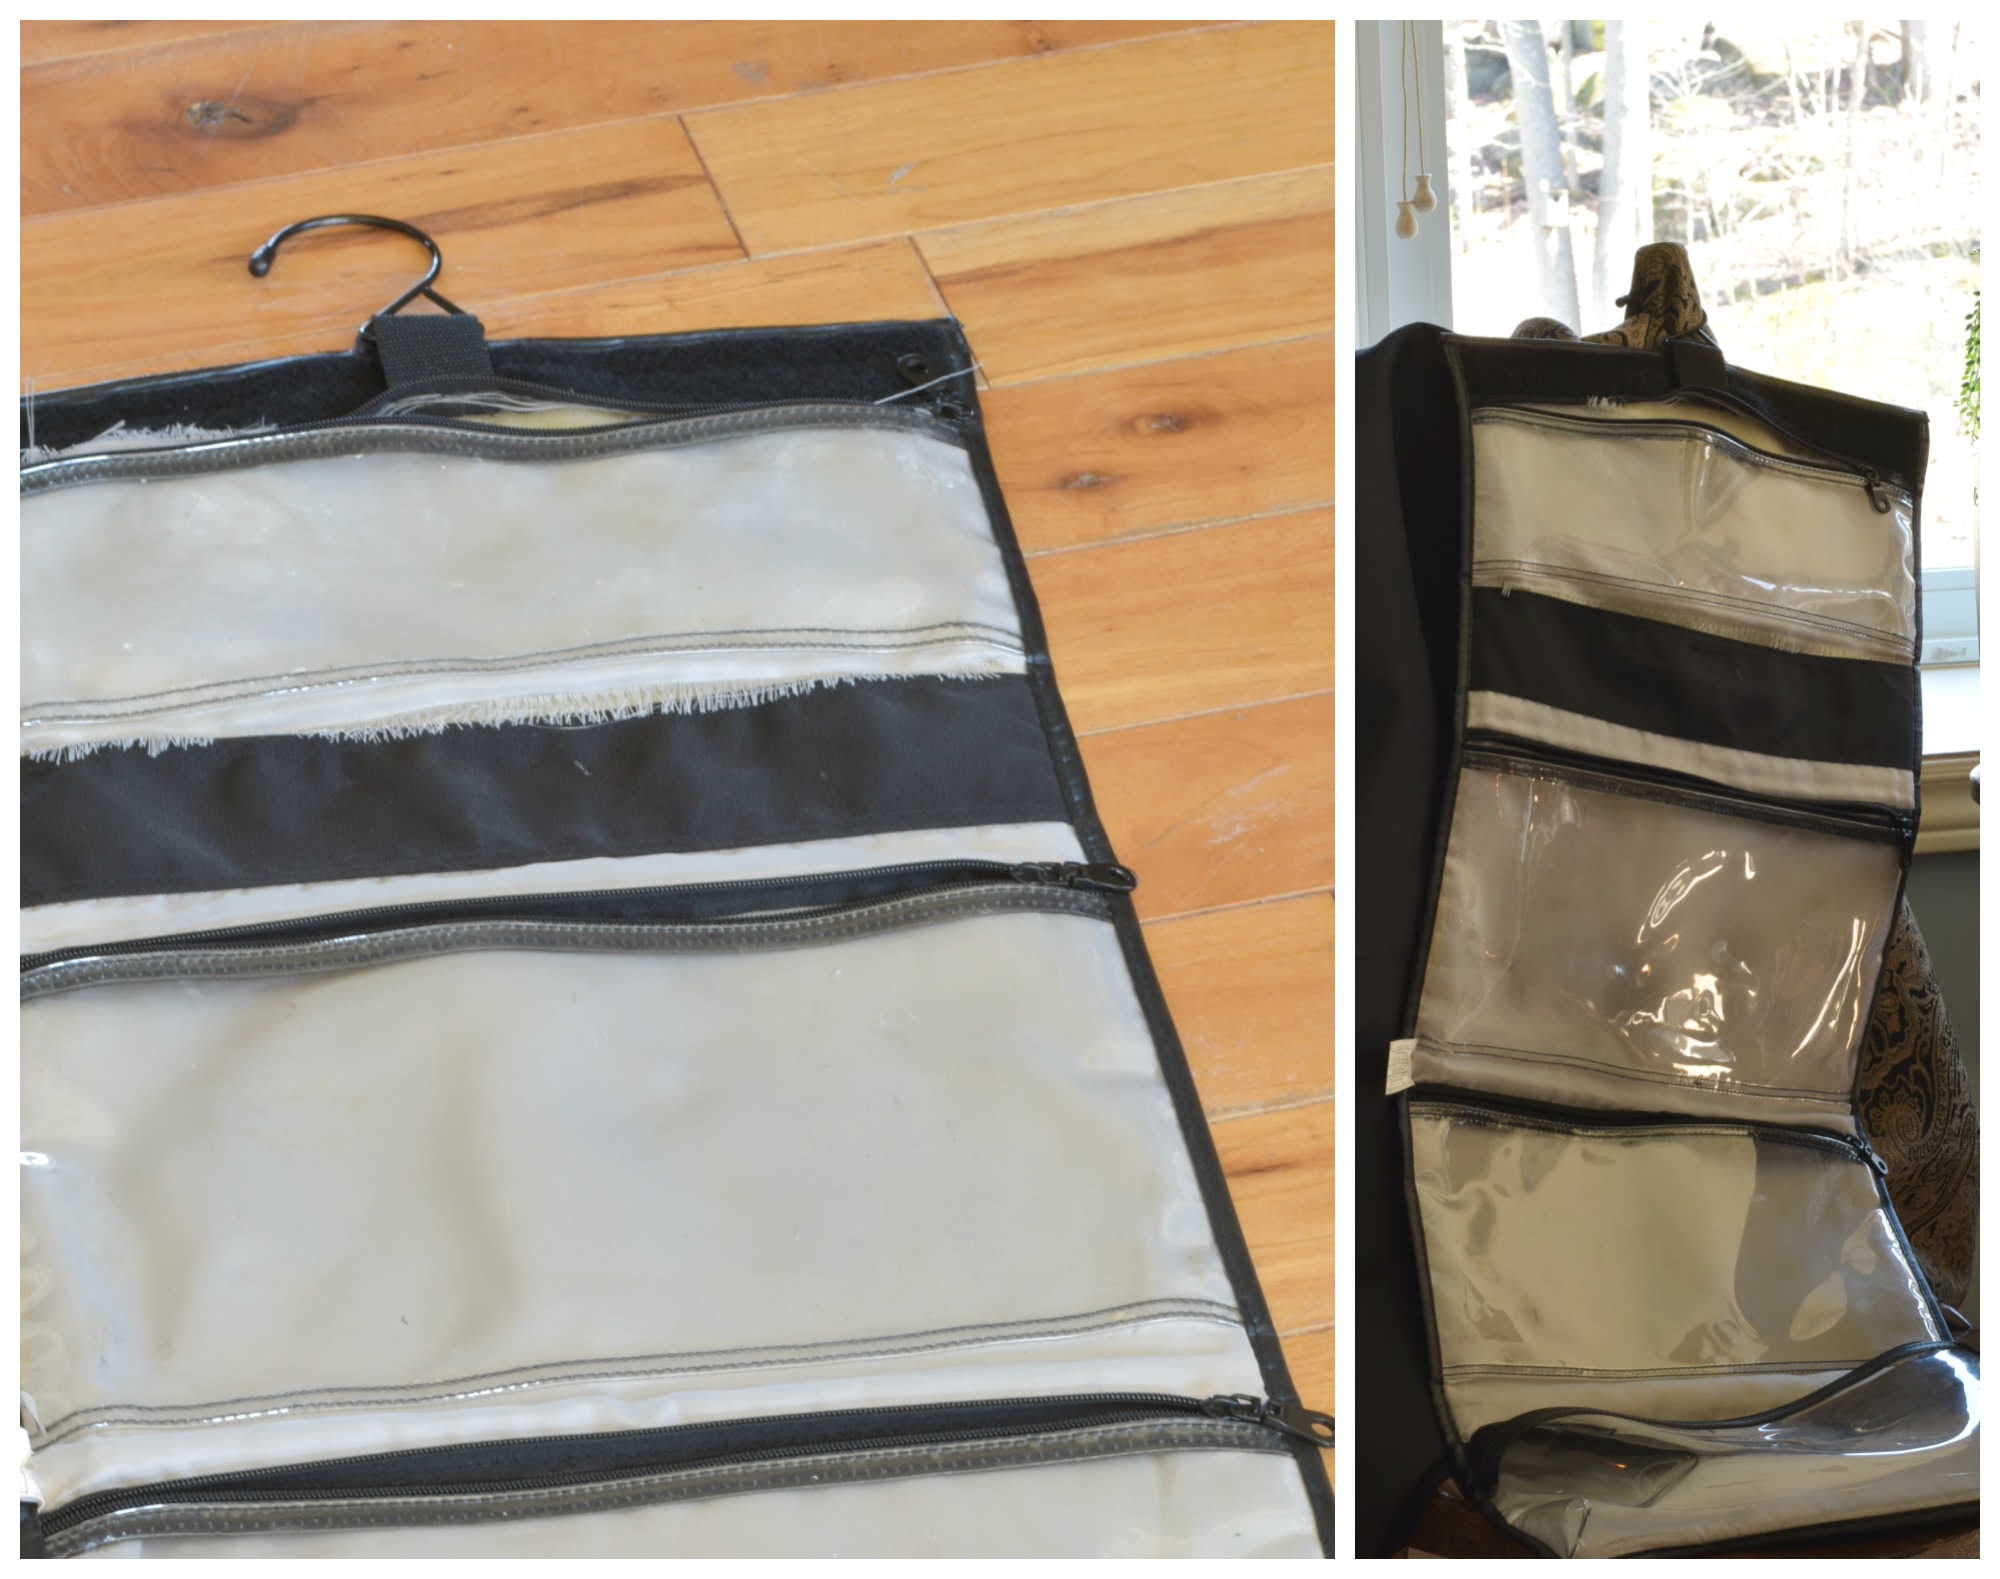
Yuck! As you can see this one has seen much better days, I love everything about it though (except the way it looks right now), the size, the cleanability, the fact that it holds all of the things and the fact that it rolls up into a nice sized bag I can shove into my luggage… I can see all of the items at a glance when it’s open and never have I once had to unpack to find this or that, it’s all in one convenient easy to see place. I’ve been wanting to replace it for a while now and look every time I’m out and about, I just couldn’t find one that was as big as this one. When I saw the quality of this beautiful fabric I knew I was going to make a new Roll-N-Go with it, how hard could that be? Right? Ya, right!
You know when sometimes concepts are WAY better in your head than they are in reality? Hopefully that’s not just a me thing, can you relate? I’m going to be completely honest here, my sewing skill is maybe mid level, above beginner but in NO way expert, I can make some really nice things and I approach sewing more like a wood working project, strangely enough! I am not so comfortable with sewing zippers to name one thing and the thought of building a brand new Roll-N-go really was starting to stress me out so I did what any normal person does when something stresses them out, I ignored it and left it until the very last minute! Horrible way to deal with things I know, but ultimately in the end that paid off! Let me tell you how I made this (fly by the seat of my pants) Roll-N-Go.
Things I used to make this Roll-N-Go:
sewing machine (my trusty $25.00 yard sale find served me very well for this one)
seam ripper (my friend)
coordinating thread (Black)
velcro
leather grade sewing needle for the sewing machine (you will be going through some very thick layers of fabric- this type of needle will save the frustration of your needle breaking)
straight pins
iron
ironing board
reused, recycled the old carry-all
~
I decided instead of reinventing the wheel, I would use parts of the “wheel” (the old carry-all) to reconstruct my new roll-n-go. So that’s exactly what I did…
Steps I took to make this Roll-N-Go:
First wash and dry your new thrifted fabric. 🙂
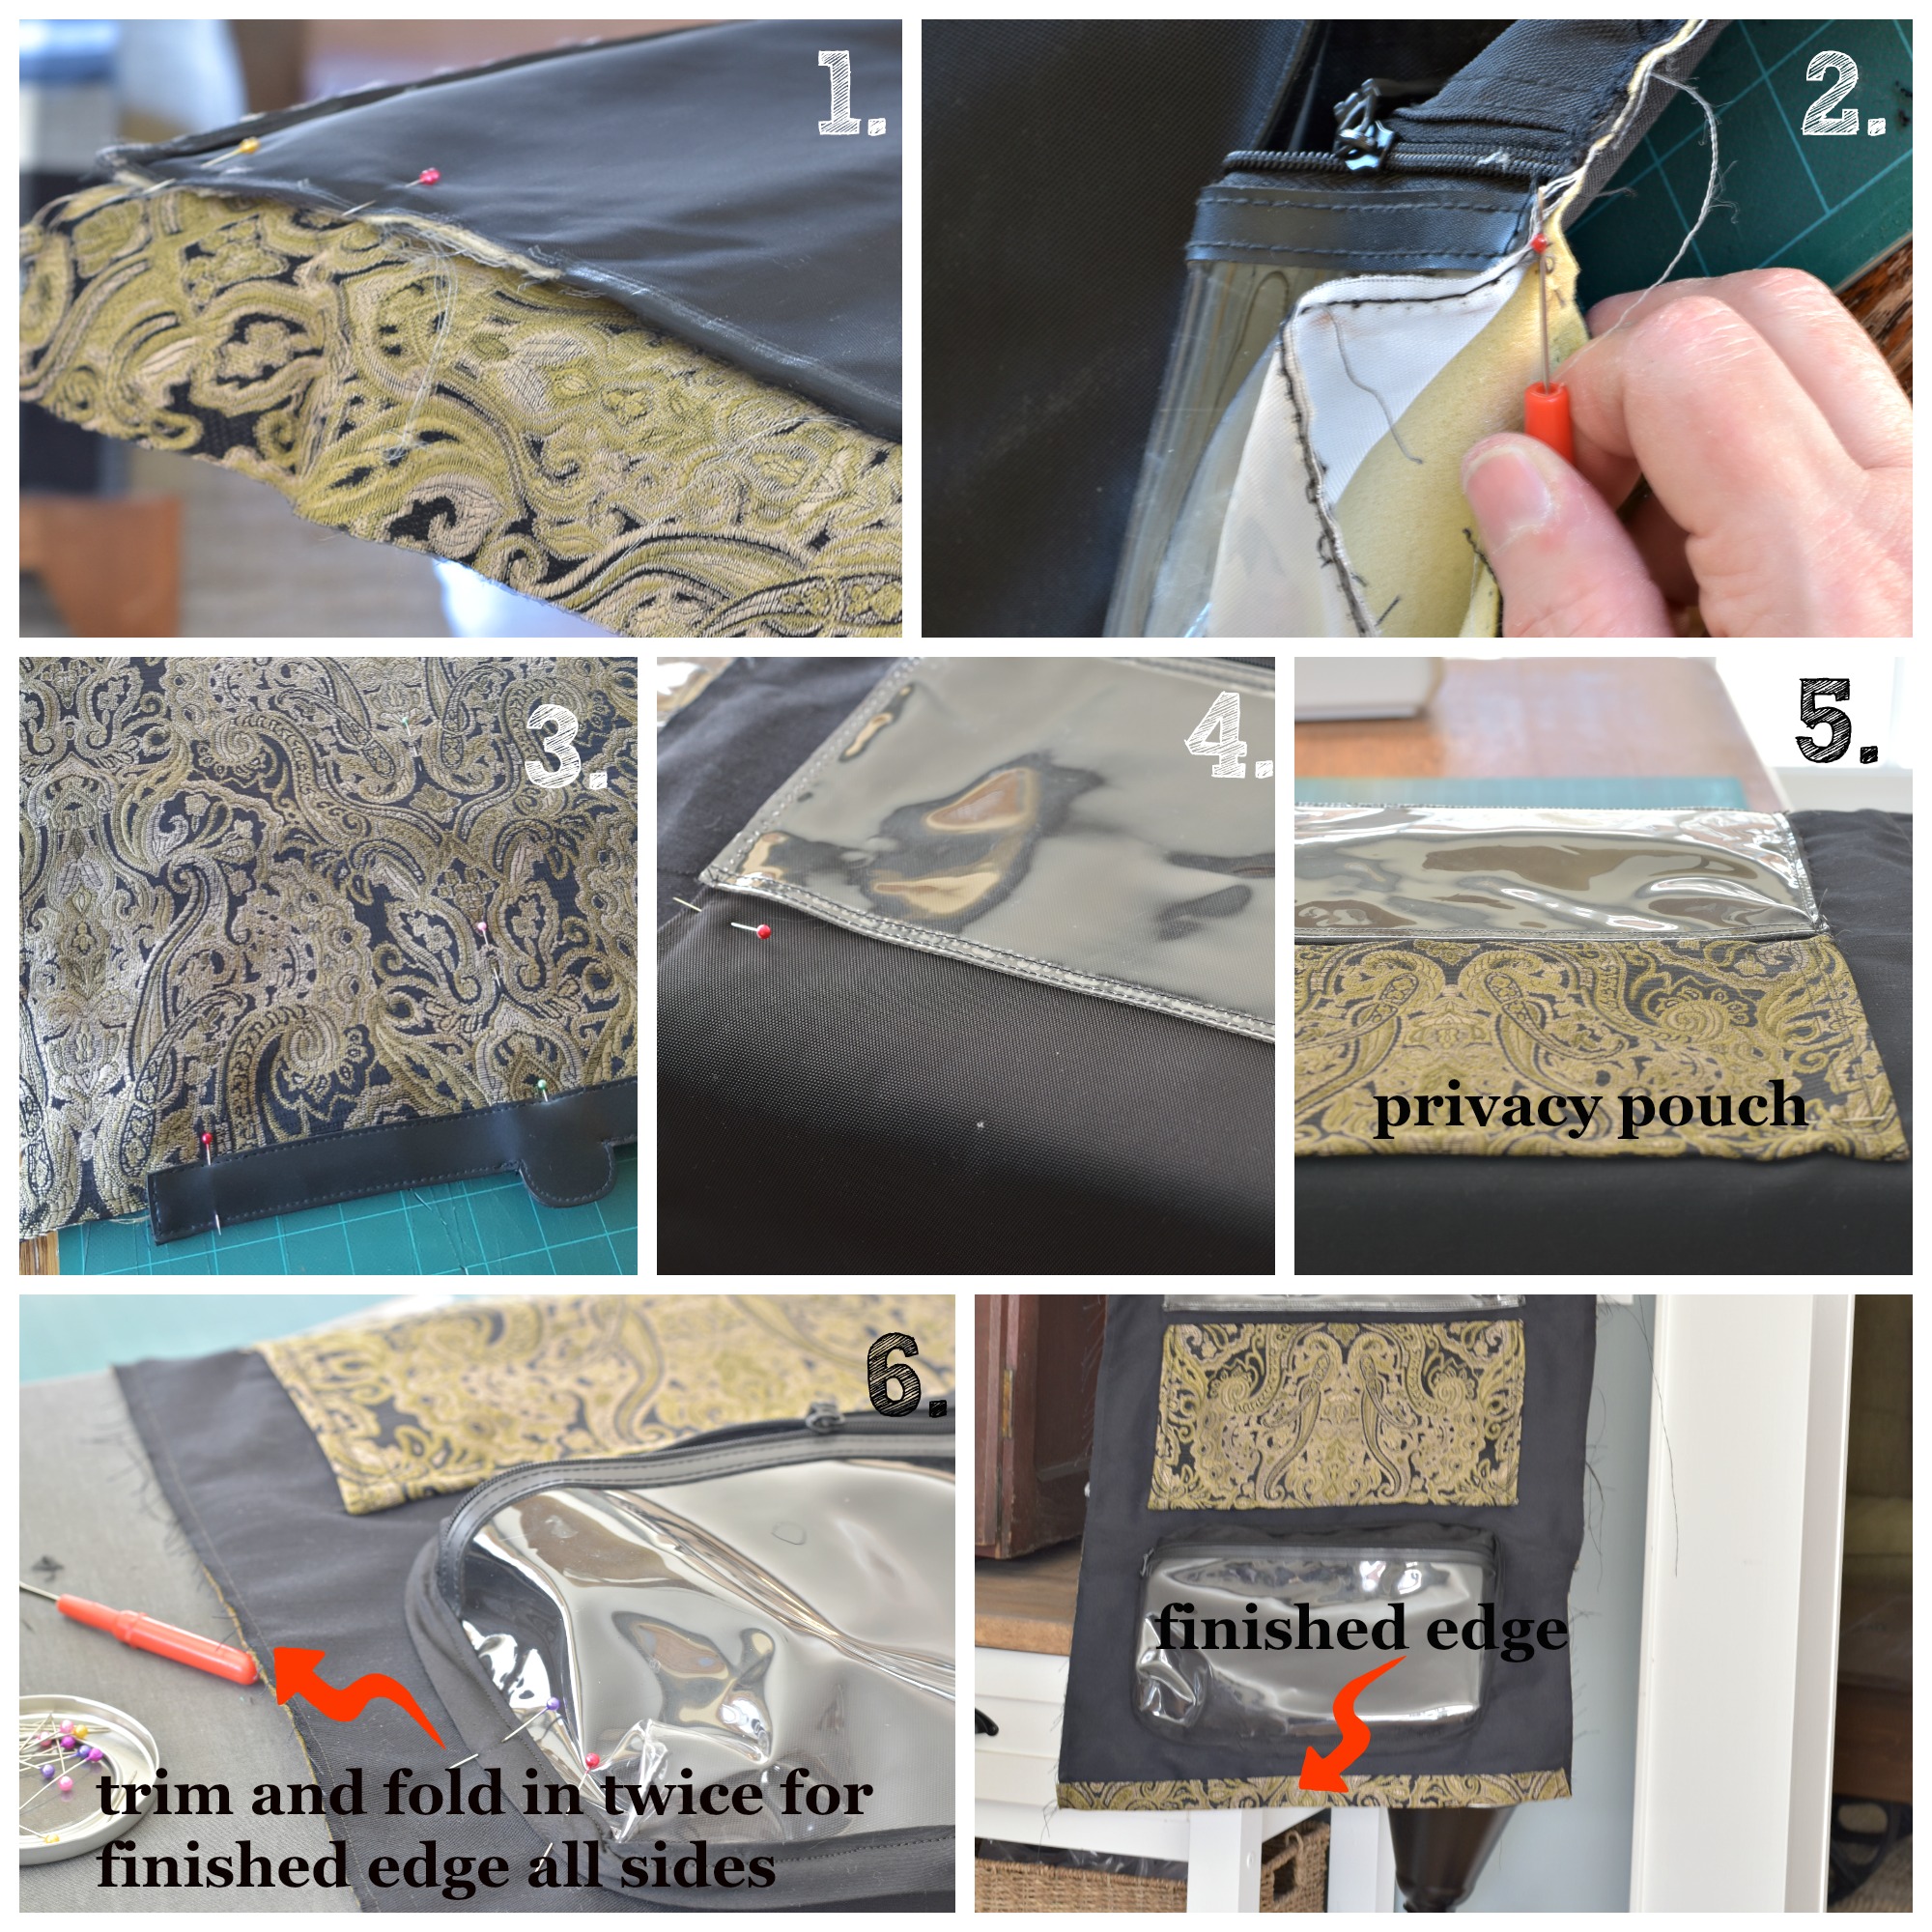
1 Using the old roll-n-go I laid it on top of the new fabric and I cut the new fabric 2 inches larger on all sides than the “template” and made it longer because I wanted to add a privacy pouch that the old bag didn’t have.
2 Then I completely dismantled the old carry-all bag, using a seam ripper I very carefully took the whole thing apart, I was extra careful to leave the plastic pouches (with zippers) intact because I was going to reuse these plastic pouches in the new bag. I also reused the top faux leather hanger portion. I basically used the old roll-n-go as a pattern for the new.
I then had a contrasting coloured fabric (a wipeable plastic like material) from VV cut to the same size as the patterned fabric, sewed them together leaving the good sides of the fabric showing (sew wrong sides together). (not pictured)
3 Then I laid out the plastic pouches onto the contrasting fabric (inside black), I started with the faux leather top pinned and sewed that on first and then I sewed the pouches on, one by one.
4 All throughout this process I was making sure everything lined up, I took it apart and started over on a few of those pouches. 🙂
5 After the 3rd plastic pouch was sewn in I decided I needed a privacy pouch and I wanted to use some of that beautiful fabric on the inside of my bag. Easy, I just cut a rectangle, sewed the edges into seams installed Velcro at the top and on the black fabric, then installed it on the inside of the roll-n-go, leaving the top with the velcro open (don’t sew that together).
6 After adding the last pouch I laid the whole bag down, trimmed all of the edges neatly and folded them in twice, sewing them for a nicely finished edge.
Trim all of those darn threads… so many threads. 😉


I’ve been a thrifter since as far back as I can remember (that sounds like an old country song), way before it was a “cool” thing to do, out of necessity mostly, now I do it because it challenges my creative mind, I can sometimes just look at an item and picture it in a whole new way. I like to breathe new life into it and fulfill a need in our home at the same time. For example, a perfect tray made out of an old picture frame or a cute wooden bowl made into an industrial lamp shade… the sky is the limit.
Did you know that in North America alone people throw away more than 81 pounds of clothing and textiles per person, per year? My goodness, that’s a horrible waste! The shelves and racks at your local thrift stores (Value Village in my case) are filled with the potential to be creative and re-useful. Value Village is one of the largest recyclers of used clothing in the world – keeping more than 650 million pounds (that’s comparable to 3,000 blue whales’ worth!) of clothing and housewares from landfills by selling reusable items in-store and responsibly recycling items unsuitable for resale. That’s just one thrift chain, just imagine the good all thrift stores are doing by recycling and giving you and I the opportunity to #ReThinkReuse .
I sure hope you like how I reused this fabric to build myself a new roll-n-go, I thrifted the fabric I found and my old carry-all, I think that makes this project a thrifting success.
Now it’s time to see the rest of the DIY thrifted project ideas from my Canadian blogging friends.
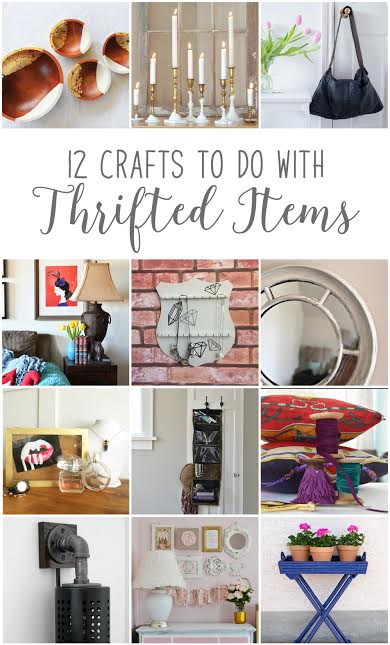
From the top left, they are:
Upcycling Wood Bowls from Fresh Crush
Paint Dipped Brass Candle Holders from Life is a Party
Upcycling a thrift store leather coat into a DIY handbag from Sustain My Craft Habit
Pottery Barn Inspired Burlap Lamp Shade & Owl Bookends from Woman in Real Life
Thrifted DIY Jewelry Holder from Brooklyn Berry Designs
Upcycled Thrifted Mirror from New House New Home
Gold Wooden Treasure Box from Mommyzoid
DIY Roll-N-Go Travel Bag from Vin’yet Etc.
Scarf Throw Pillows from PMQ for Two
DIY Industrial Pendant Light from Love Create Celebrate
A Thrifted Shabby Chic Gallery Wall and Lamp Makeover from The DIY Mommy
Thrift Store Patio Table Tray Makeover from Time With Thea
Disclaimer: This post is sponsored by, Value Village. As always, all of the opinions here are my very own and I only recommend companies that I love and use myself.
Thank-you so much for stopping in, until next time!

23 Comments
That is so beautiful! And how great that you saved the plastic from ending up in landfill. I’m definitely a beginner sewer so I’m pretty sure my travel bag in that scenario would have been tossed. 😉 Love your project. 🙂
Thanks Joann! Did this whole project holding my breath… glad it turned out and I didn’t pass out. xo
Wow, that’s pretty impressive there. Laurie! And I love those closet doors too. They look sort of craftman-ish.
Thanks Pam! I love those closet doors too, can’t wait to share the Master revel and show them in all their glory!
Wow! What an ambitious project that you totally did an amazing job with. I love your fabric choice. It was also a brilliant plan to use the original travel bag as your template. This is really clever!
Thank-you so much Thea, I really am so happy with how it turned out… I really just jumped into this one head first, sometimes that’s the only way to do it though. I really learned a lot. 🙂 Maybe next time I’ll tackle a zipper! 😉
LOVE this Laurie! So clever! I would have overlooked that paisley fabric, but you turned it into a chic roll n go. And you can’t go wrong with Value Village – love that place. Great job!
Thanks so much Jelica! I love how rich and sophisticated that fabric looks and feels, I just had to do something with it. 😉 VV is fantastic for thrifting!
Wanna make ME one?! Holy crow that’s a great idea!
Thanks Ariel, I had my old one forever and really couldn’t part with it even though it looked like crap, I’m so glad I was able to reuse it and make a much nicer one. 🙂
This is so smart!! I used to have a travel bag like that and I LOVED it!! Beautiful upcycle!
Thanks Lindi, it’s the best travel bag I’ve ever had… just couldn’t part with it. 😉
Love a project that is so practical and pretty. Now you just need to book a trip somewhere. 😉 Great upcycle.
A trip, that’s a great idea! 😉 This summer we are headed on a huge road trip, this will for sure come in handy!
Love this project! It turned out so well, and that fabric is so pretty.
Thanks Jen, this fabric is wonderful, so glad I was able to use it. 🙂
I love the functionality of this. Great job saving something that most people would turn away from. I’m very impressed with your vision! Now, where will you be travelling to?!
LOL thanks Sonja, we are headed East this coming summer… but I take this travel bag even on an over nighter, it’s so handy and that fabric, LOVE!
Look at you, “Miss I’ll Just Sew a Travel Bag No Big Deal!” Looks fantastic and super useful, I’m sure. Love these kinds of rethink reuse projects. Perhaps I will finally finish one of my many half-done projects sitting in the basement so I can share it too!
Haha, thanks Shauna… that’s what I do, I jump in a figure out how to swim, to be completely honest i did loose a tiny bit of sleep trying to figure out how I was going to sew new zippers etc… then eureka, why reinvent the wheel? I’m so glad it worked out, it’s my favourite travel companion!
This is amazing, Laurie! What patience and skill you have to do such a gorgeous upcycle… and that fabric is just so beautiful and luxurious looking!
Thanks Christina! lol That’s one thing I do have is patience along with those rose coloured glasses that seems to get me where I need to go. 😉 I just loved that fabric, when I saw it I just knew.
You did such a great job on this, Laurie! I probably would have just bought a new one – shame on me! Yours looks wonderful now, and you can get more years of use from it!