Hello and welcome back to October’s #12MonthsOfDIY brought to you by, ribbon. This month’s Instagram challenge was really a challenge for me, I had NO idea what I was going to do with ribbon… I mean, there is lots to do with it I just had zero ideas… then one day the magic of the internet struck and bam an idea! Well actually it was more of a knock off then an idea but, call this month’s project made!
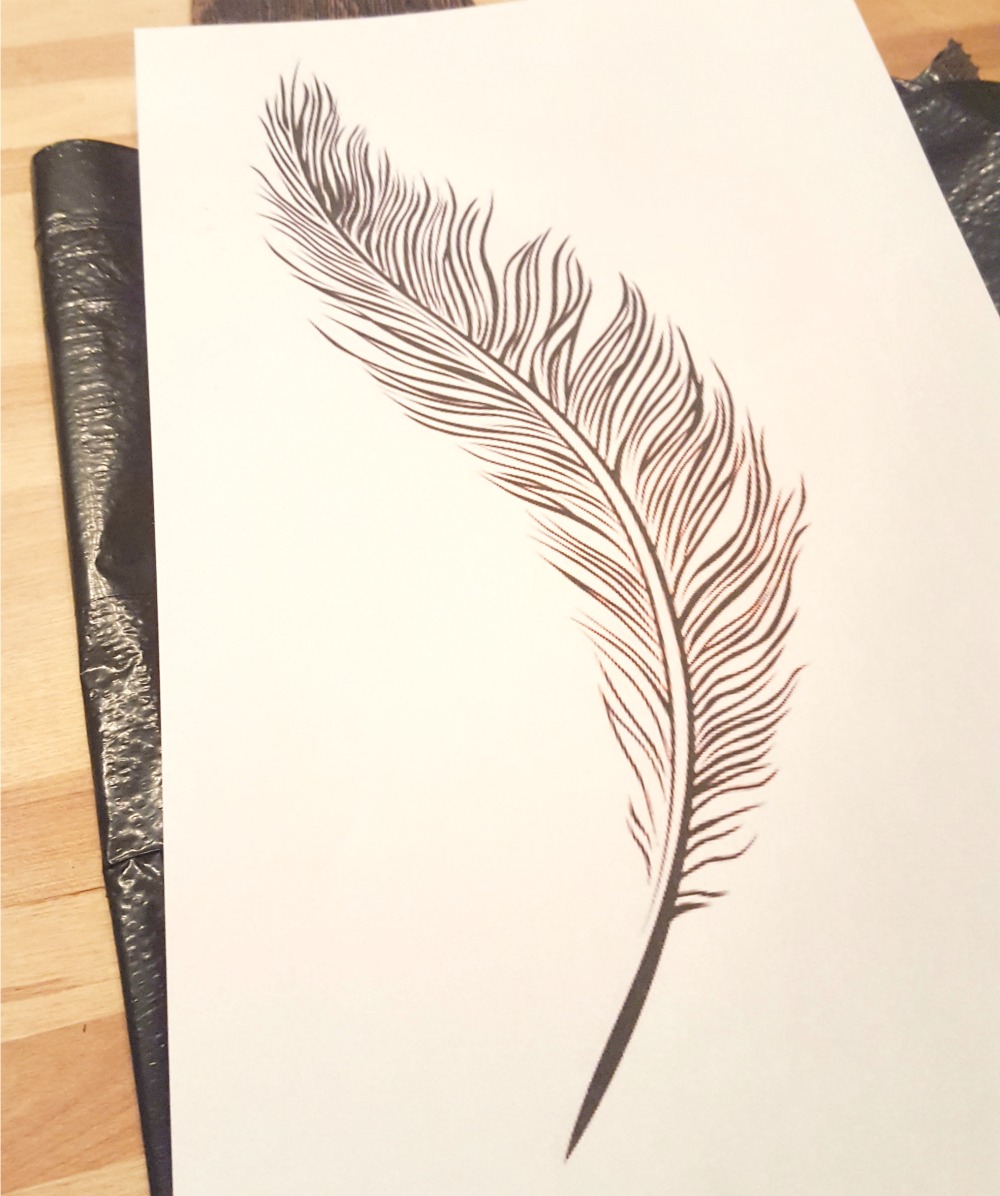
This is the image I came across while flipping through Pinterest and I decided I’d give it a go…

Oh my our monthly challenges, I’ve been having such a blast this past 10 months, yikes 10 months already! We’ve made so many cool projects and I have developed so many wonderful friendships… I’m a bit of a sap but man I love these girls, SO. MUCH. TALENT! #12MonthsOfDIY in a nut shell, I join 11 amazing Canadian bloggers and we challeng ourselves every month with a new material. We ask all of our instagram followers to join in on the fun and then ask to see those creations with the same materials we used, fun right?! The projects we have shared have been just ahhhhhmazing! We feature one favourite at the end of each month with all of our Instagram followers and it’s been such a blast so far.
Tons of ideas, go ahead and have a peek!
And this month, ribbon…
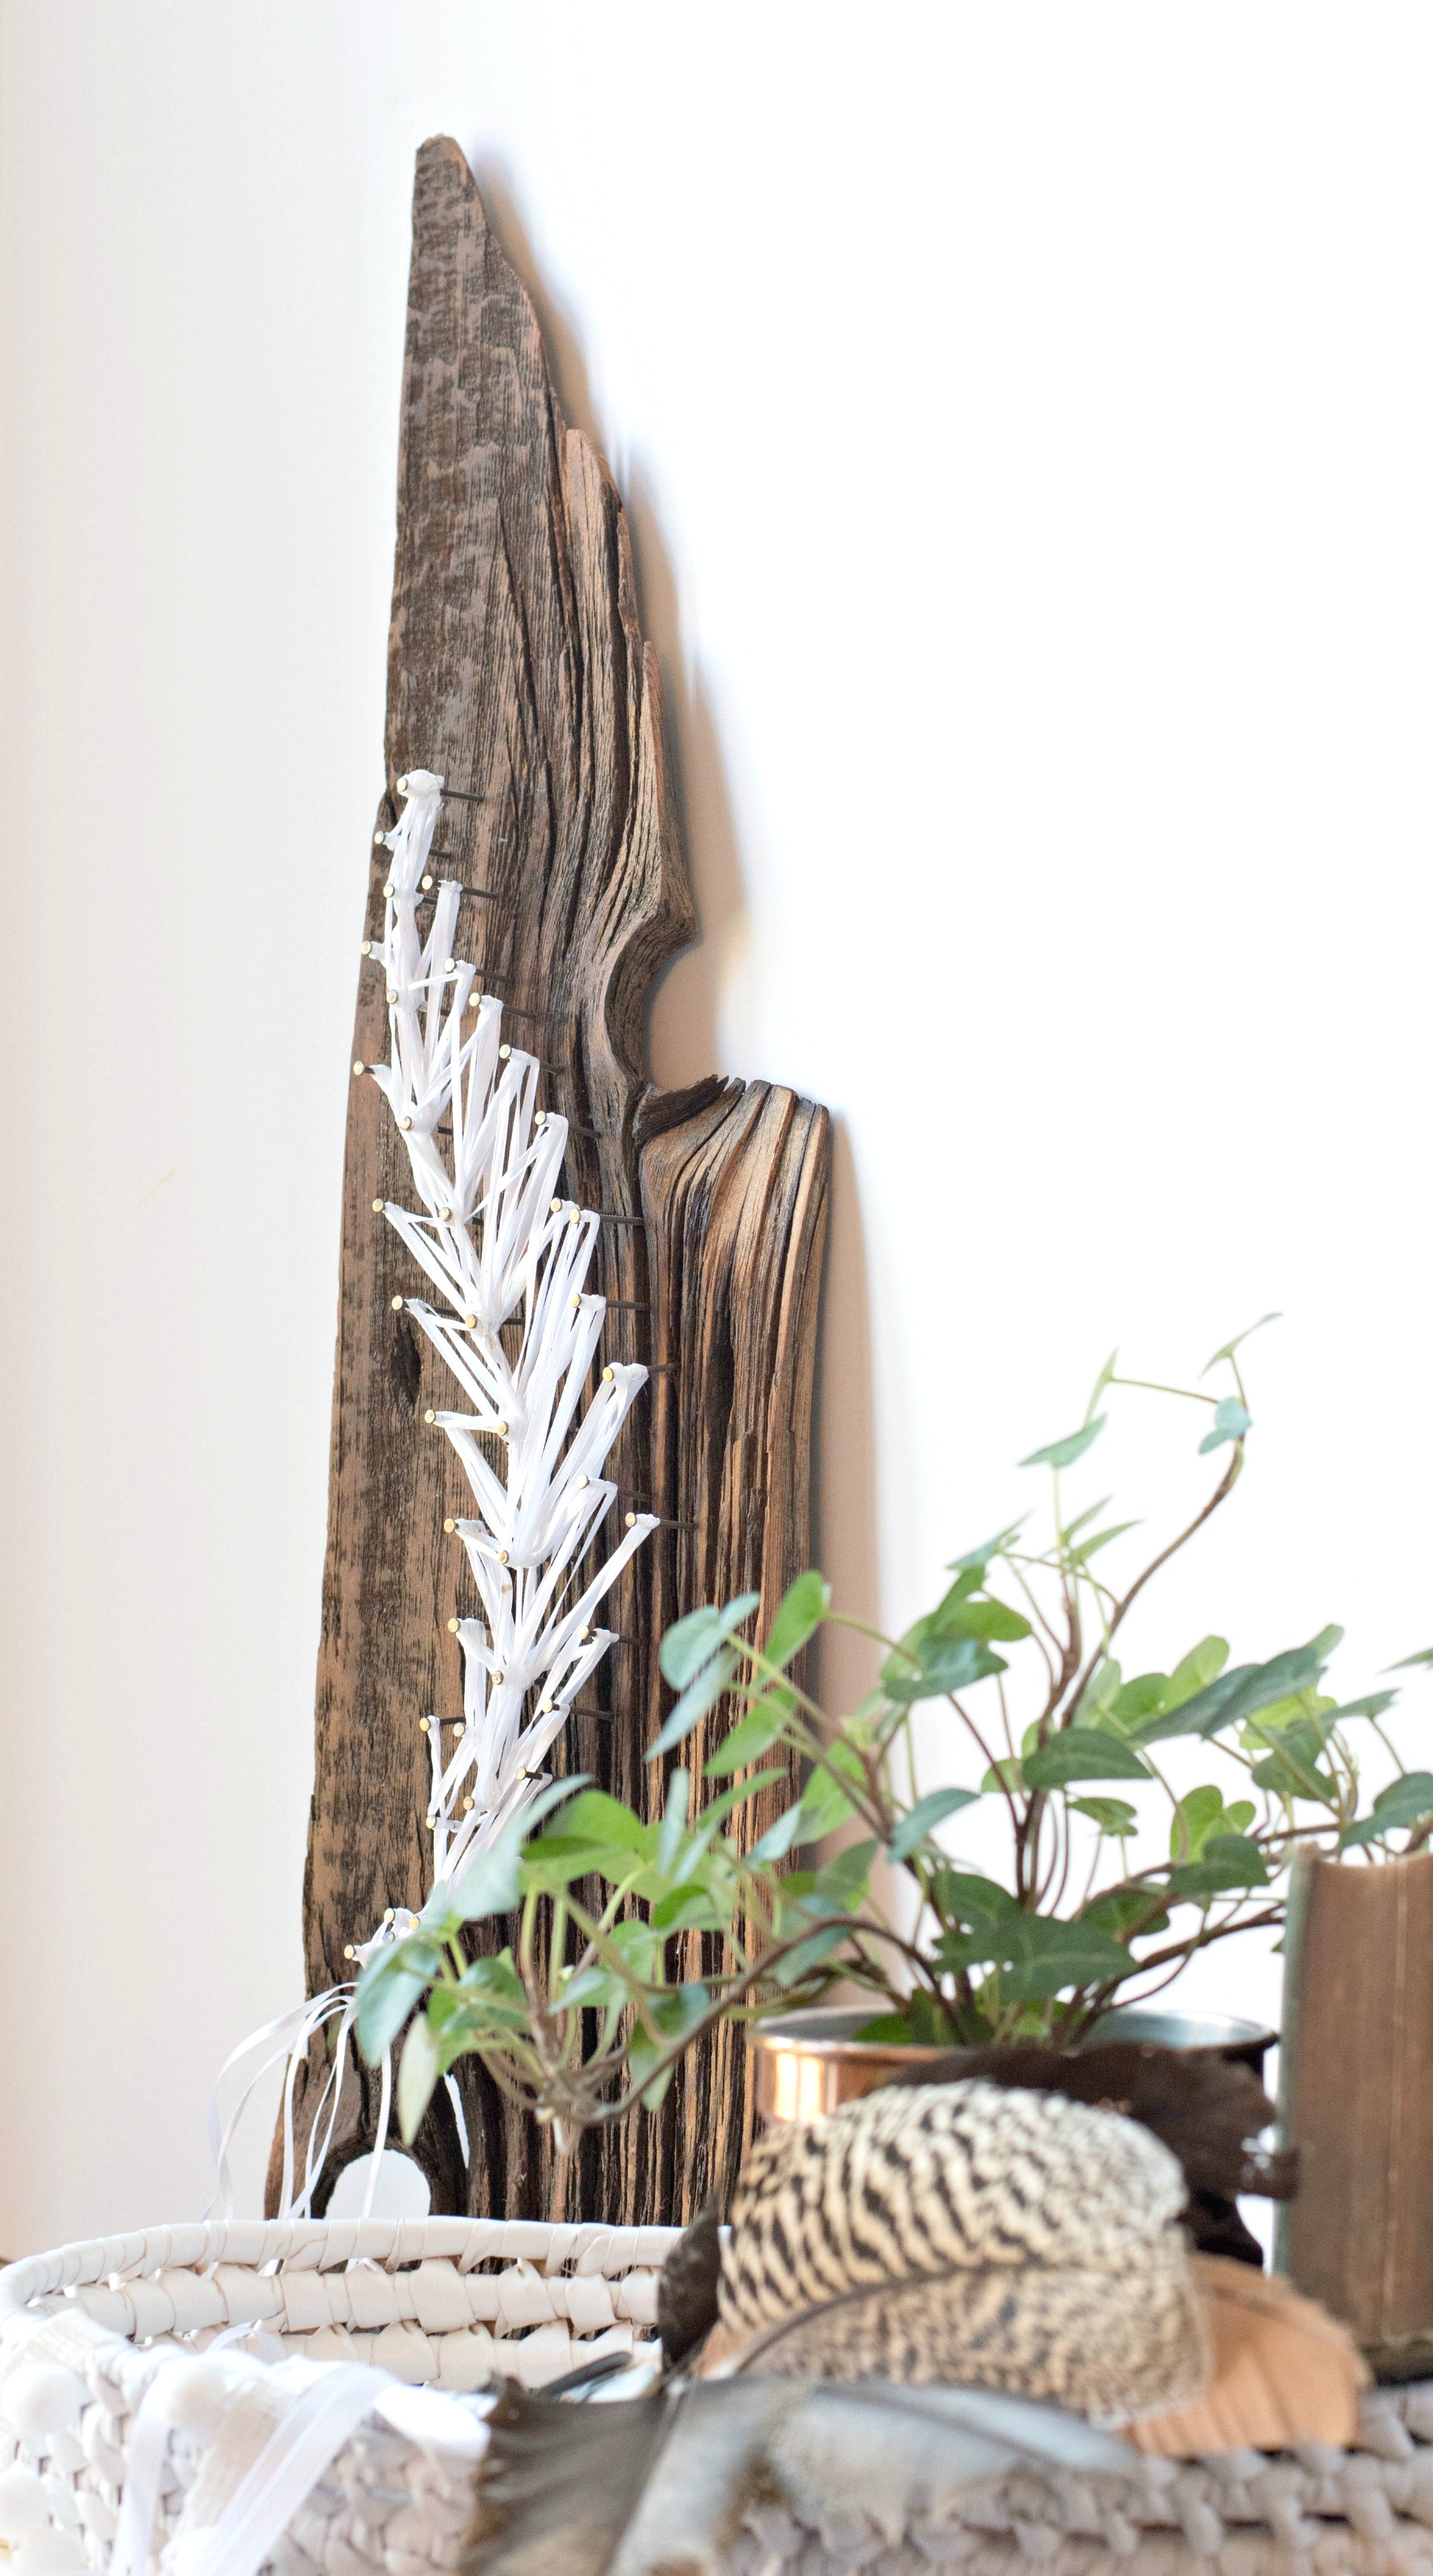
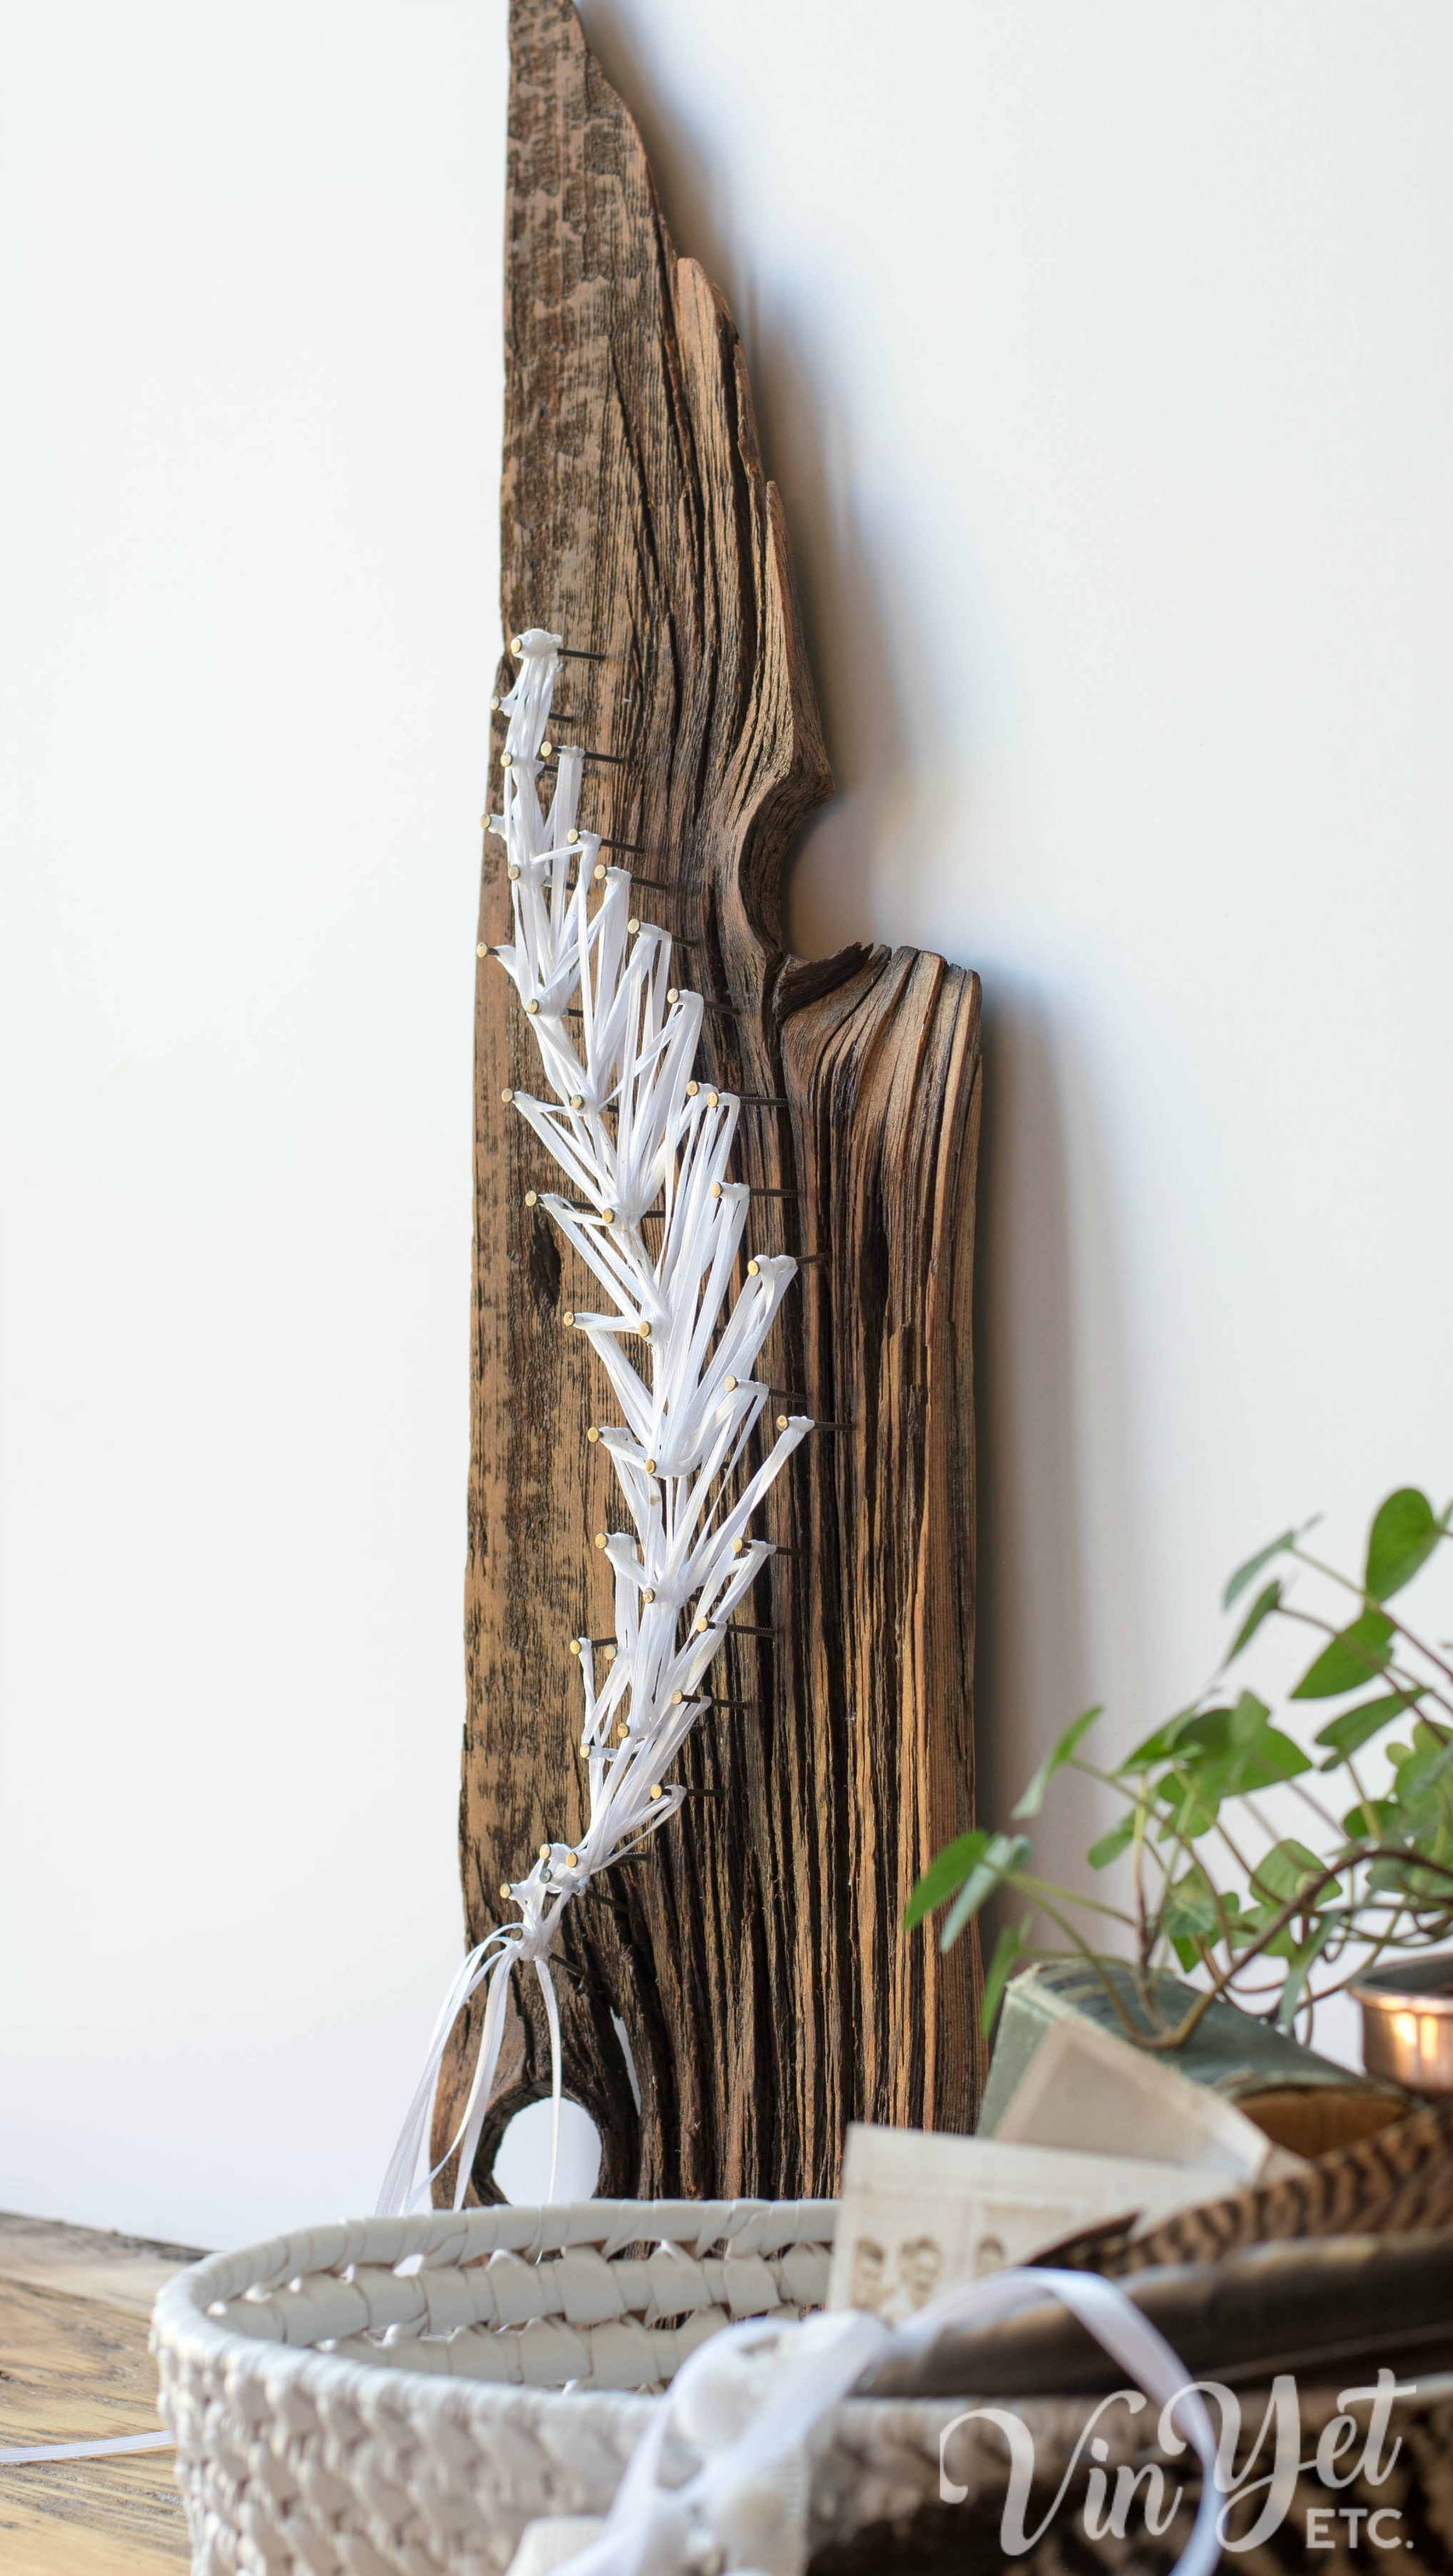
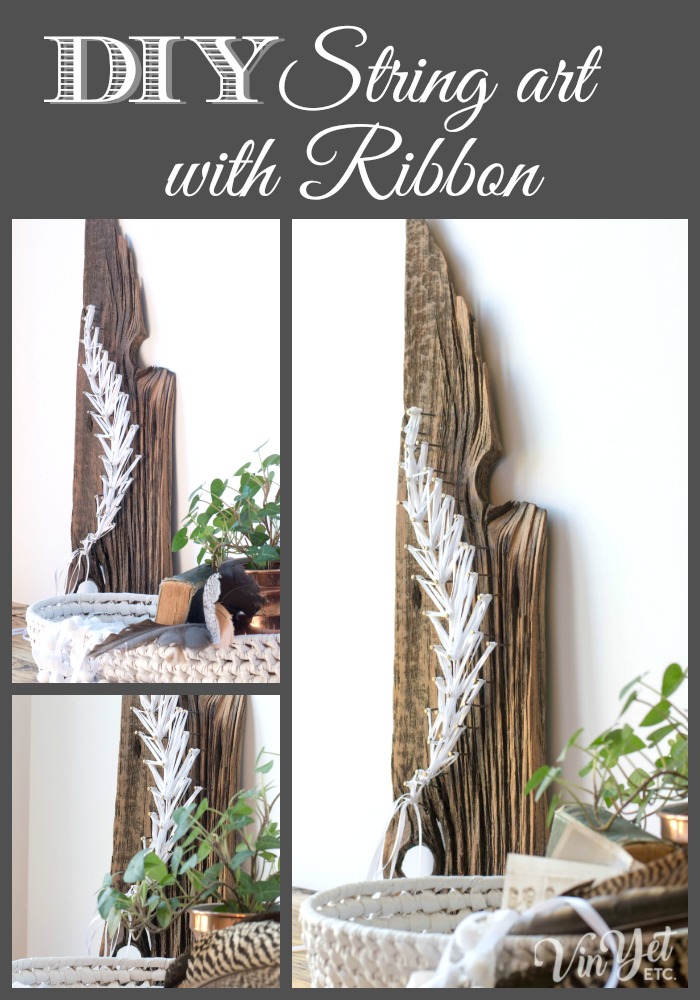
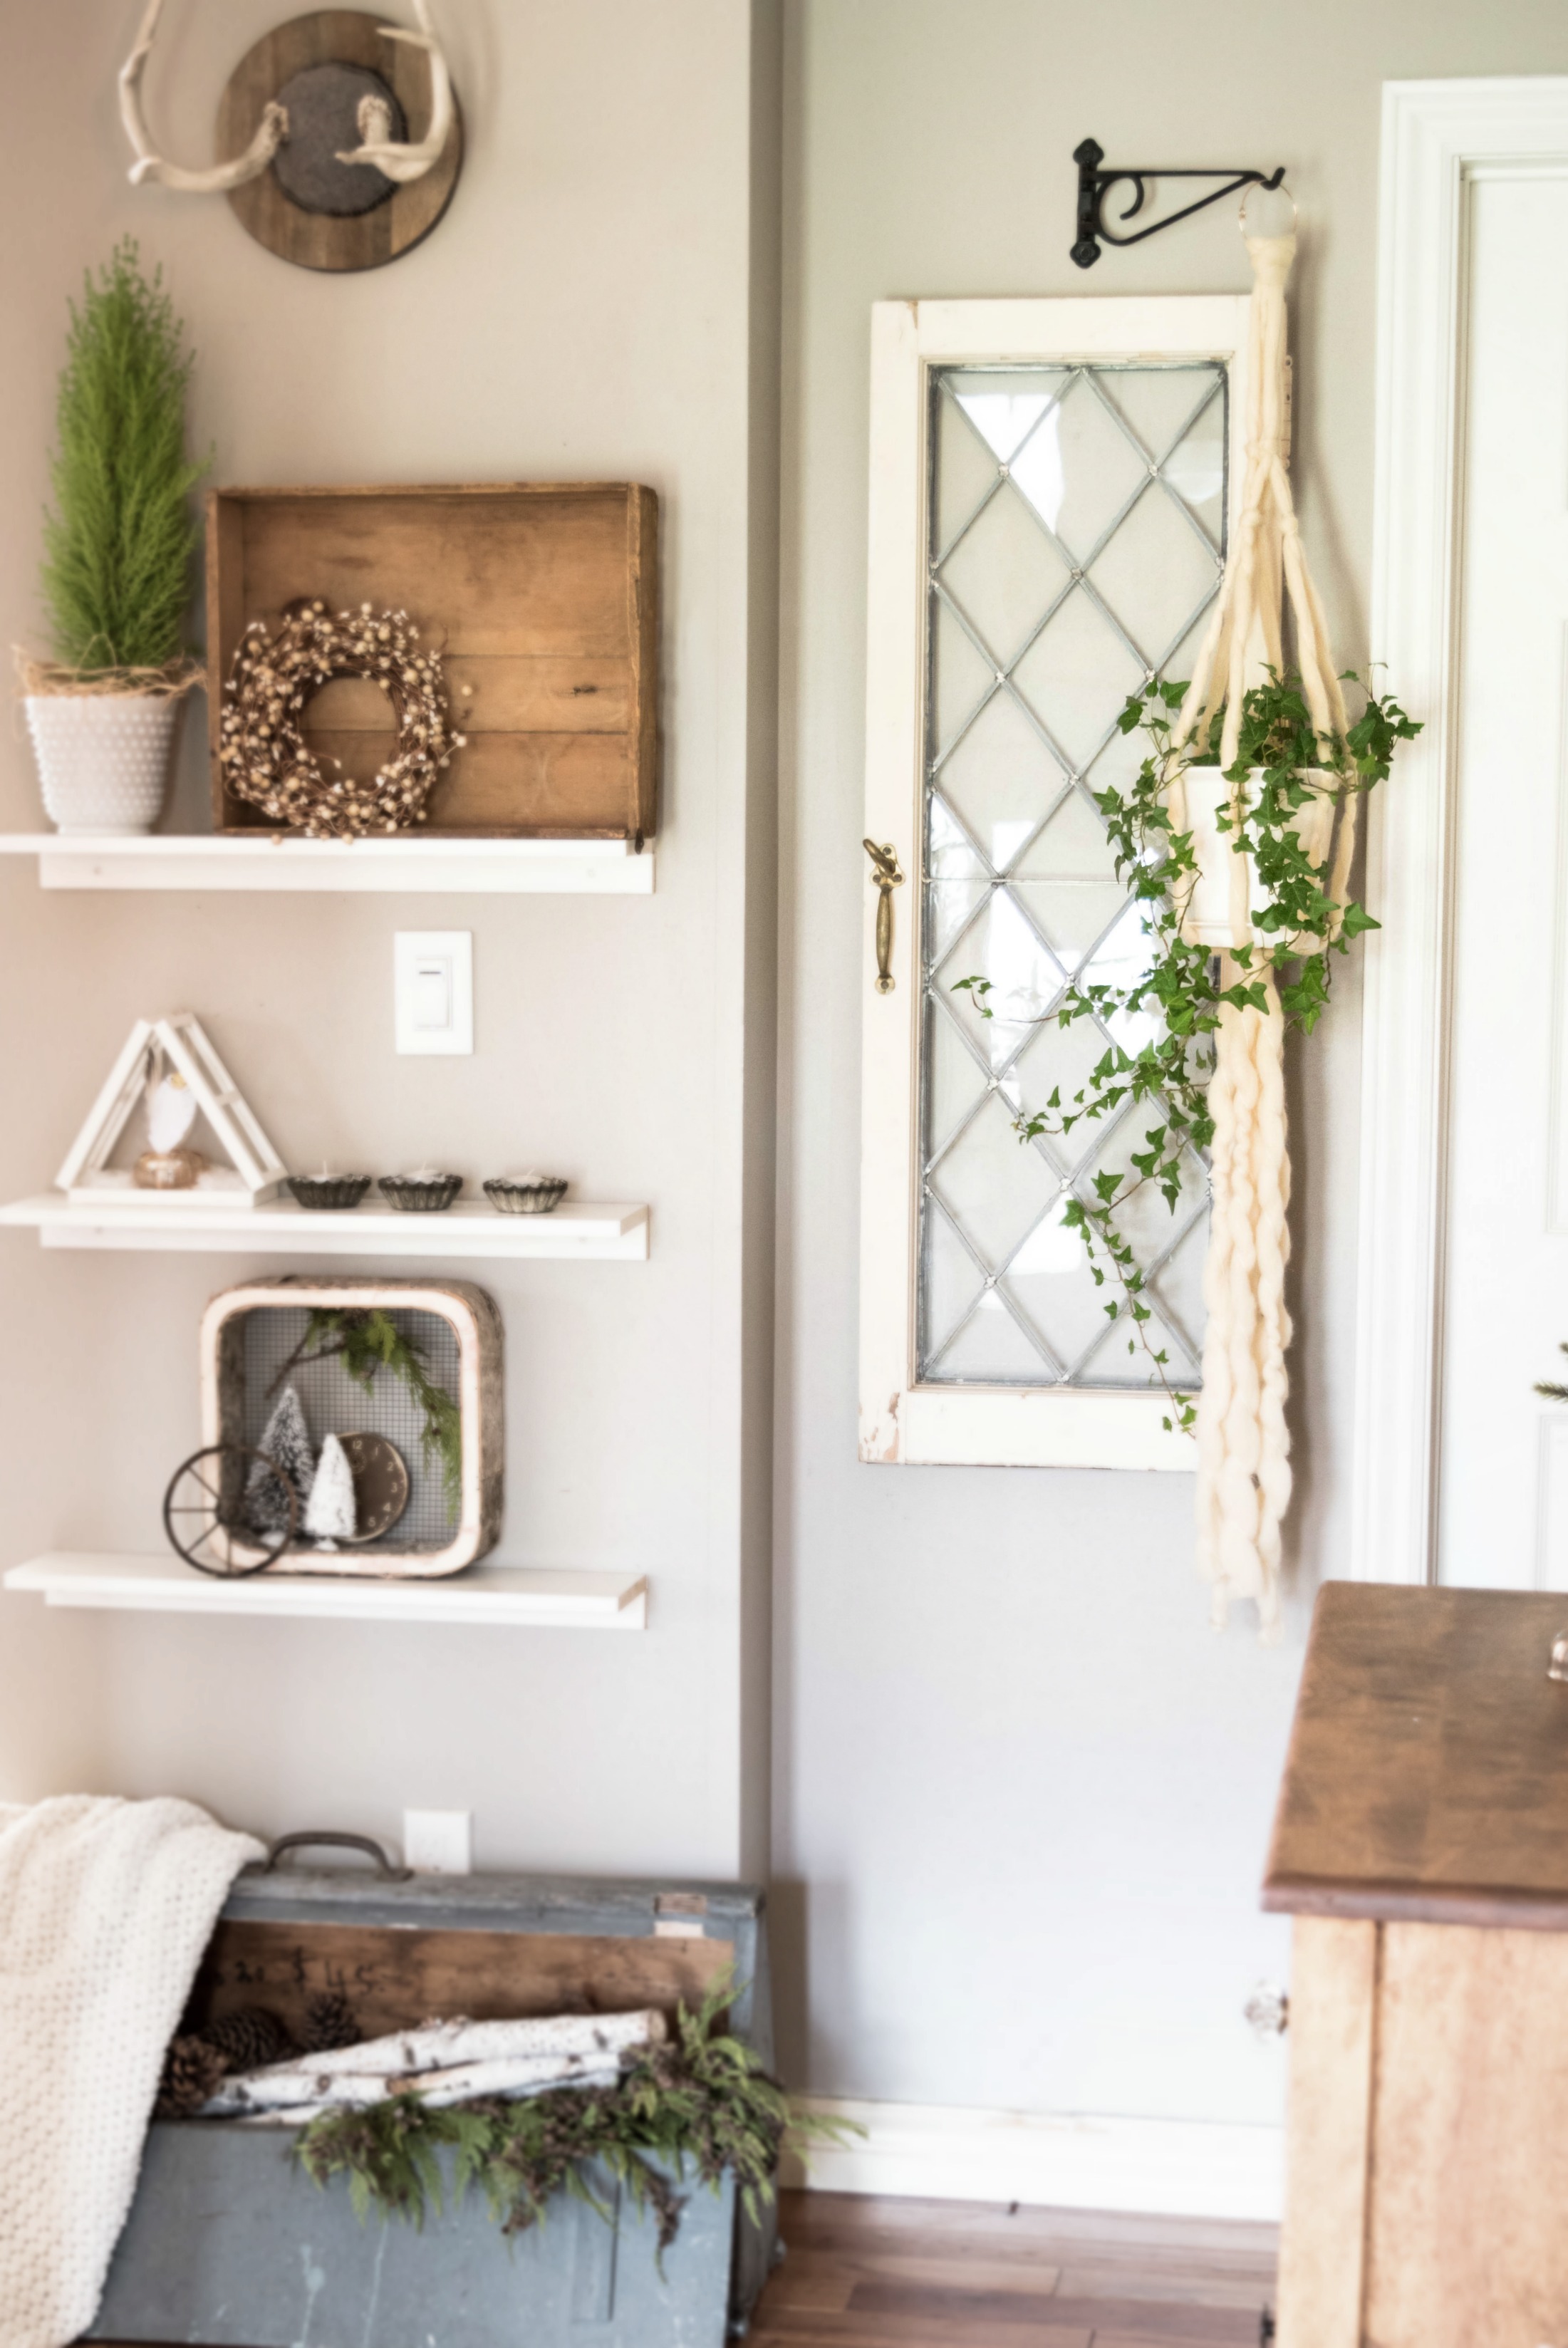
I’m loving how my little string art turned out.. considering my love of feathers and barn board this new piece of art will fit right into my studio.
Tutorial
Items you will need:
1/8″ white ribbon (2 x 10 yd)
Line drawing of image you’d like to “string art”, in my case it was a feather (google line art feather)
Barn wood
Nails (panel nails 1 5/8″)
Glue gun and glue sticks
Sand paper (Palm sander or hand sand – for barn board)
Tung oil (for barn board)
Gold paint to highlight the nail heads
Steps to creating string art:
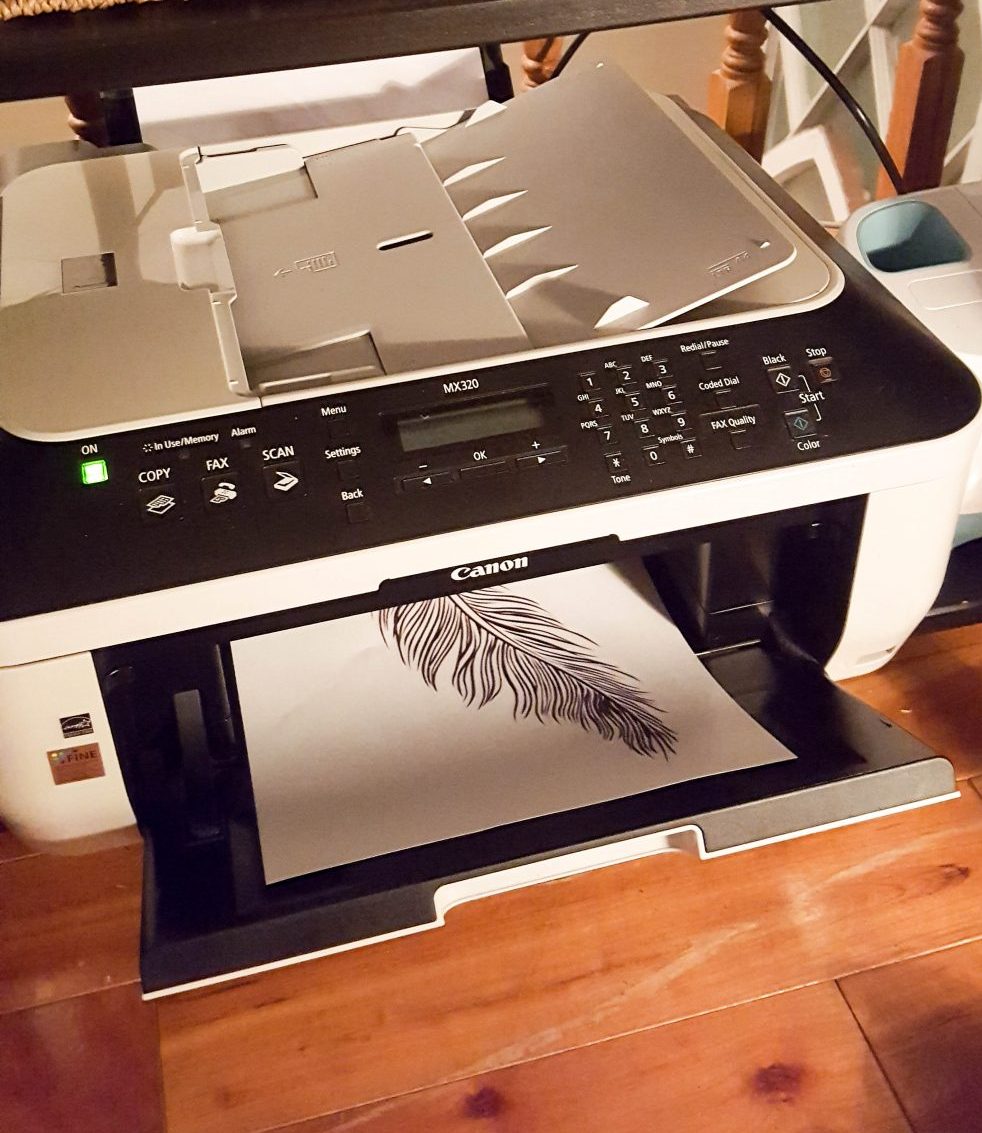
Find the image you’d like to use to make your string art (google search, images) – I then scaled the image to fit and printed it onto legal paper size 8.5″ x 14″.
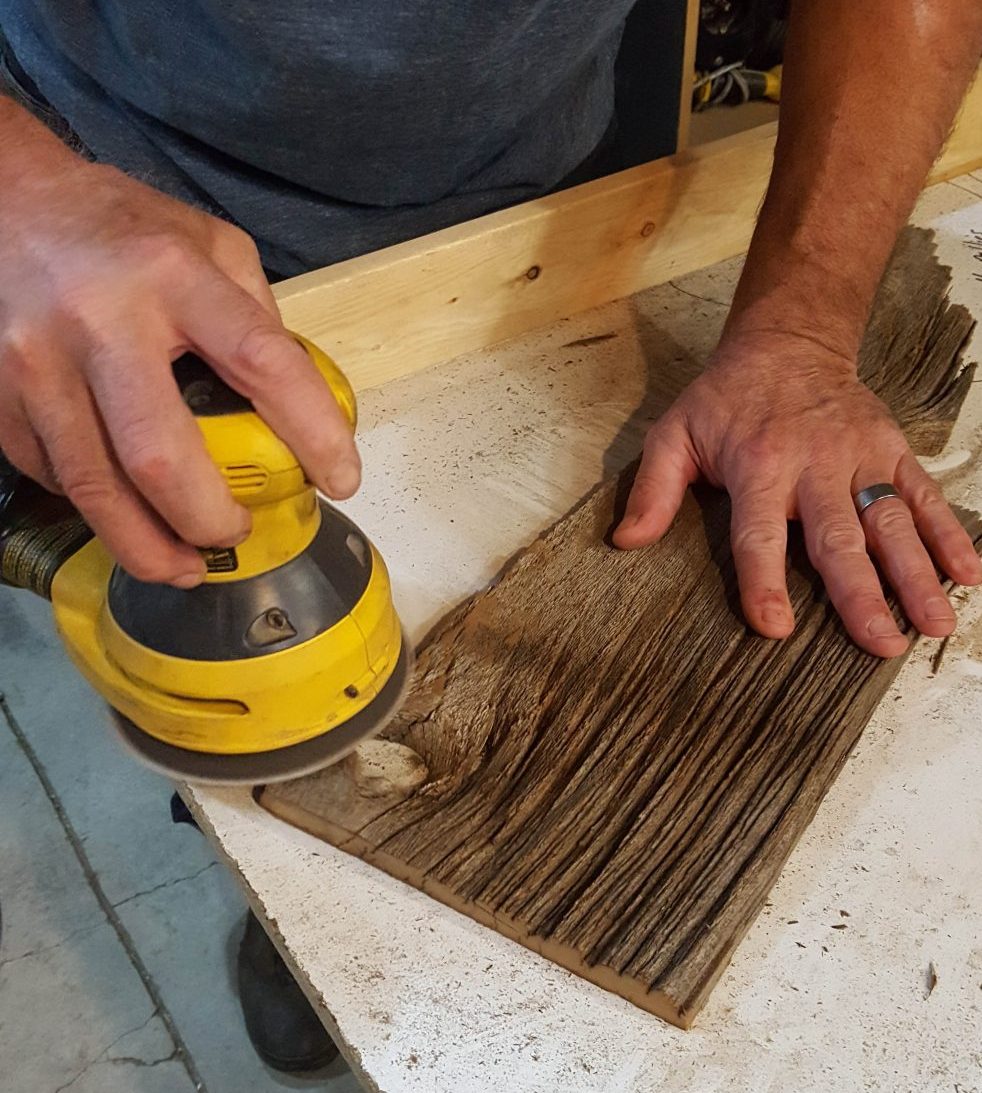
Find the correct sized board to fit your printed image, clean and sand barn board (thanks Mr. Mans).
Place the image on the board – some tutorials say to tape your image down, I did not need to as the barn board was not slippery at all.

Start nailing… I spaced the nails by using my two fingers as a measurement.

Remove the paper once all of the nails are in place.

Tie the ribbon in a knot to the top nail and dot that knot with a tiny bit of hot glue to secure the knot.

Okay so this is where it gets tricky! I was trying to learn how to do this and was so focused that I didn’t take any photos during the process! Gasp, I am a horrible blogger! So, after you tie the top knot, wind the ribbon around each nail and follow the pattern and keep going until you are happy with how your pattern looks. Here is a YouTube video that may help show what that means.
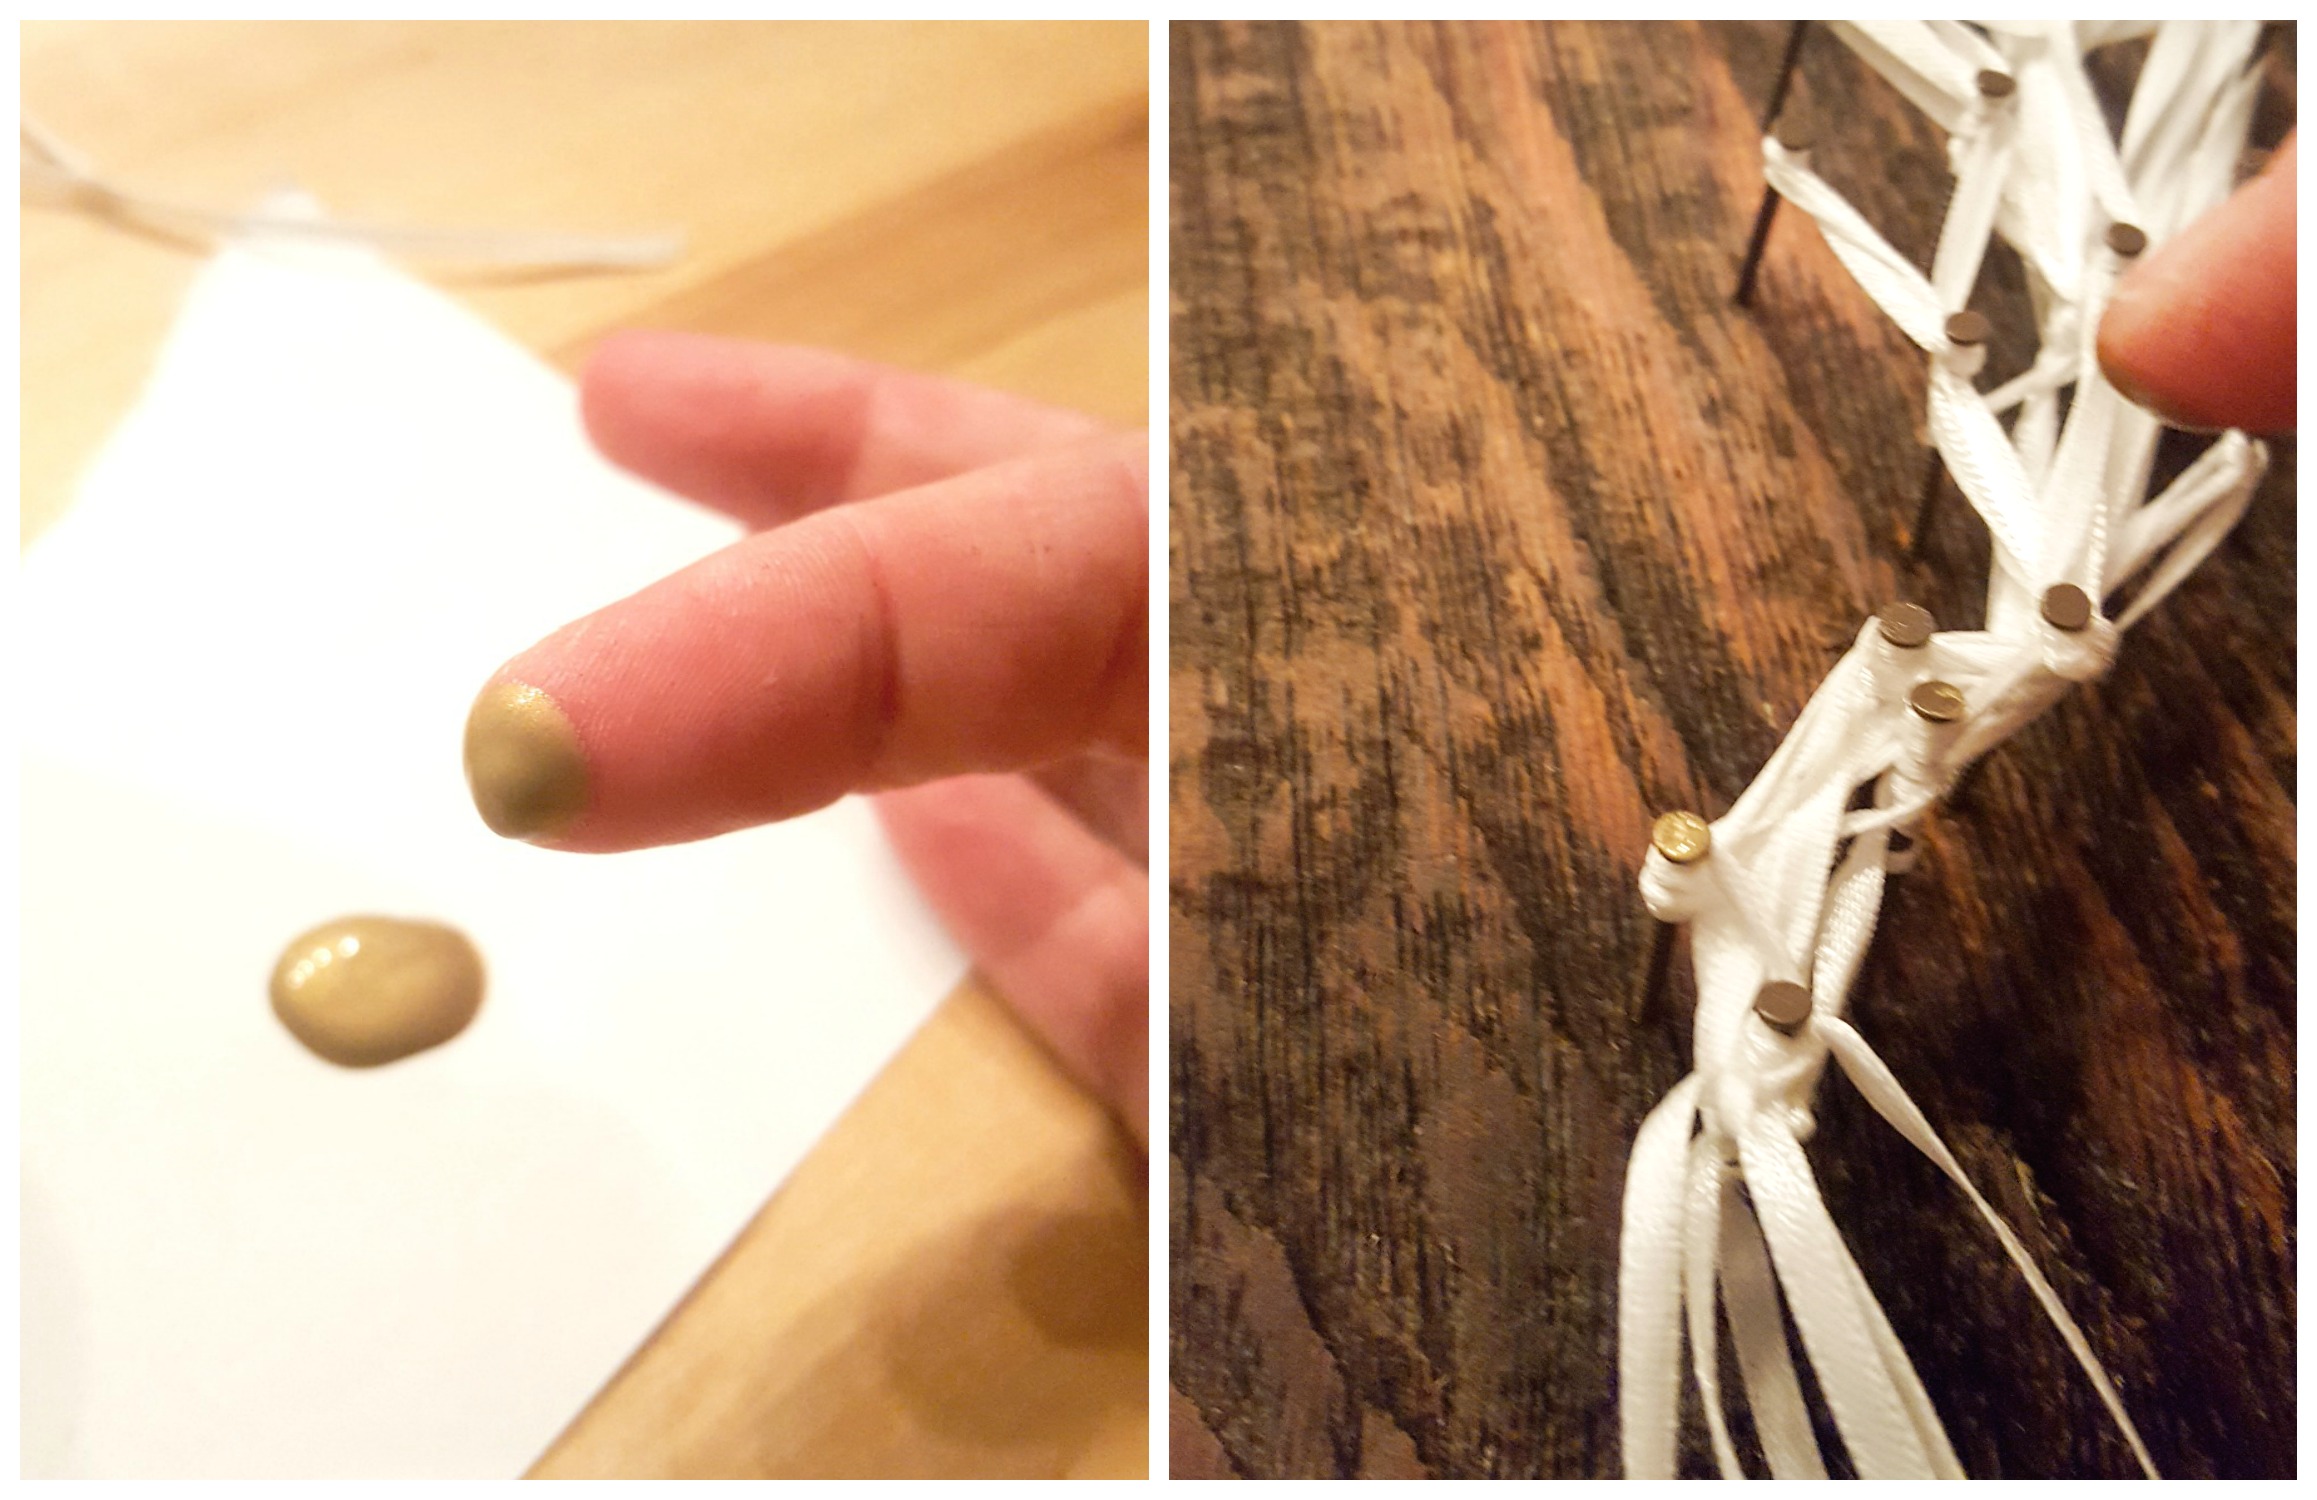
Once I was done with the stringing process I wanted to highlight the nail heads, I very simply dipped my finger into some gold paint and dotted the tops of the nail heads with gold paint, ta da.
This is a simple art project but I’m so happy with how it turned out, I love the contrast of the white on the dark barn board.

Thank you so much for stopping in, I hope you’ve enjoyed this little art project?!
 Now it’s time to see the rest of the DIY ribbon project ideas from my Canadian blogging friends! I can’t wait to see what they’ve been up to.
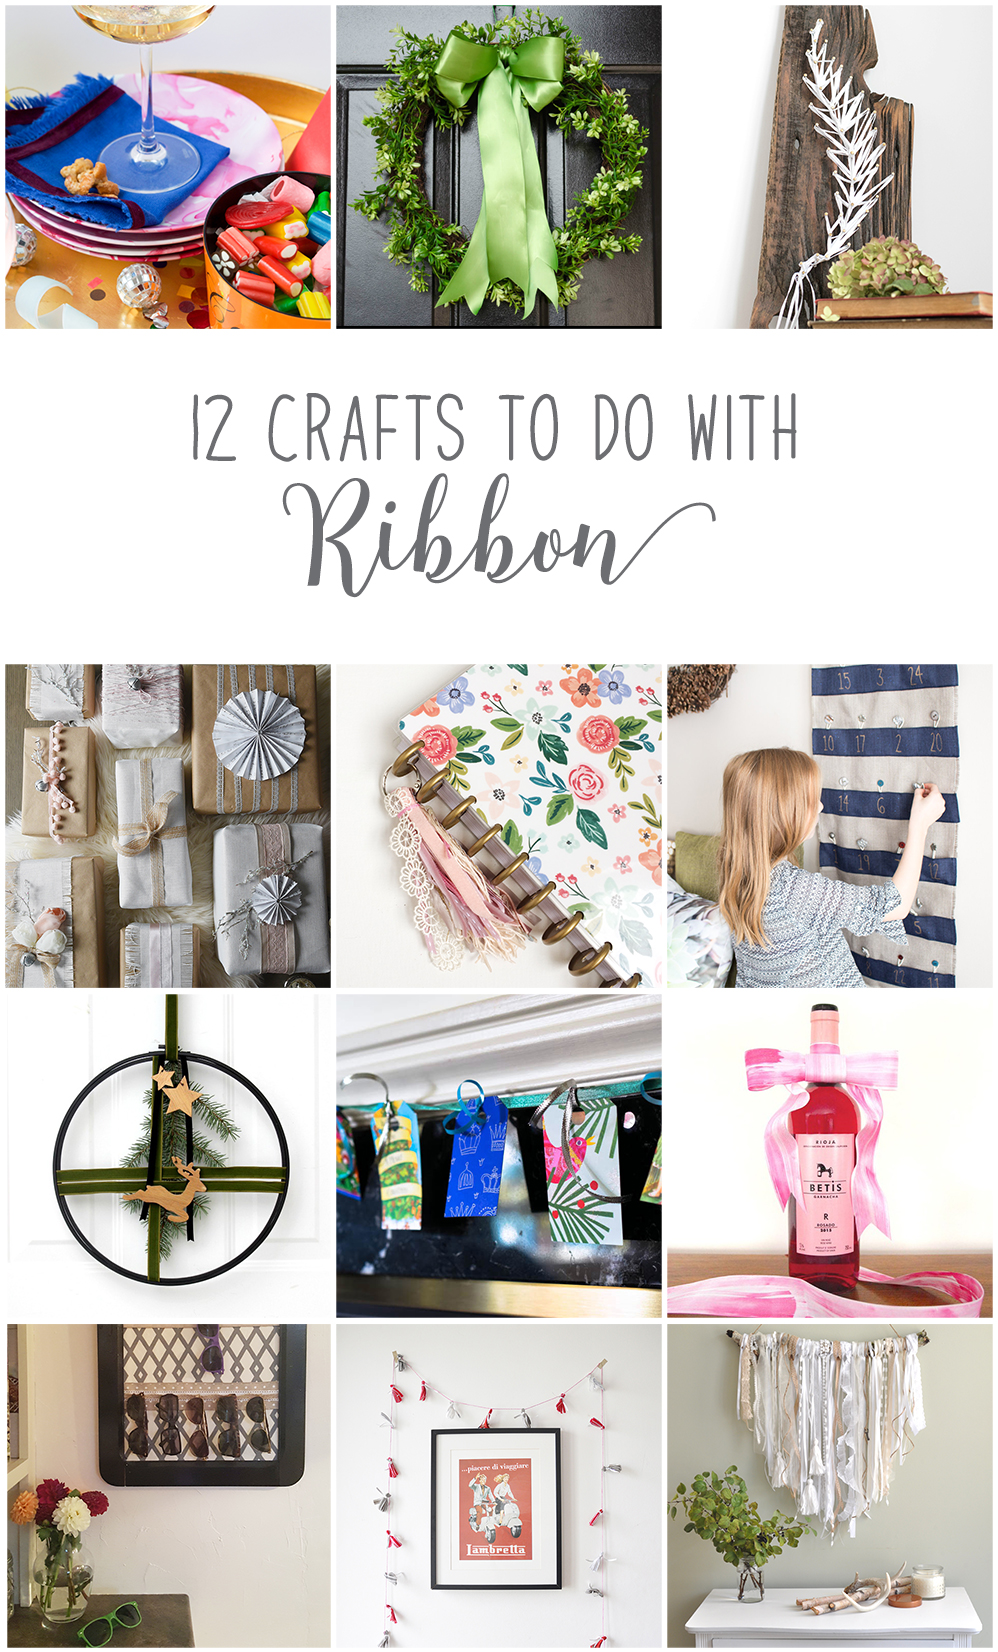
From the top left, they are:
Upcycled Ribbon Cocktail Napkins from PMQ for Two
Faux Greenery Big Satin Bow Grapevine Wreath from Time With Thea
DIY String Art Using Ribbon from Vin’yet Etc.
Shabby Chic Christmas Wrapping Ideas from The DIY Mommy
Ribbon Tassel Keychain from Brooklyn Berry Designs
Make Your Own Advent Calendar with Ribbon from Sustain My Craft Habit
Modern Christmas Wreath from Love Create Celebrate
DIY Gift Tag Ribbon Garland Made With Old Christmas Cards from Woman In Real Life
Hand Painted Ribbon from Fresh Crush
DIY Sunglasses Storage & Display Organizer from Heather in Heels
18 Comments
It doesn’t look that simple to be honest. You have a talent girl! What a creative and beautiful project. And we other #12monthsofdiy bloggers love you too! This has been so fun.
Thank you so much, you are so sweet to me! xo
Haha, not so simple, but it turned out beautiful regardless! Love it 🙂
-Clarissa @ The View From Here
Yes, a lot harder than it looks… I’m glad it turned out, I was worried! 🙂
Oh my gosh this is stunning and your instructions are so detailed. I love, Love, LOVE how it turned out. Now to find the perfect piece of wood…. hmmm… By the way, I also love the new look of your blog! It truly looks fabulous!
Wow! How creative are you? This turned out beautifully, great job!
This is SO pretty Laurie! LOVE the touch of gold at the end on the nail heads. This turned out beautifully.
Laurie! This is stunning!!
WOW!! This is just beautiful! From the outside of the box strong to the piece of wood you put it on. Very talented!!
This is awesome! I love string art project so much…I’m especially loving the wood you chose!
Laurie, this is so pretty. Love feathers and barn board too, great combination. Turned out great.
THIS IS BEAUTIFUL!! I love what you did. Gonna have to try something similar, maybe for Christmas…
This is so so pretty! the barn board totally makes the project – and the gold detail is perfect.
That piece of barn board with it’s unusual shape and deep grooves is just perfect with the softness of the feather design. It’s as if this project was simply meant to be!
This is absolutely beautiful, Laurie! Looks like an angel wing to me.
This looks great 🙂 I love how you finished-off the nails with gold. It’s the small touches that make the difference eh?
I loooooove this! It’s absolutely stunning. And finishing them off with the gold nails was perfect.
So so pretty Laurie! You totally nailed it! (lol)