I hope I don’t break the internet but it’s confession time.
I’ve never used Mod Podge before, before this project that is! Scandalous!
Really and truly… I can use all the power tools, I can build stuff with the best of them, not much intimidates me when it comes to modifying and building and troubleshooting. Why am I telling you all of this? When this month’s #12monthsOfDIY challenge popped up on my calendar, the words Mod Podge hit me. What the heck kind of project will I do with Mod Podge? I had NO clue and in all honesty I was intimidated by it.
Let’s start at the beginning shall we? Every month I join in with an amazingly talented group of Canadian bloggy friends, we all test our selves to DIY with something fun, challenging and new.
You can join in on the fun too, we are also running this #12MonthsOfDIY on Instagram… Pop on over to Instagram you can show us your awesome projects. Combined we have over 150k followers, all 12 of us will feature our favourite project (yours) there. It’s been so fun to see all of the unique projects, thank you to those of you who are playing along every month, so much inspiration!
This whole process has been a ton of fun, I’ve made some projects I am really proud of and best of all I’ve made some really great friends!
Here are the projects so far:
And May’s challenge….

Back to the challenge that is Mod Podge. Like I was saying this one really intimidated me, but like everything I do I jumped right in.
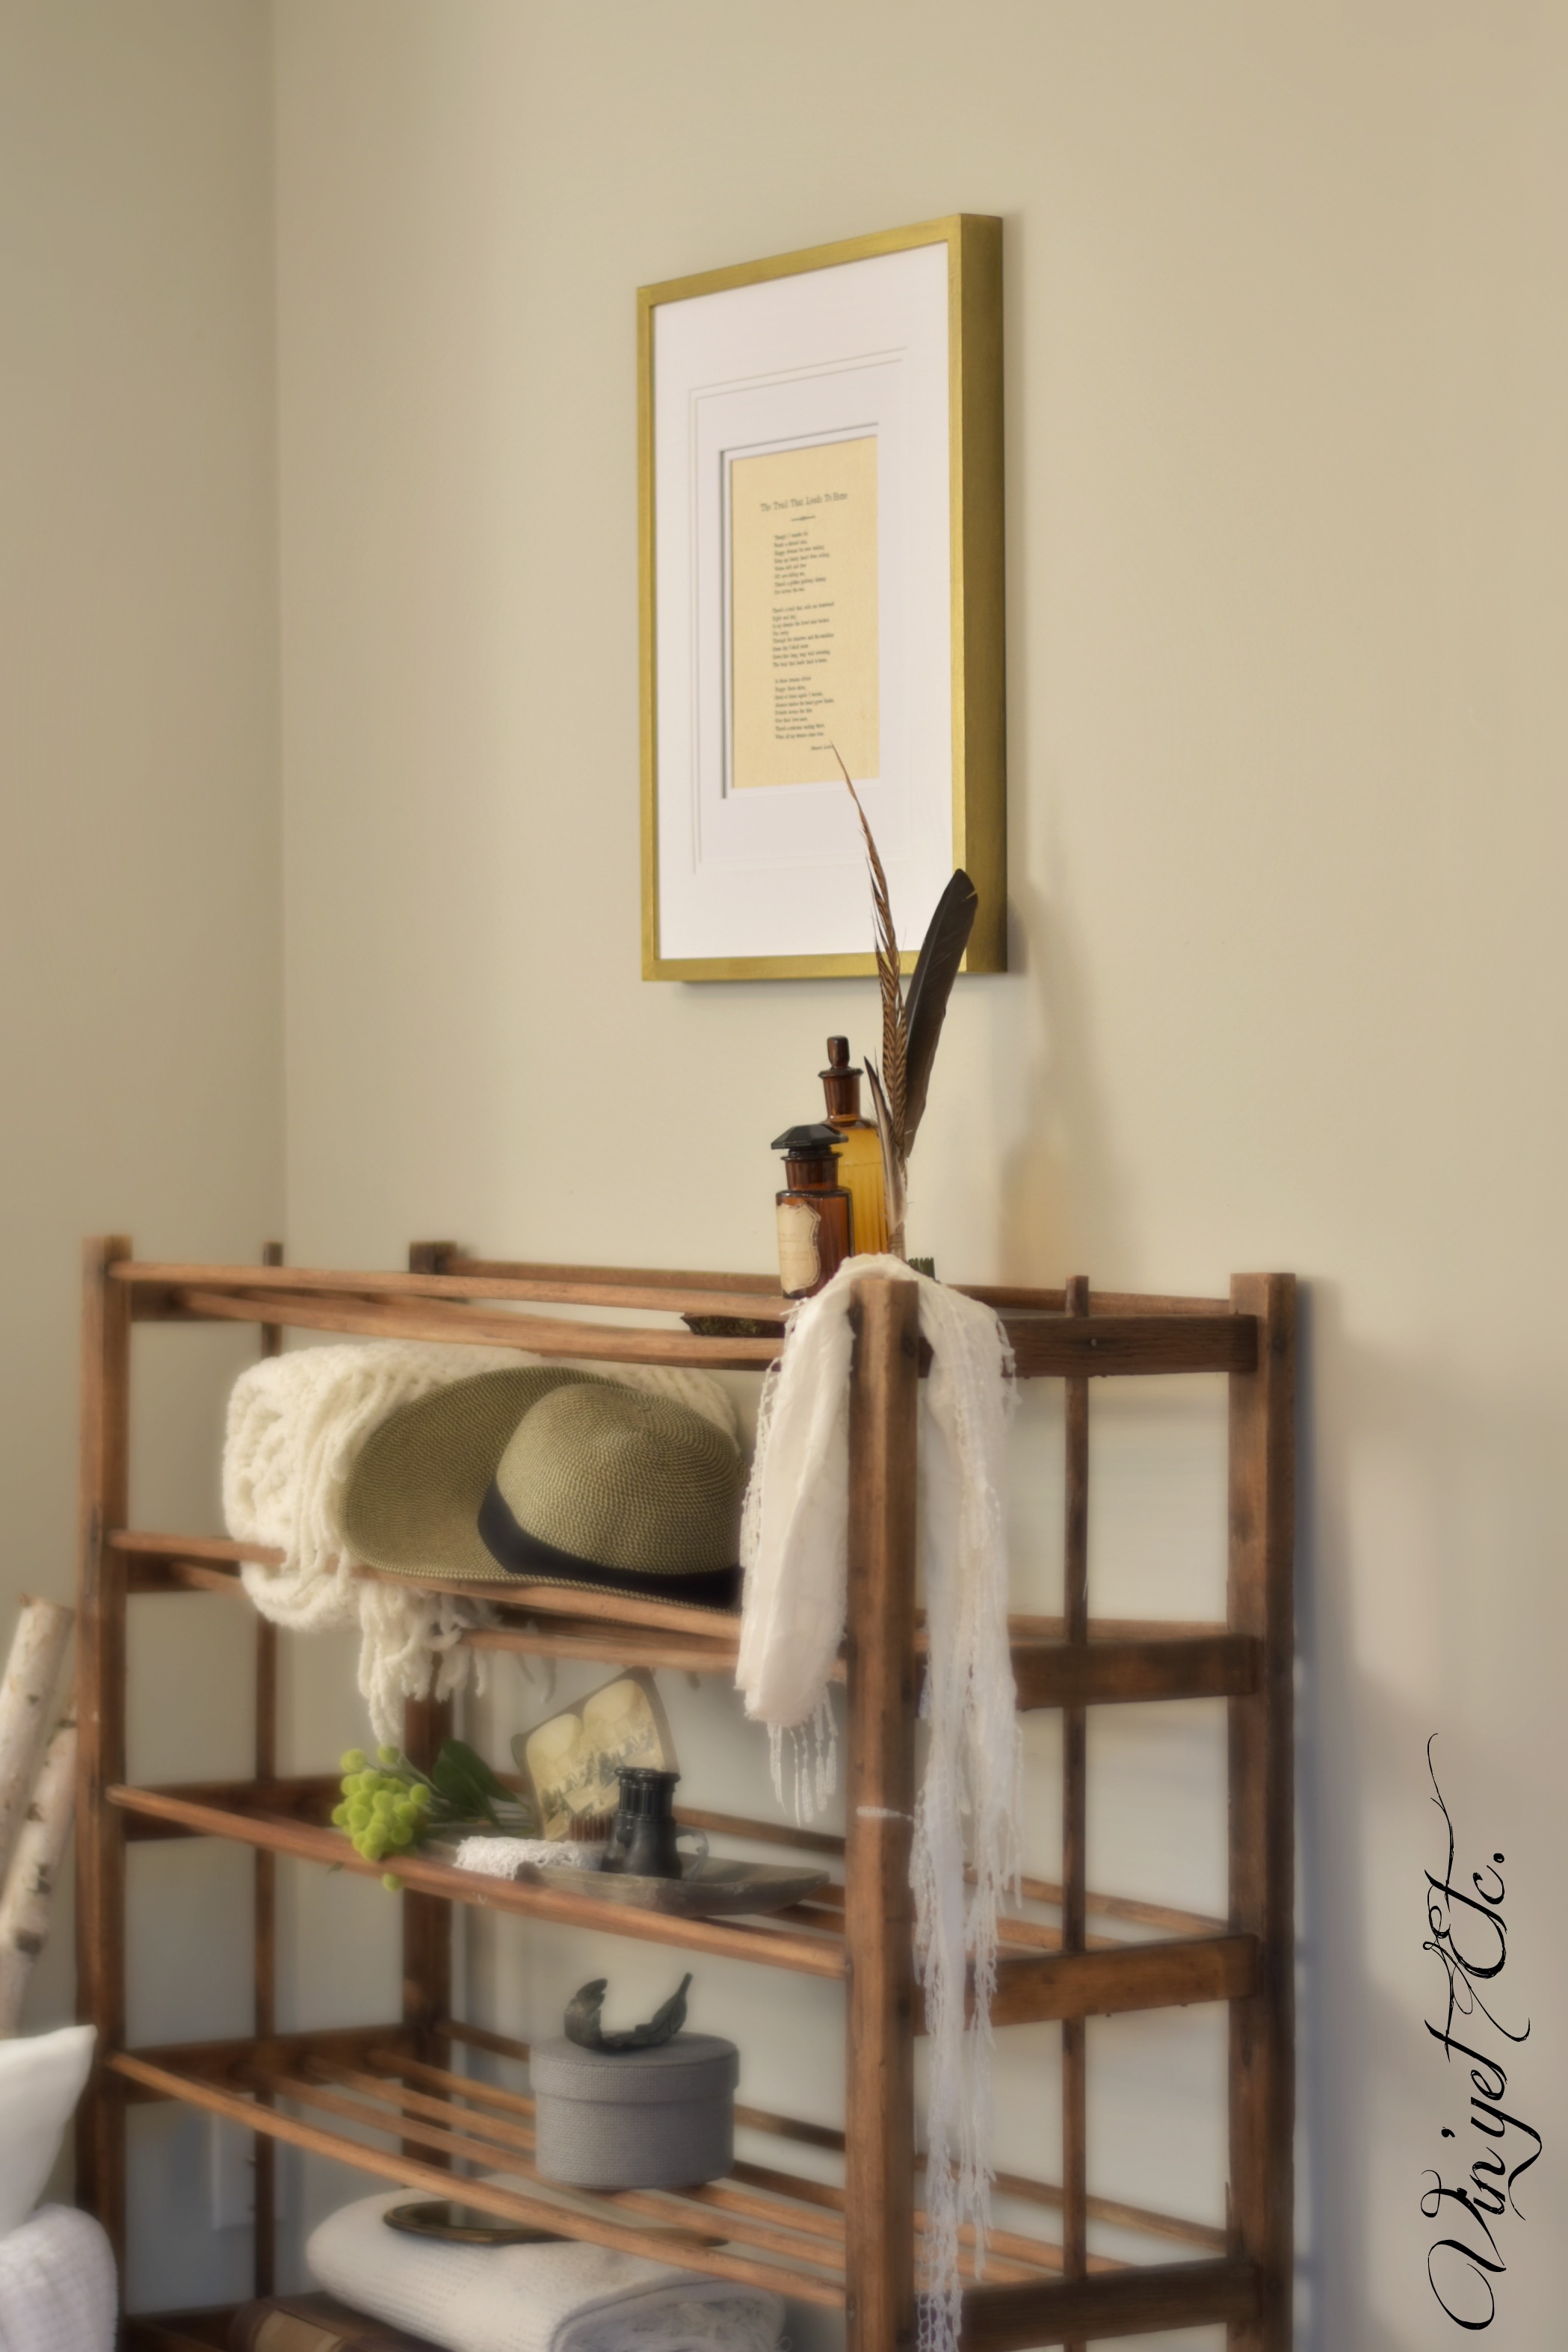
This is what I did know, I wanted to create a piece of art for our Master Bedroom… THE project that would not end. You haven’t heard me talk about our Master before? We’ve been working on that room for over a year now, if you’d like you can see what our plan is for our upstairs bedroom, have a peek here. I am happy to report that we only have one large project left to do, then we will do the big reveal! I can hardly believe it as I type this. I’m pretty excited with how the last project we did for our room turned out, we repurposed an antique baker’s rack, yep you read that right… for the bedroom. I promise, nothing kinky! 😉 If you’d like to see how that turned out you can have a peek here. Spoiler alert, you’ll also see my mod podge project there too.
Back to a piece of art for the bedroom… I really wanted to use what I had on hand so this is what I gathered:
Mod – podge – (Matt) supplied from our friends over at Plaid – Thanks to them I have concurred my fear! Whoop!
A black Ikea frame 16 x 20
Vintage music sheets
Pre-cut mats – 1 ~ 16 x 20 and 1 ~ 5 x 7
What I used:
Cutting mat
Exacto knife
Foam & bristled brushes (to “paint” on the mod podge) I went back and forth with these two brushes.
1 The frame I used needed some painting, I spray painted it with some extra gold/bronze metallic paint I had in my stash. In the process of this project I broke the glass… but that’s okay, because Mod Podge saved the day.
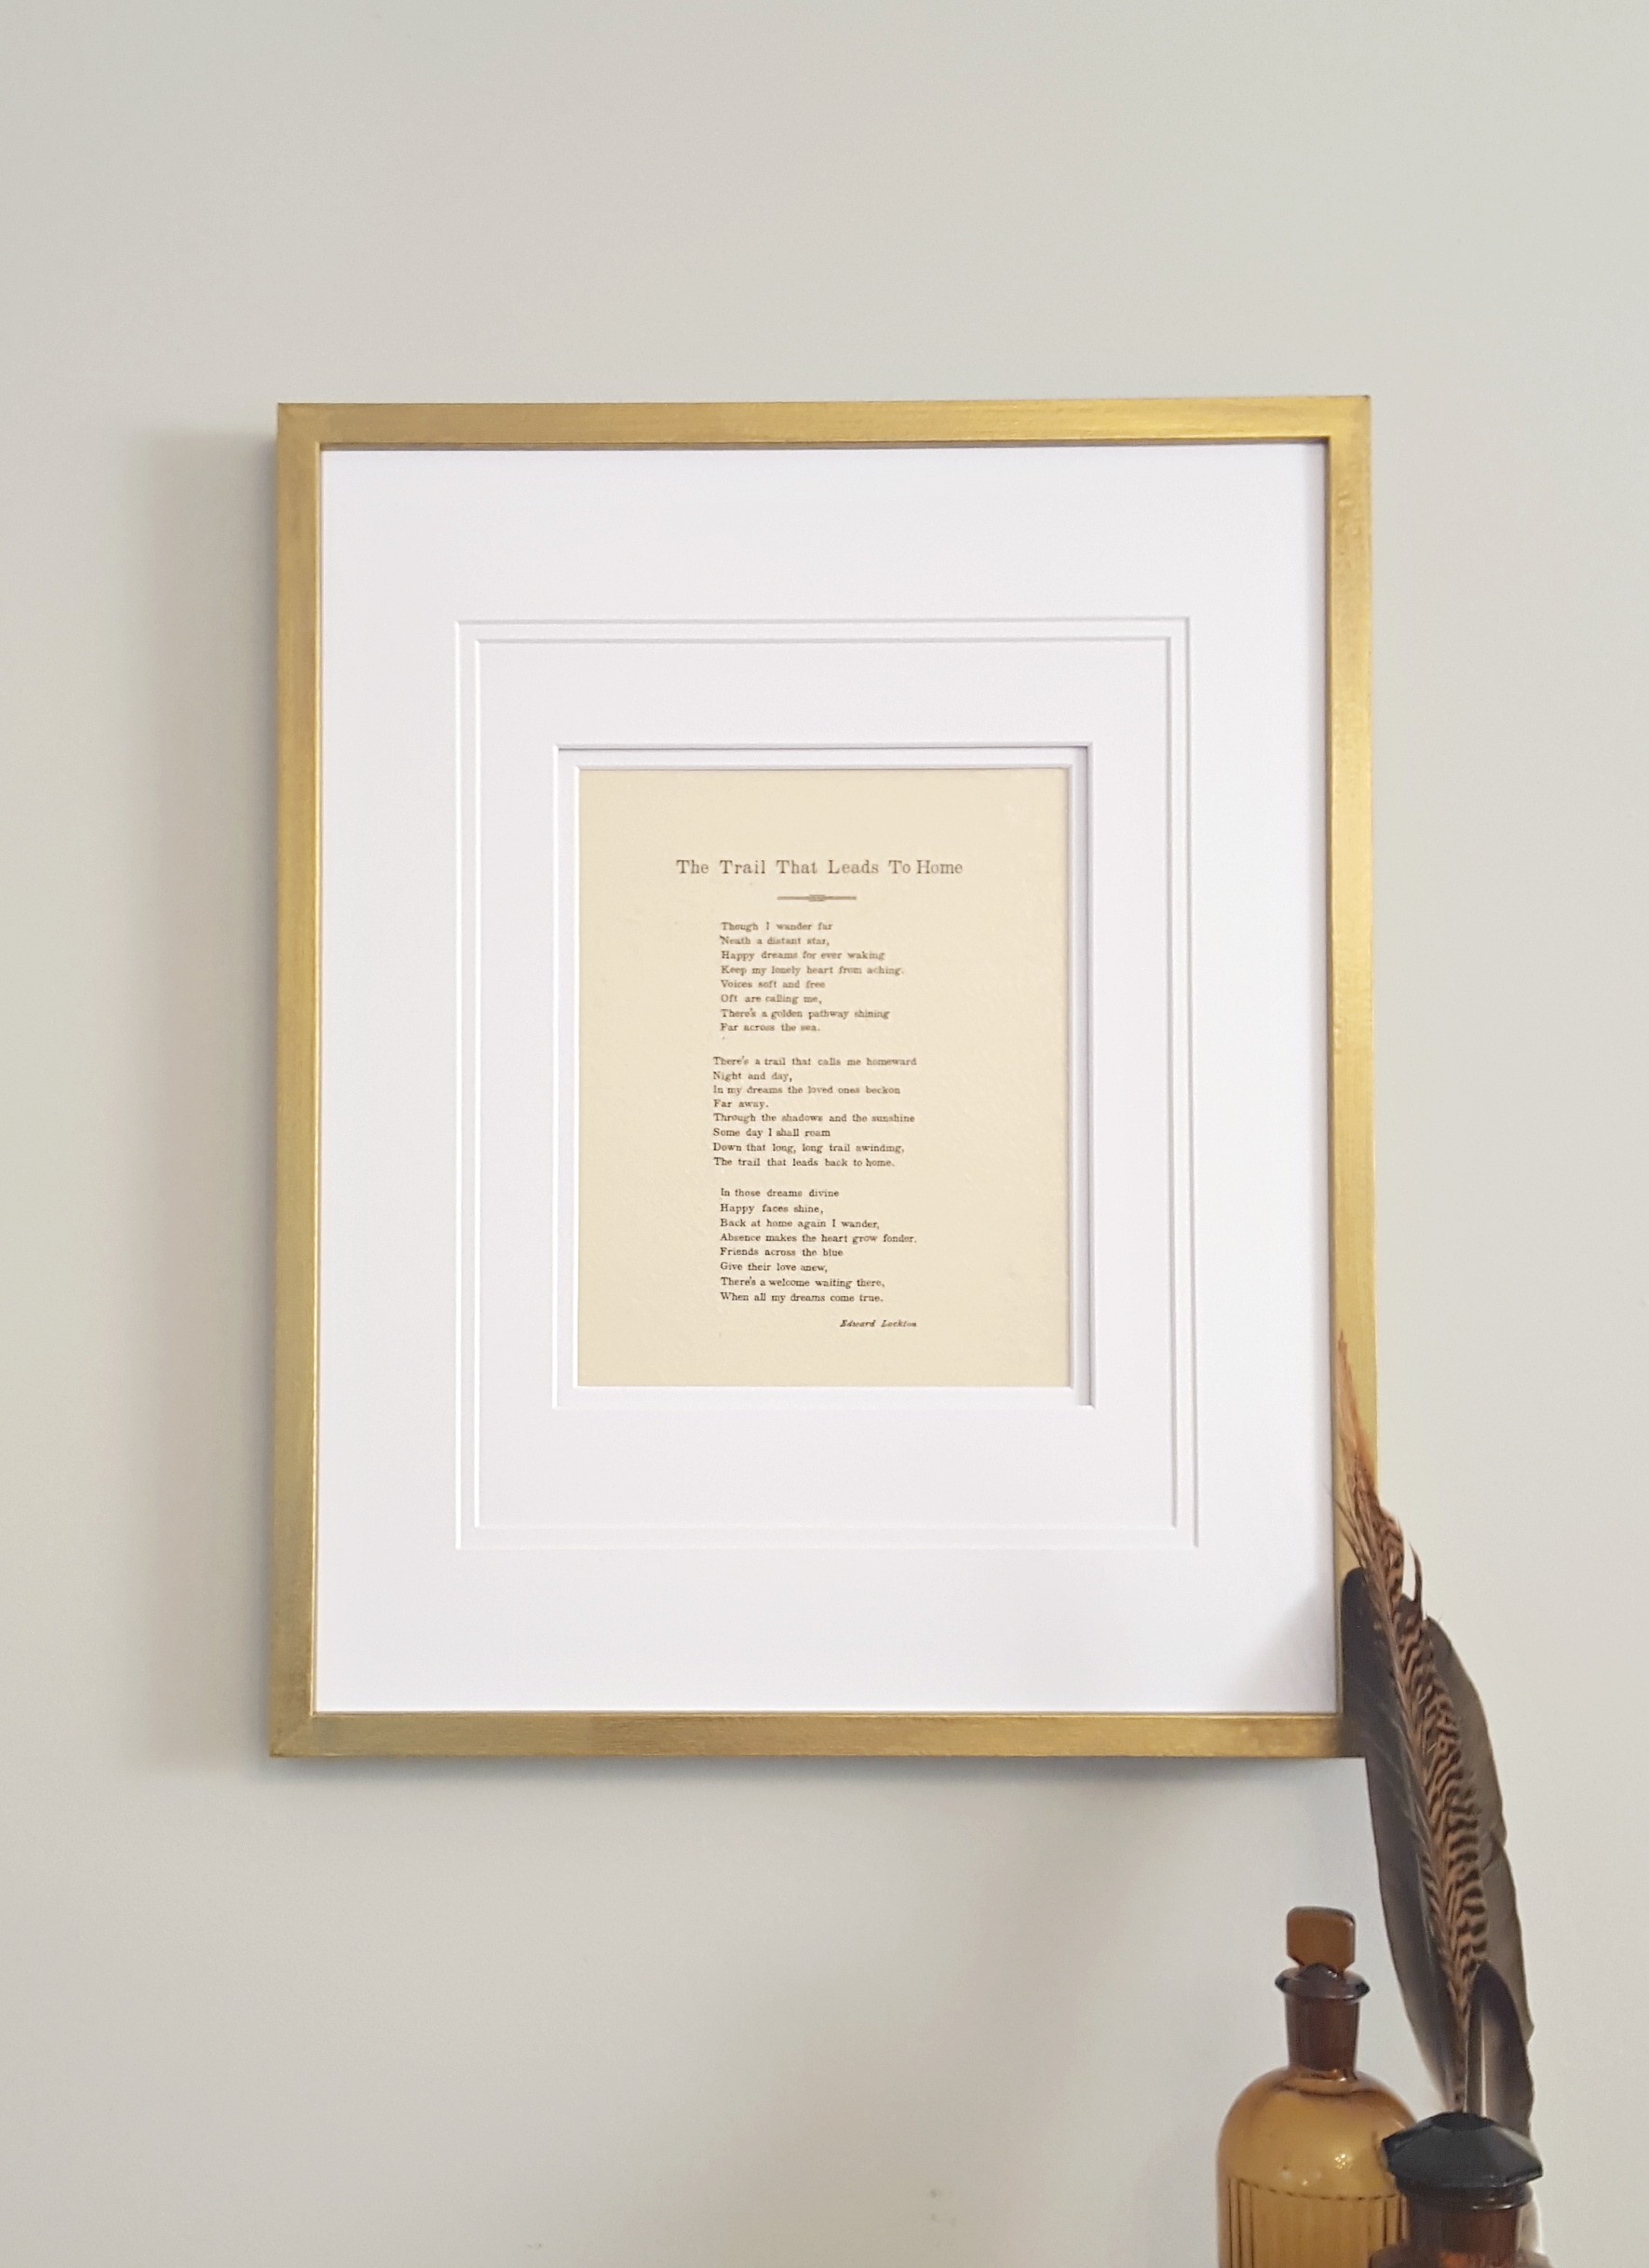
2 Pick the “art” you would like to mod podge, I used vintage music sheets… I ending up not using the music note side of the music sheet but I fell for the lyric’s side of the music sheet from a song called, “The trail that leads to home”.
For those of you that follow me know that Mr. Mans is a military man… that means he’s been away a lot, we calculated one time with all of his combined tours of duty he’s been gone for 5 years. This song, or poem really jumped out at me and said this is US, this has to be in our bedroom. When I started this project I knew I wanted art for our bedroom, I just didn’t know how much meaning that art would end up having!
How I made our new art:
1 Measure and center your art piece onto the frame backing.
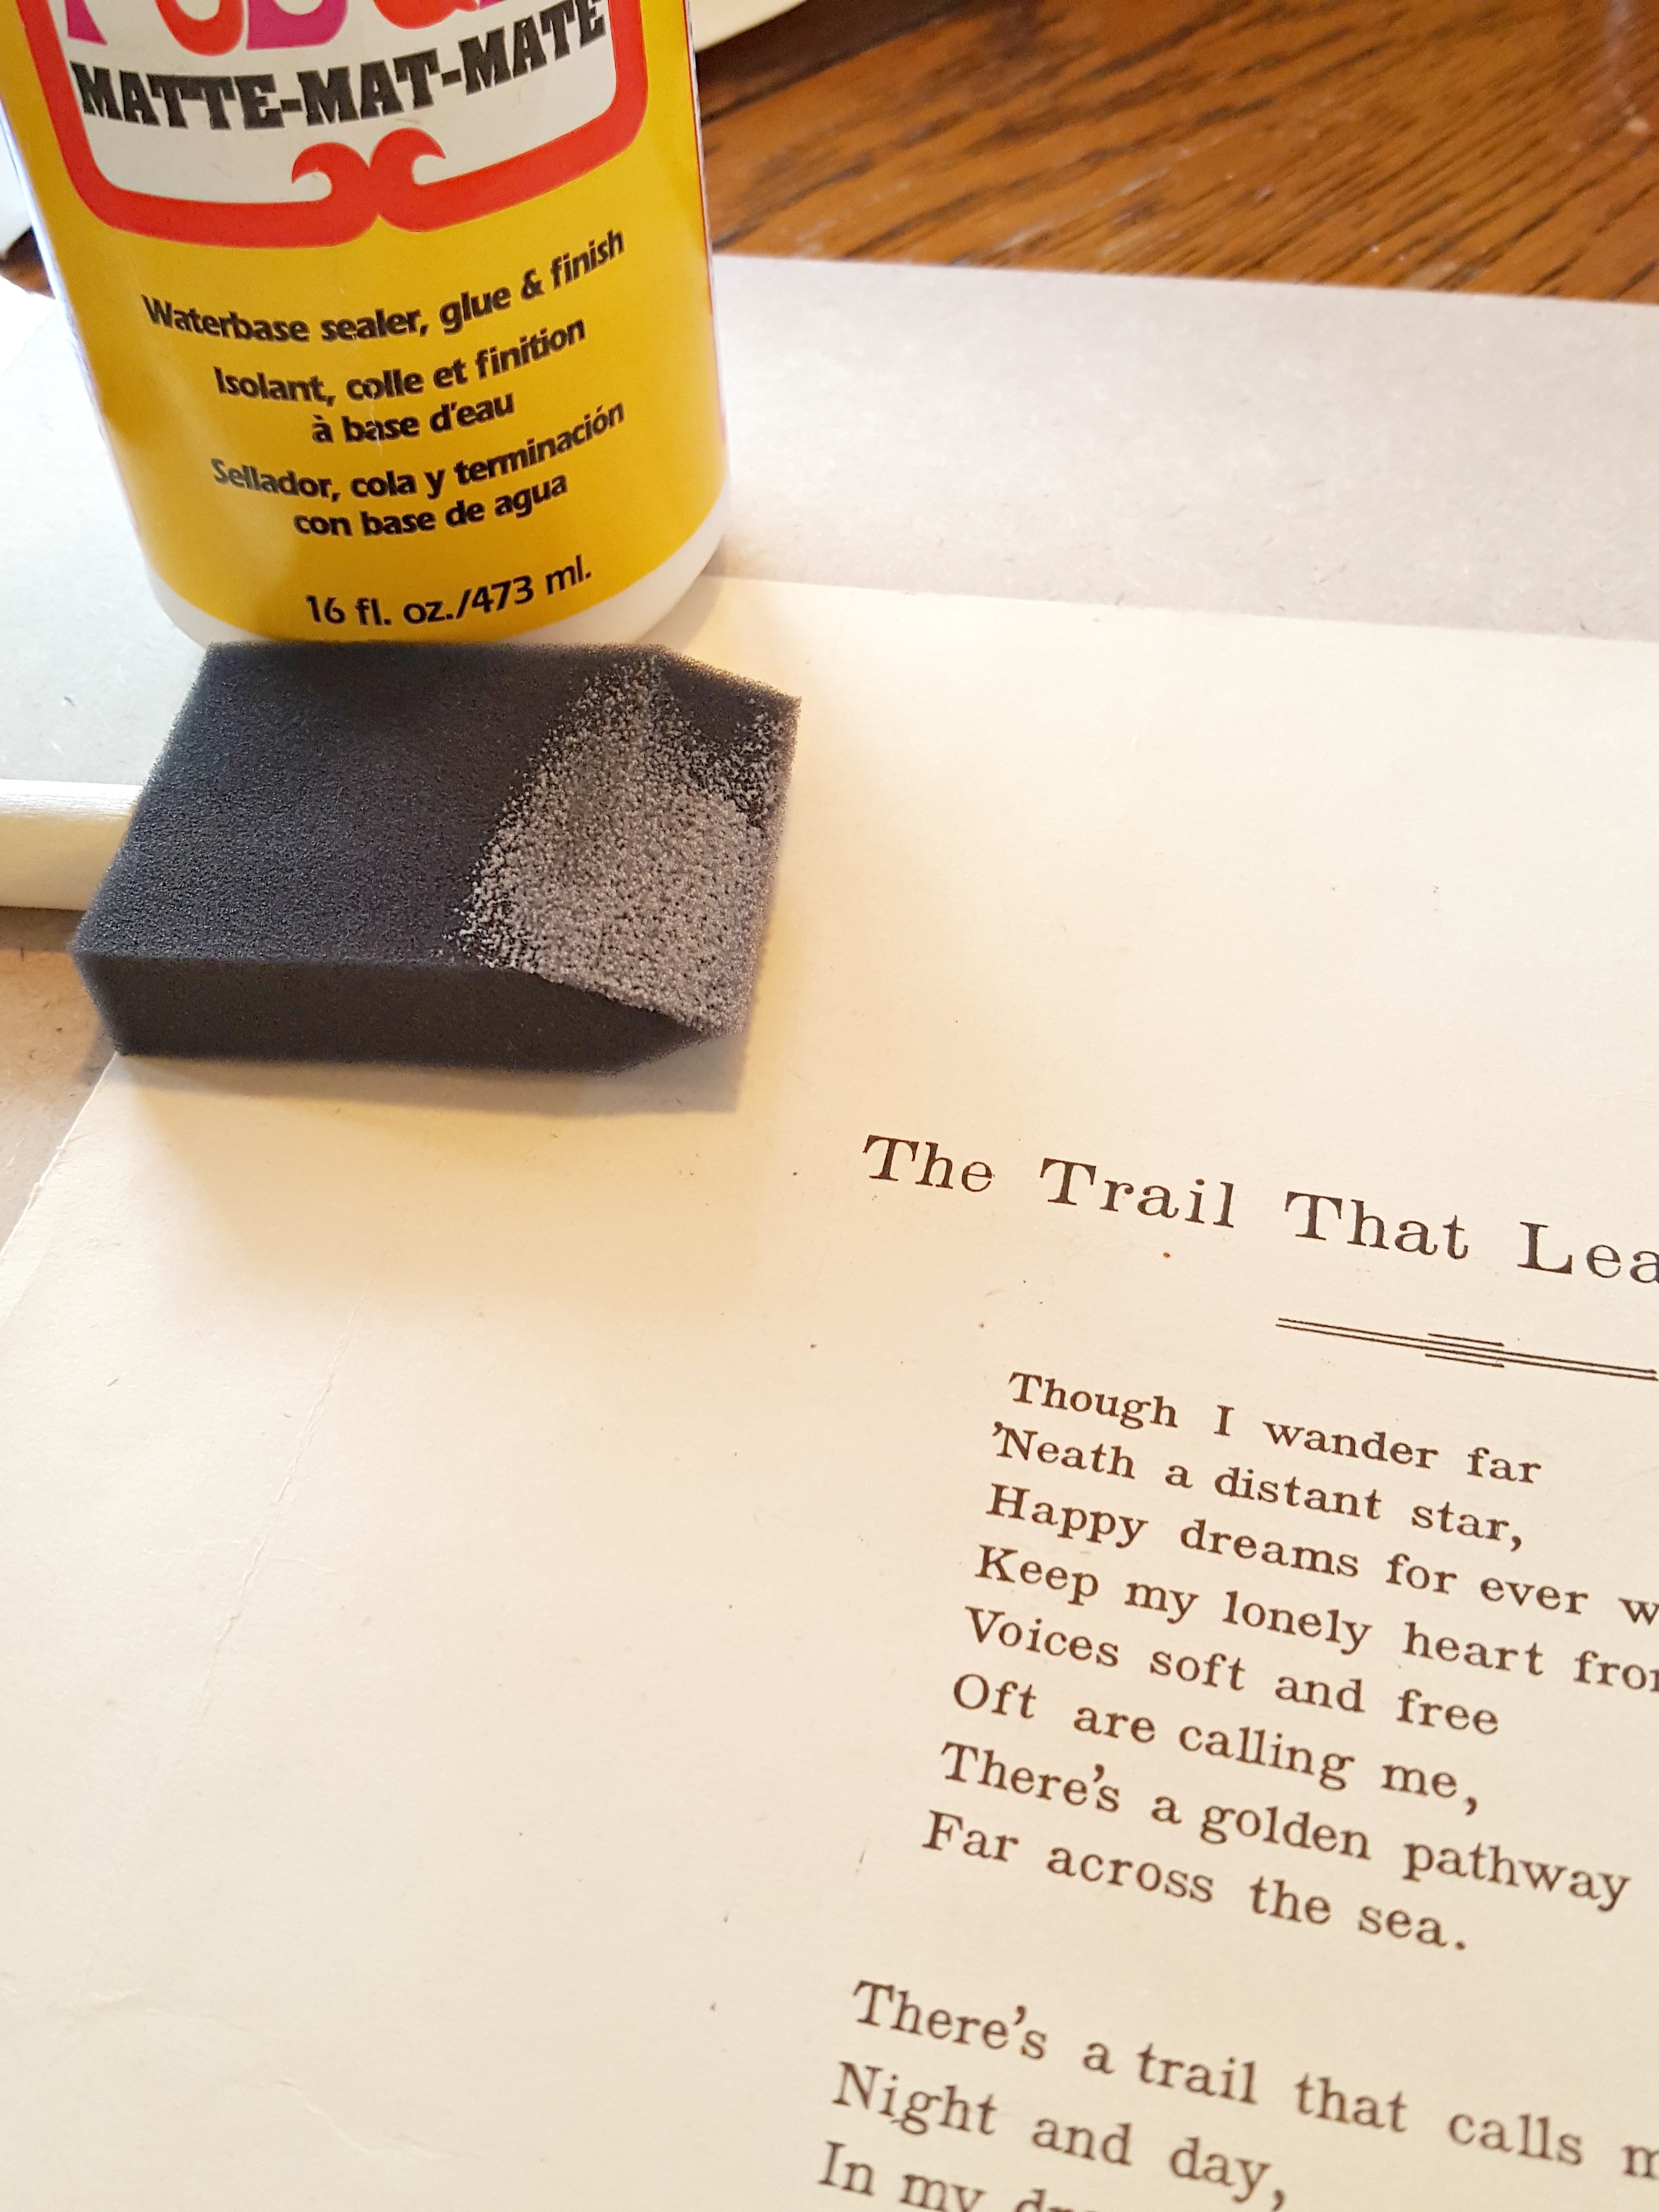
2 Pour a generous amount of mod podge onto your frame backing.
3 “Paint” the frame backing with mod podge.
4 Center your art on the frame backing on top of your painted mod podge.
5 Press down with the palm of your hand and smooth (don’t worry you can reposition as needed if it moves – you have a bit time before it dries).
6 Once you are happy that your image is centered and straight pour some mod podge on top of the image (yes right on top).
7 I painted and swirled my fingers over the entire image, some bubbles started to form, but again you have a bit of time before this dries, just work the bubbles out with your fingers. I ended up stippling the bristled brush in the mod podge, I liked the texture it was giving the finish.
8 Once you are happy with the coverage (don’t be shy with it) leave it and let it dry.

***Some concerns I had through this process if you too have never used mod podge; the image/poem I used started to develop dark patches in various areas… I wasn’t too happy with that, but decided to wait that out. I’m glad I did because they completely disappeared.*** Phew!
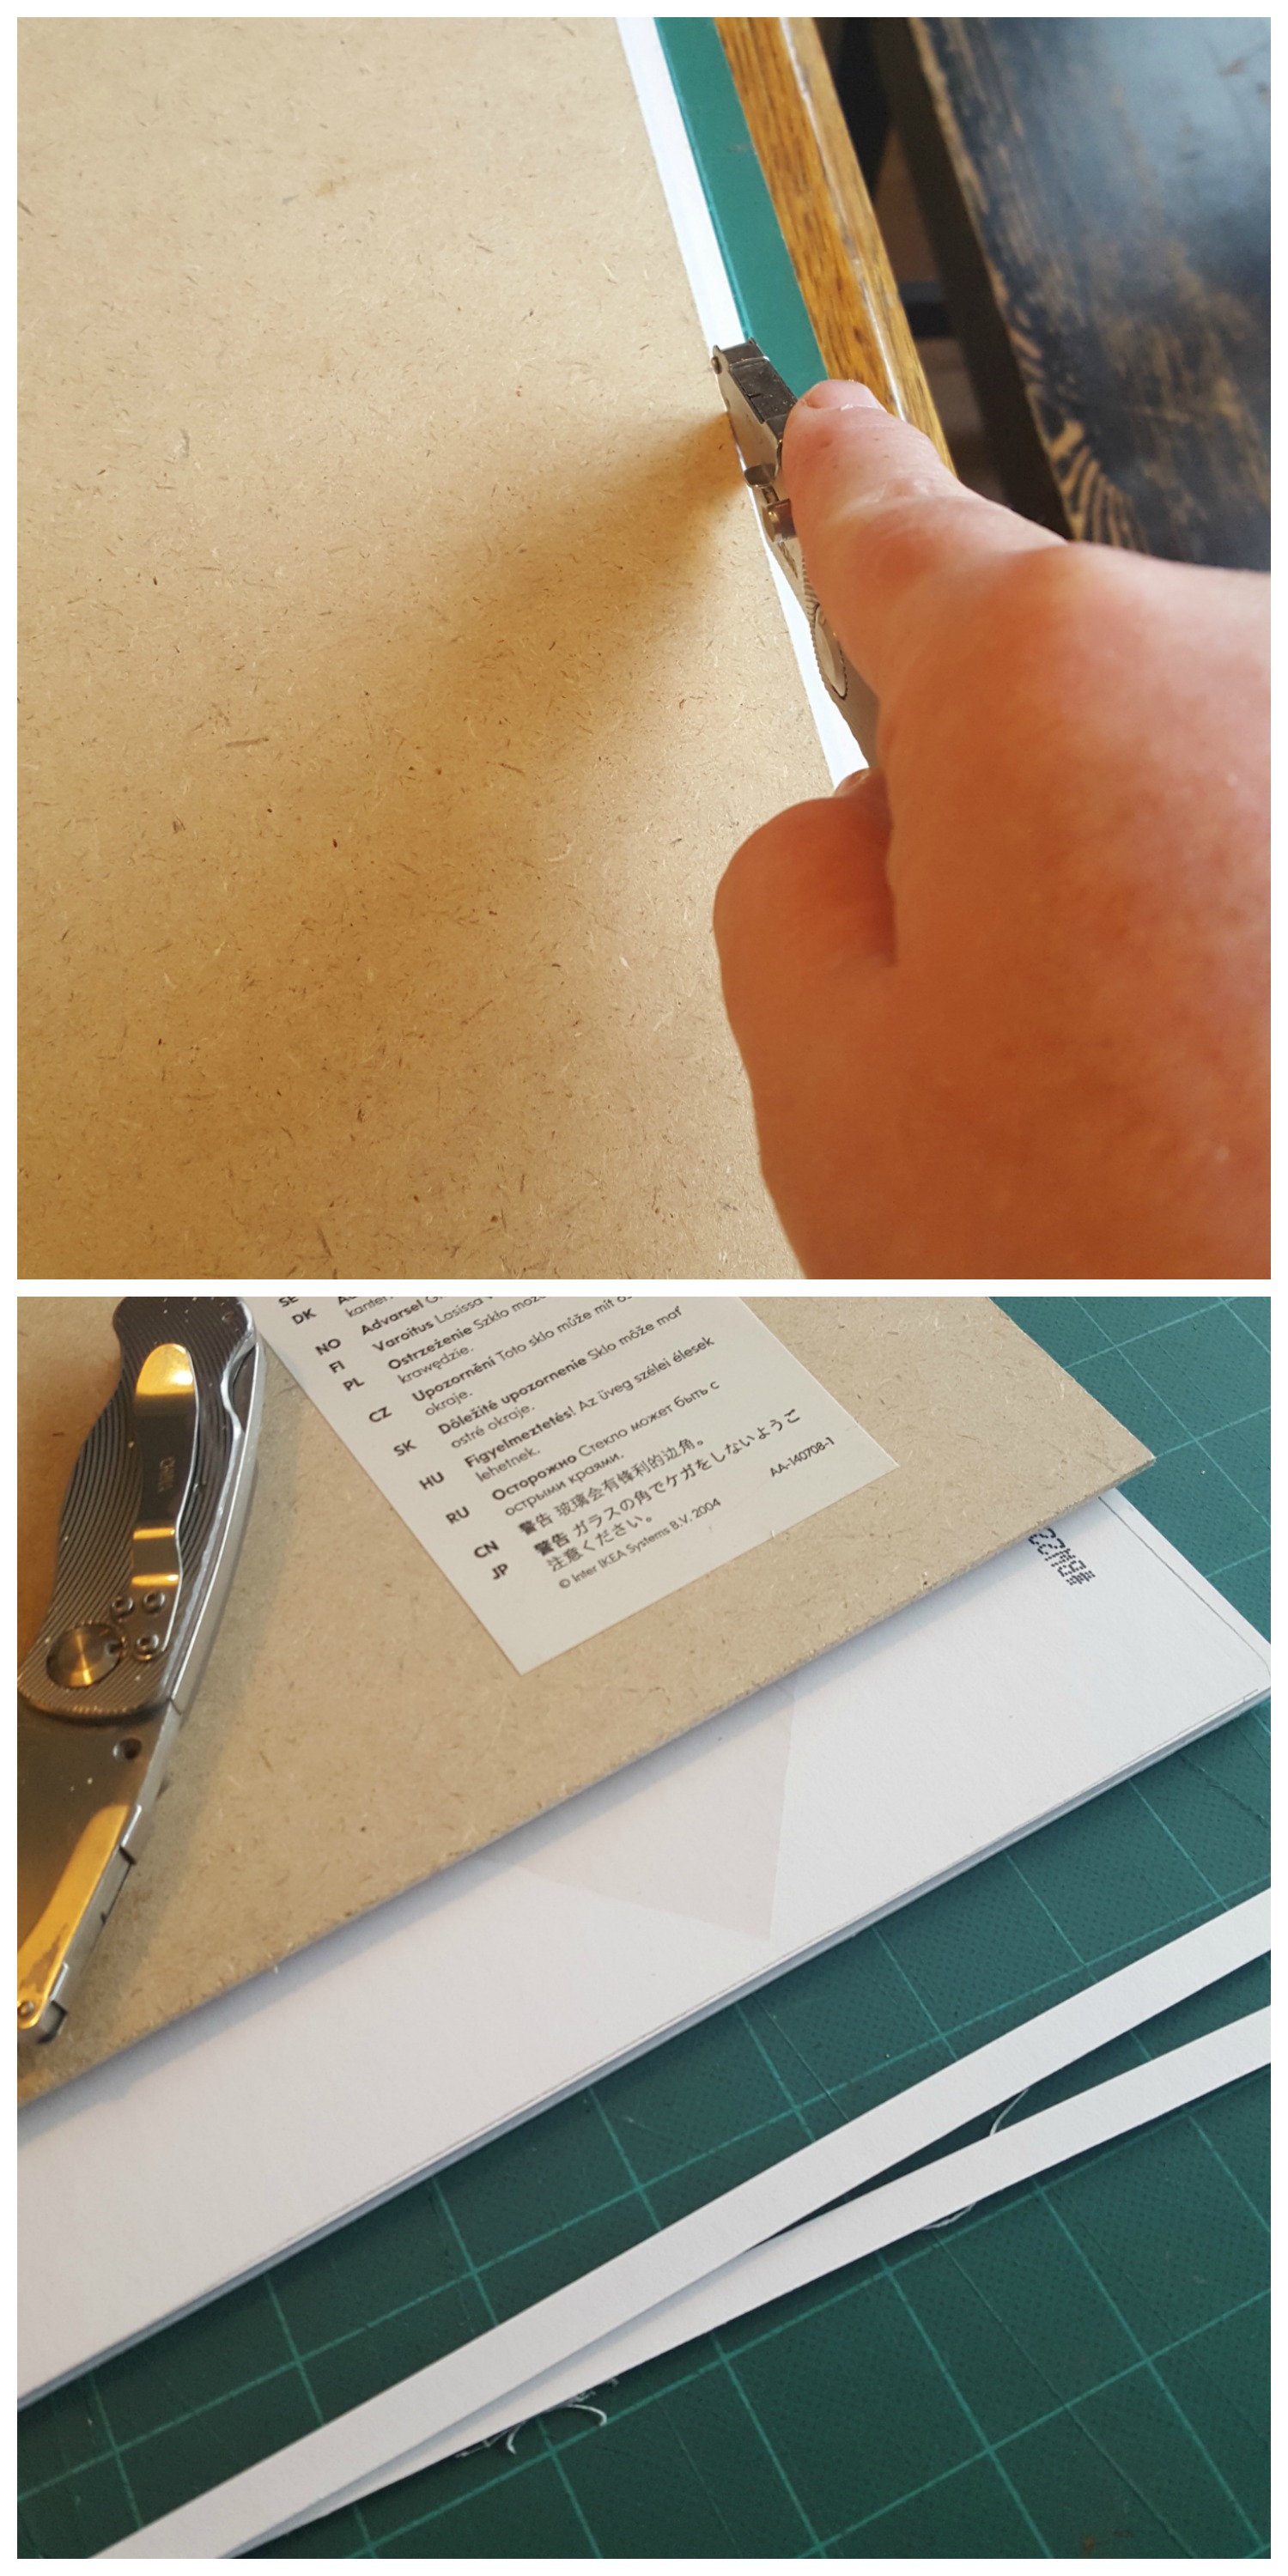
While that was drying (with one eye on it at all times – because I was still suspicious – could it really be this easy?) I started to assemble the painted picture frame and the mats. Another learning curve… Ikea frames aren’t compatible with some store bought mats. No worries, I cut it to fit. “pro” tip… when cutting your mat use a very sharp blade, a straight edge and score. You don’t need to cut it all in one cut, keep scoring and the knife will cut through all of the layers of the mat, just use a light pressure, going over and over the same spot against a straight edge. You will get a crisp straight cut doing it this way.
Once the mat is cut and your art is dry, assemble your new art piece.
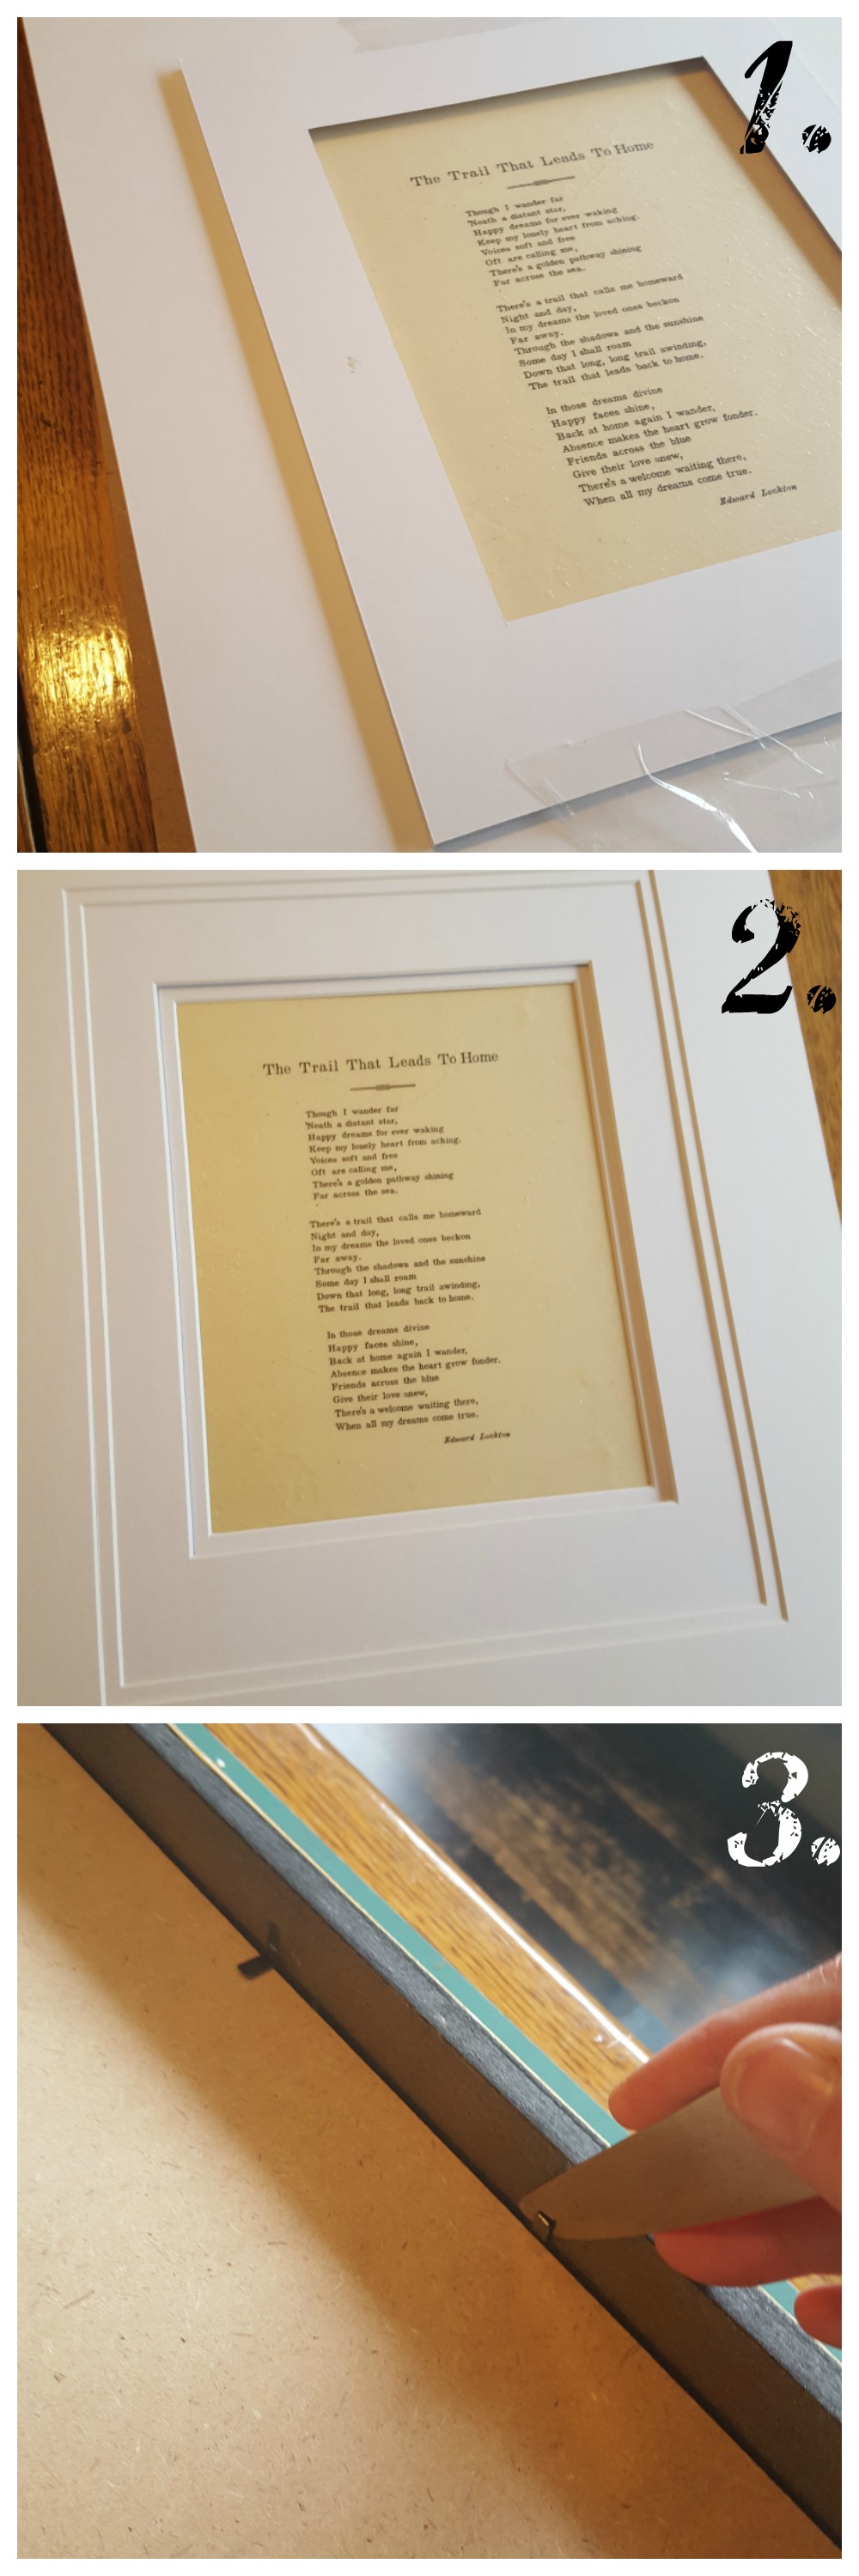
1 Turn your mats upside down to tape them together if using a double mat look for your project, like I did. Center the upside down mats on your art to make sure everything lines up.
2 Turn them right side up to double check your art is centered and tape the edges of your double mats to your frame backing.
3 Place your matted art into your frame and fold the tabs over on the back to hold everything securely. (I may have used a butter knife – this is a very technical tool, a must have for any tool box).
Then it’s time to hang your new art piece. One more “pro” tip…
When you are hanging art above something, like a couch or in this case a baker’s rack, I always use the span of my thumb and pinky finger as a measurement, this span is typically 6″ – 7″ for everyone – (go ahead check) and this is the desired space or a rule of thumb (no pun intended) when hanging something above your furniture. I do this for almost everything I hang above furniture, but there are cases where I want a different look and feel and well, I’ll throw this tip out the window. 😉
I didn’t need to be as intimidated of mod podge at all, it was super easy to use and the finish was exactly what I wanted. I’m really happy with how this simple little project turned out and I will for sure use mod podge again!

Now, lets have a peek at the rest of the DIY Mod Podge project ideas from my Canadian blogging friends!

From the top left, they are:
How To Use Mod Podge – A Beginner’s Story from Vin’yet Etc. Hey that’s me!
Painted Florals on Glassware from PMQ for Two
Geometric Pineapple Art from Life Is A Party
DIY “Home” Wood Sign from Love Create Celebrate
DIY Filing Cabinet Makeover Using Vintage Book Pages from Woman in Real Life
Handy DIY Two Month Receipt Organizer from Time with Thea
Decoupage Foot Stool from Fresh Crush
Make Lace Decoupaged Garden Containers from The DIY Mommy
Paper Flower Lamp Shade from Brooklyn Berry Designs
Easily Upcycled Photo Frames from Sustain My Craft Habit
Kate Spade-Inspired Mug from Mommyzoid
Window Map Art from New House New Home
Disclaimer: This post is sponsored by, Plaid. As always, all of the opinions here are my very own and I only recommend companies that I love and use myself.
![]()

14 Comments
You did such a great job, you wouldn’t know you’re a Mod Podge beginner Laurie! I love your project – the fact that the poem has such significance for your marriage is lovely. And your bedroom looks amazing! Worth the wait. 🙂
Thanks Joann! One of these days I will shock people once I revel the whole room at once! 😉
This looks fantastic! I love how it goes with your recycled baking rack. Great steps for beginners 🙂
Thanks Ariel!
HOORAY! You are no longer a Mod Podge virgin. 🙂 It looks great and I love all of the concise directions you’ve given here. Also – thanks for the tip about hanging art over furniture!
Hahahaha, yep now I can say I’ve used Mod Podge! 😉 I can’t imagine why I’ve never used it before now, won’t be the last time! 🙂
You’ll wonder why it took you so long to try ModPodge!!! I love the simplicity and sentimentality of your project!
Thanks Heather, I’m not sure why it took me so long? I’m so glad I found it now though!
Even before I started to read your post I was so looking forward to it because I knew it would be a fabulous read. I was not disappointed. I loved your narrative, your instructions and your project! You made a gorgeous meaningful piece. I also love your tip for how to measure the height when hanging things on the wall above something. So clever and helpful!
Oh Thea, your comments never fail to inspire me! Thank you so much!!! xo
So pretty, turned out great, and such a lovely poem too. Great job!
Thanks Dannyelle!
Great tip for hanging art above furniture! This piece is so sweet. Glad it means a little something to you and yours. 😉
Thanks, that tip never fails me. 🙂