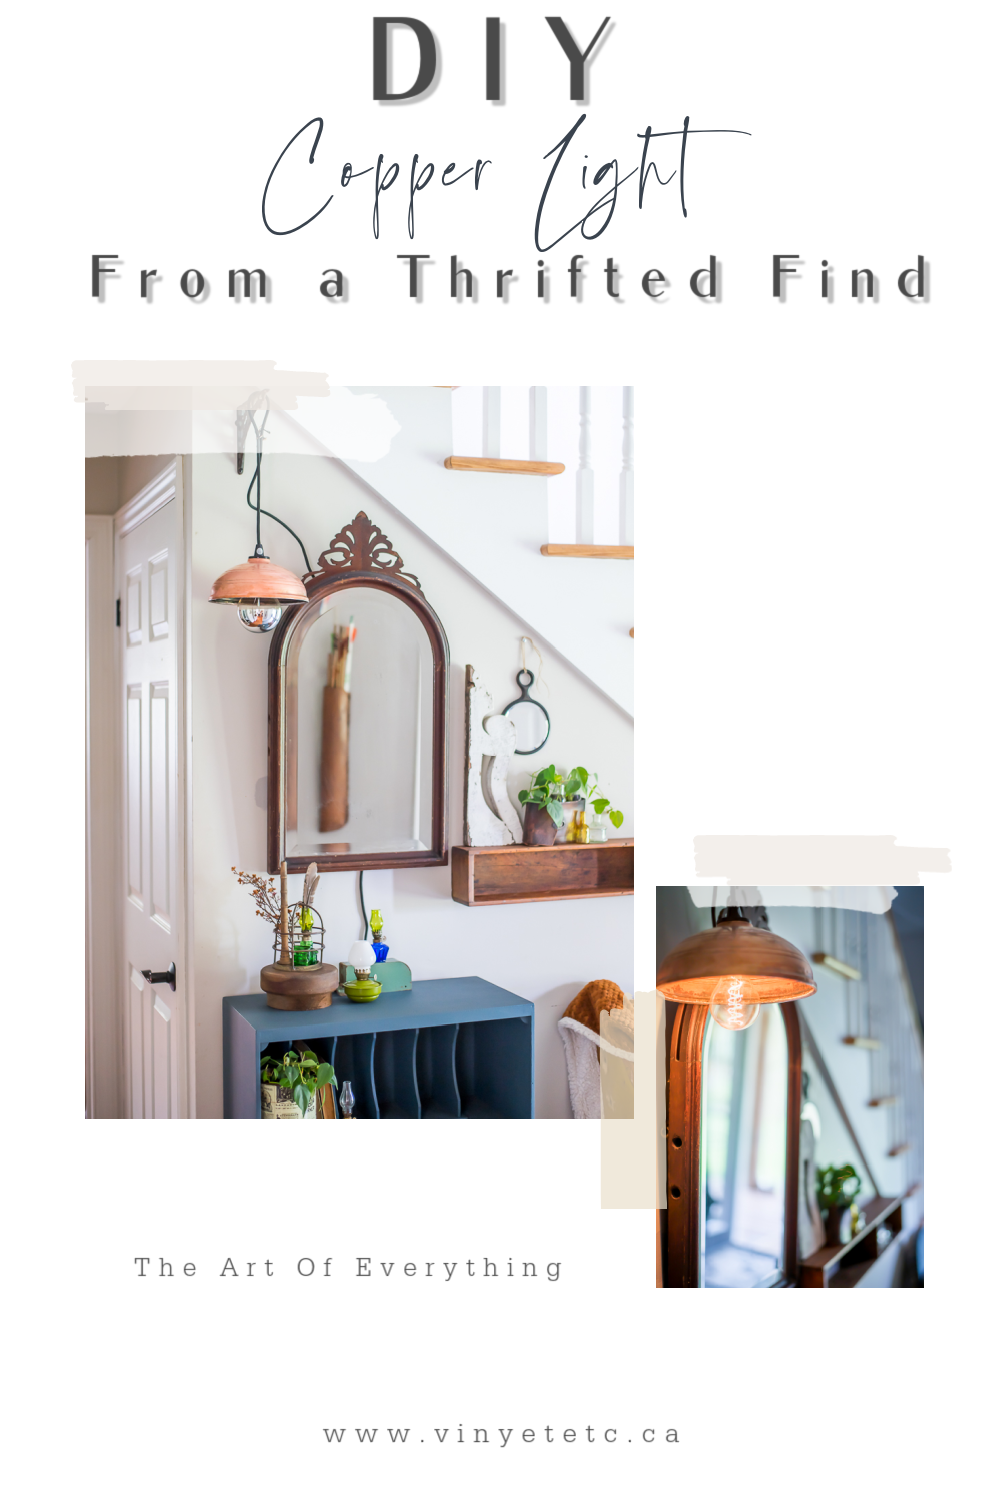
Welcome back friends! How can it be October already!??? Don’t mind me while I sit here in shock at how quickly time is flying by. Today for my #cozyliving post, I am sharing how I DIYed a copper light from a thrifted find. I must say I am loving how this little cutie turned out and copper = perfect decor touch for fall, don’t you think?
At this point in my post though; I do want to give a trigger warning of sorts… I have modified an antique in this post, gasp! For you purists, you might want to let yourselves out now. 😉 Don’t get me wrong, I totally get why some antique things should be left as is and therefor appreciated as is. This antique copper bed warmer was found at a thrift store, shoved all the way in the back of the shelves, I bought it for $5! Soooooo, I’ve decided to bring it out into the light! hehe Pun intended. 😉
Now, let’s chat about the cozy living team for a bit.
Cozy Living
Cozy Living, we are a team of cozy loving friends that simply adore sharing how we live a hygge lifestyle. Our blog hop is hosted by my lovely friend, Jennifer over at Town & Country Living. There are so many inspiring and creative ways to live a cozy life and this team has all of the inspiring ideas. Please stick around until the end of my post, you will find more from my CL friends, they will also be sharing wonderful ideas for October.
A Thrifted Find
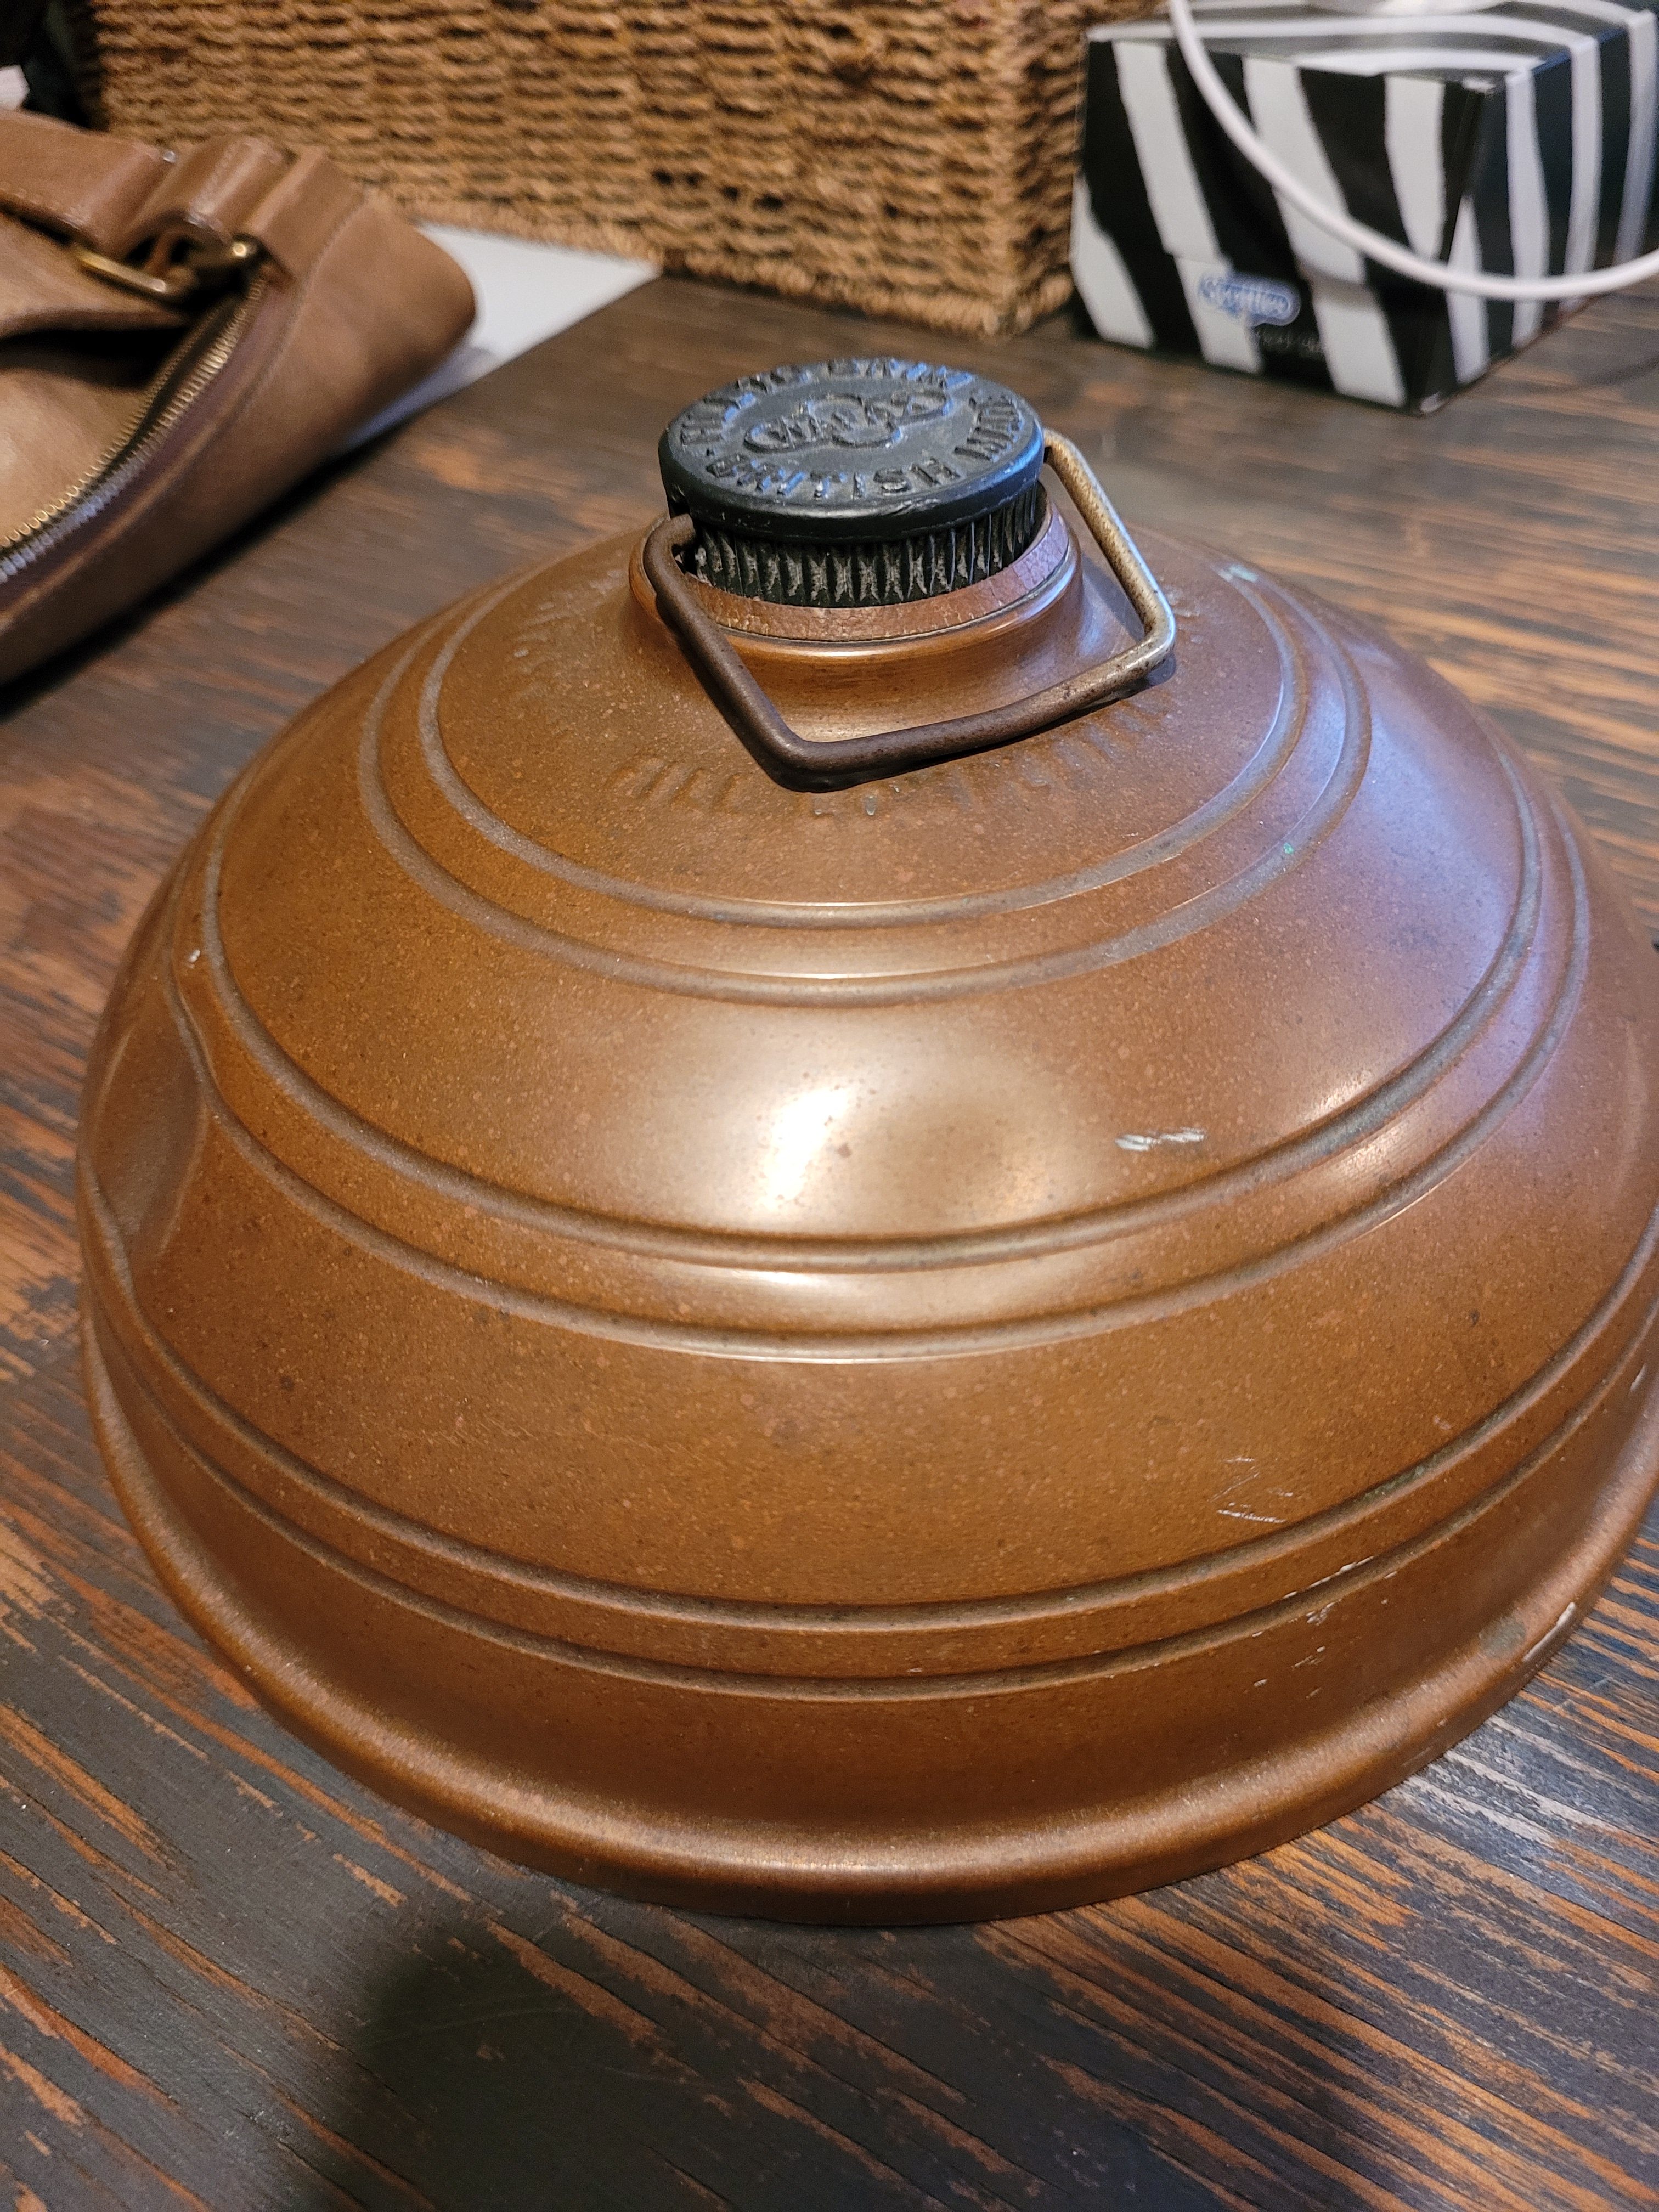
As mentioned above, I found this copper bed warmer at the thrift store, I knew right away that I wanted to make it into a light shade. I didn’t know exactly how I would do that, but it was love at first sight for me.
DIY Copper Light
This is how I approached making this copper light shade.
How To

- Cut the bottom out of the bed warmer. I asked Bud (my Hubs) to help me with this part, he used a hand grinder with a cutting wheel (I hate the grinder). (I tried and failed to melt the solder all around the edge off of the bottom, so grinding was plan B.)
- The copper is very soft, so I drilled holes along the top (connecting all of the holes, “cutting” the small funnel like piece off) filling portion of the bed warmer, eventually cutting the too small opening out.
- Then I bent any of the left over copper pieces over and out of the way, making the hole bigger.
- Test the fit of the light socket from your chosen light kit. Mine is from Ikea, here is a similar one.
- Next I gently tapped out any dents in the copper.
- I wanted to brighten up the copper, this is how I did that. To a small bowl, add 1 cup of vinegar.
- One table spoon of salt and rub this mixture onto the copper until it has the desired patina. I didn’t seal it with anything and am hoping the copper will tarnish a bit as time passes.
Once your lamp shade is ready, simply install the socket cord and hang your light where a little more cozy glow is needed.
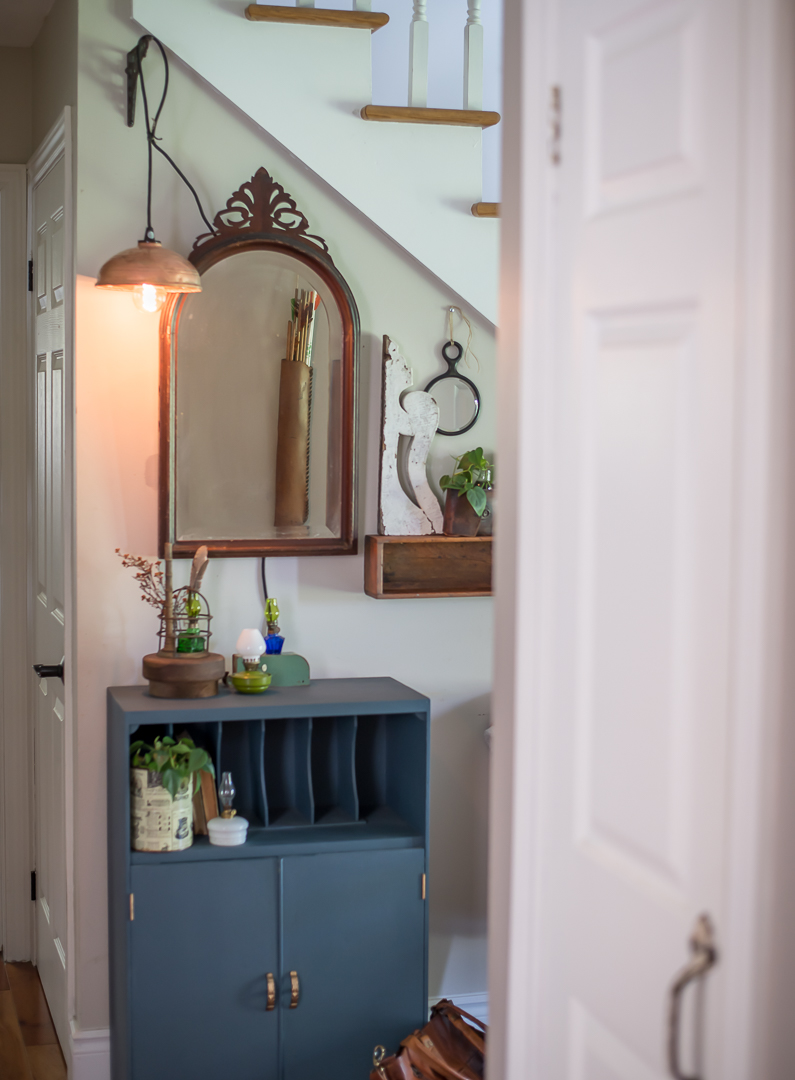
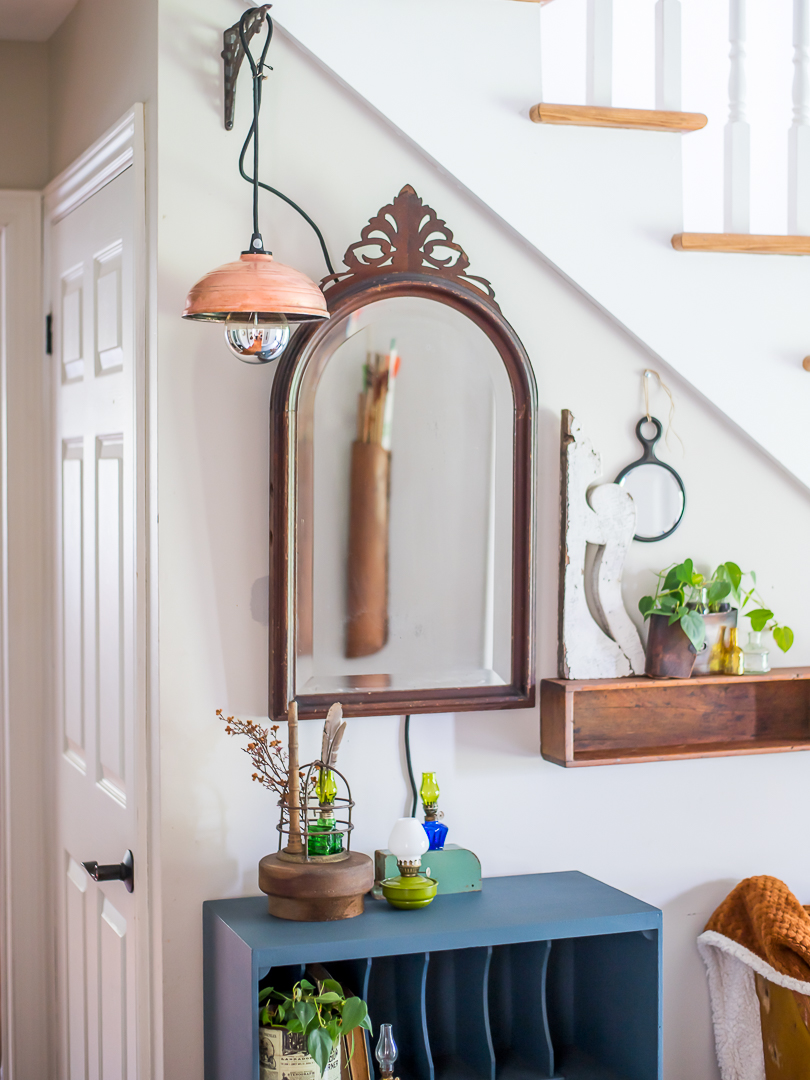
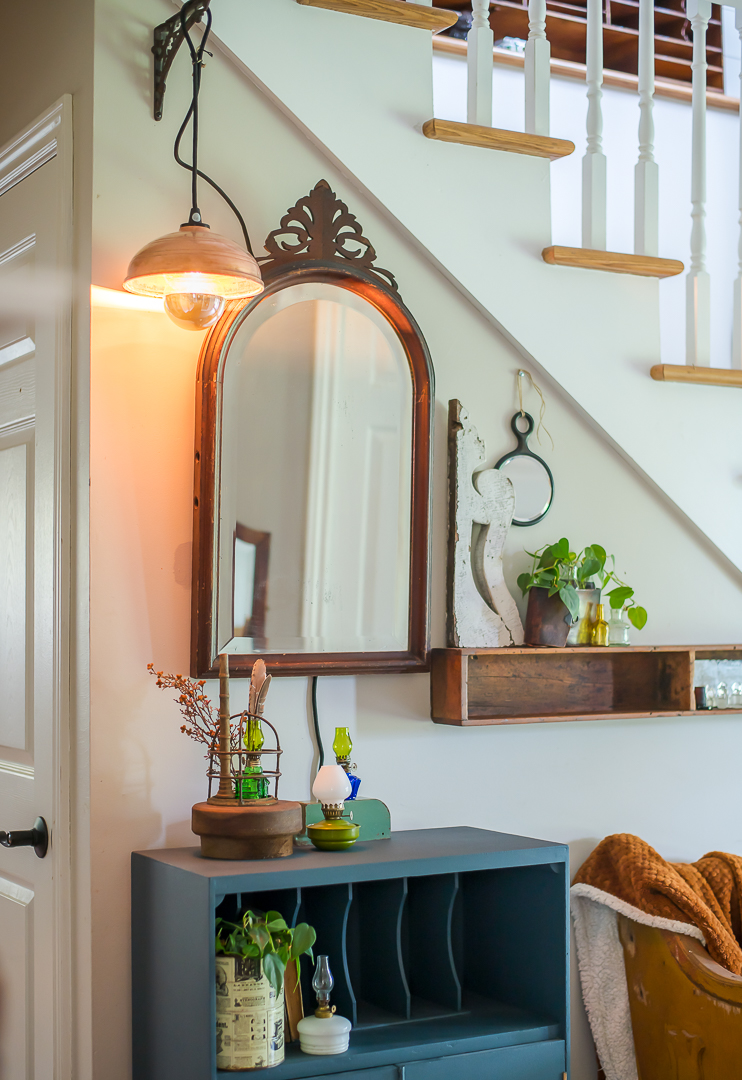
Our front entrance is a very low light area in our home, we don’t always like to have the ceiling light fixtures on. This DIY copper light fixture is the perfect little lamp.
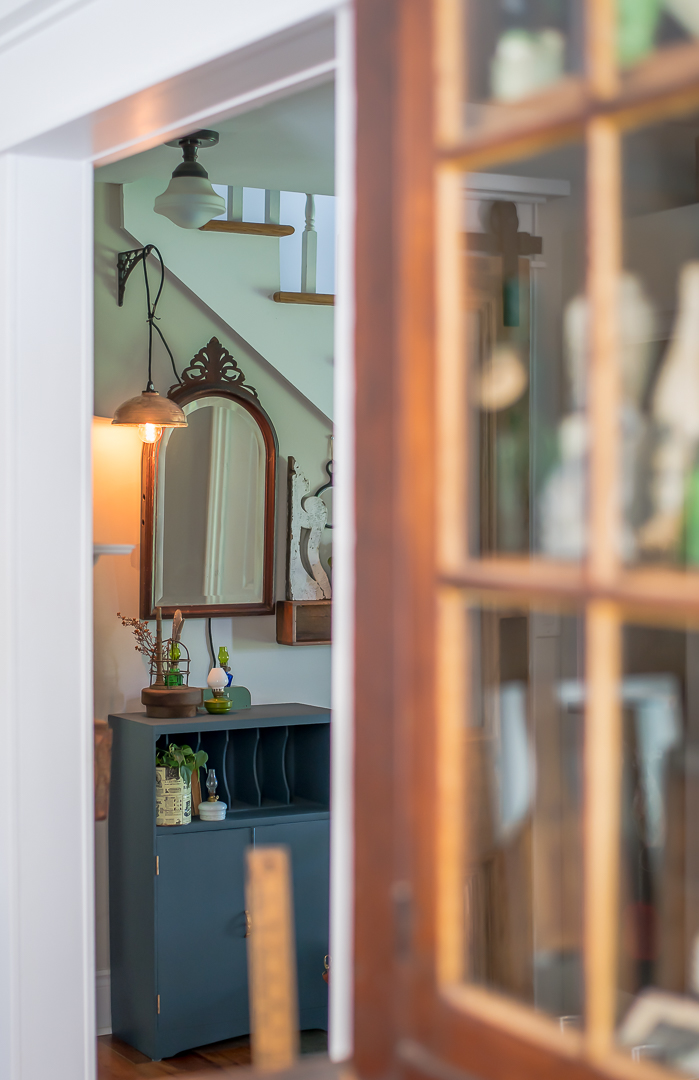
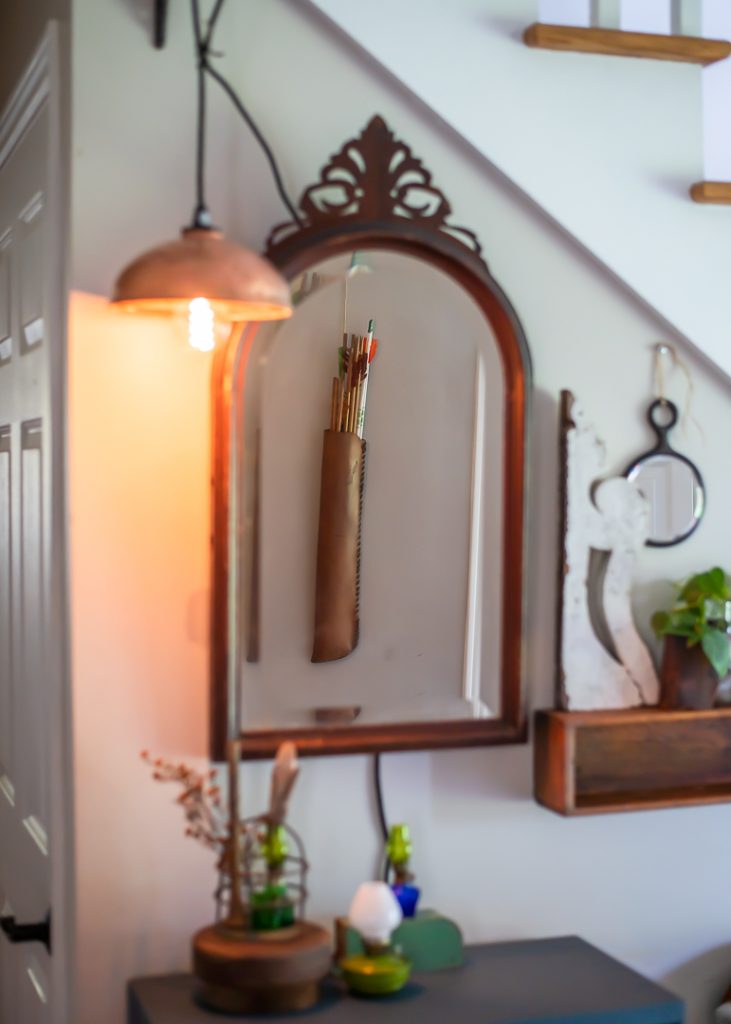
I am loving the warmth it adds to the front hall.
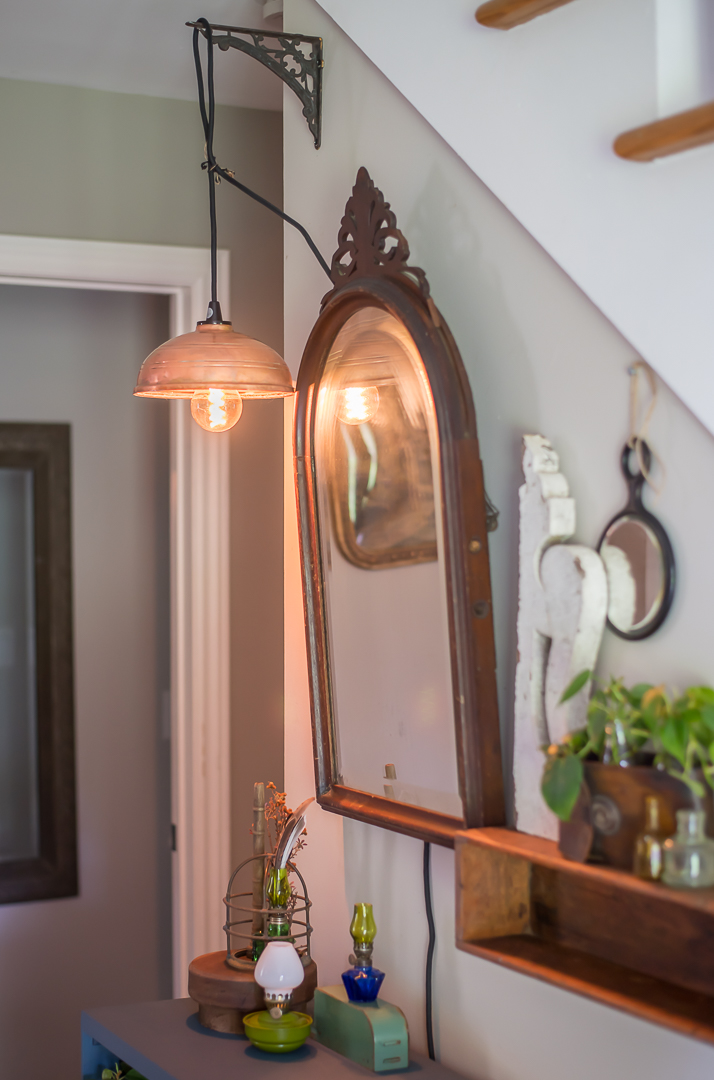
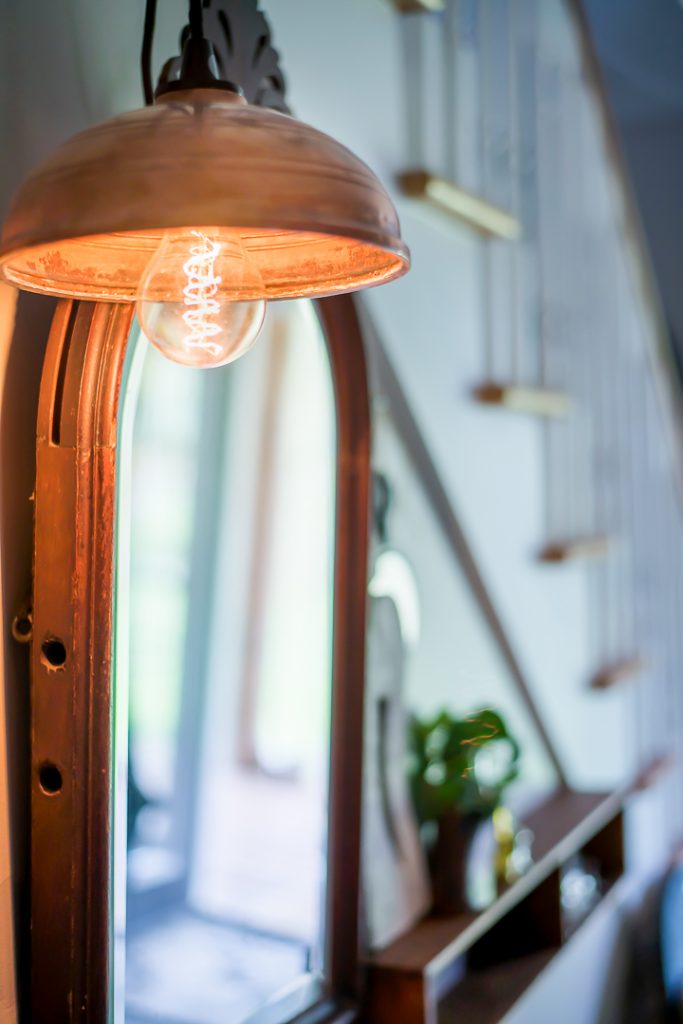
As this copper shade ages, the patina will tarnish.
The challenge now is to find the perfect light bulb, something that’s not too bright or “hot”. The search continues, this one will do for now. 😉
Thank you so much for joining me today, I hope you like my little copper light as much as I do. I adore how it makes the front hall cozy and welcoming.
Cozy Living Team
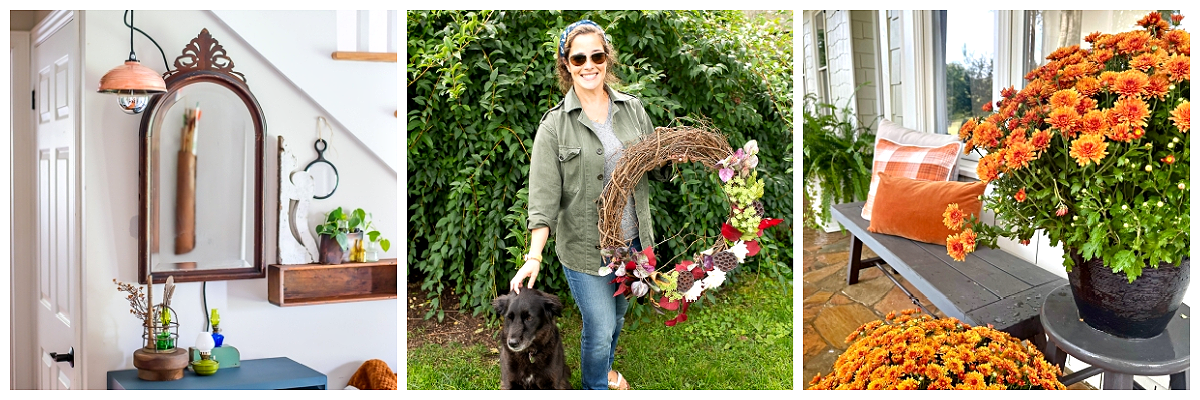
DIY Copper Pendant / DIY Fall Wreath / Mum Care 101
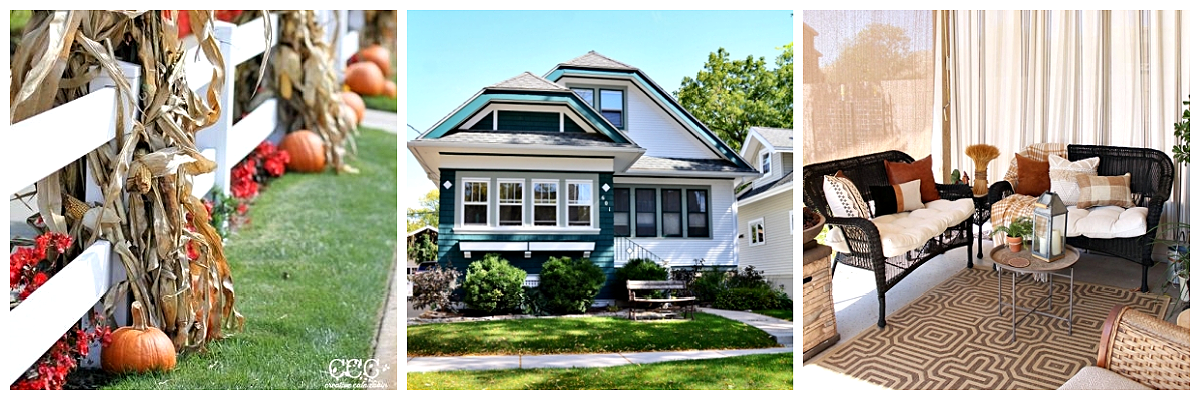
20 Fall Ideas / Cozy Bungalow Homes / Fall Patio
Pin It For Later
1 Comment
What a brilliant and fun idea! I love how you’ve upcycled this antique. So pretty and such a good tip for cleaning it a bit.