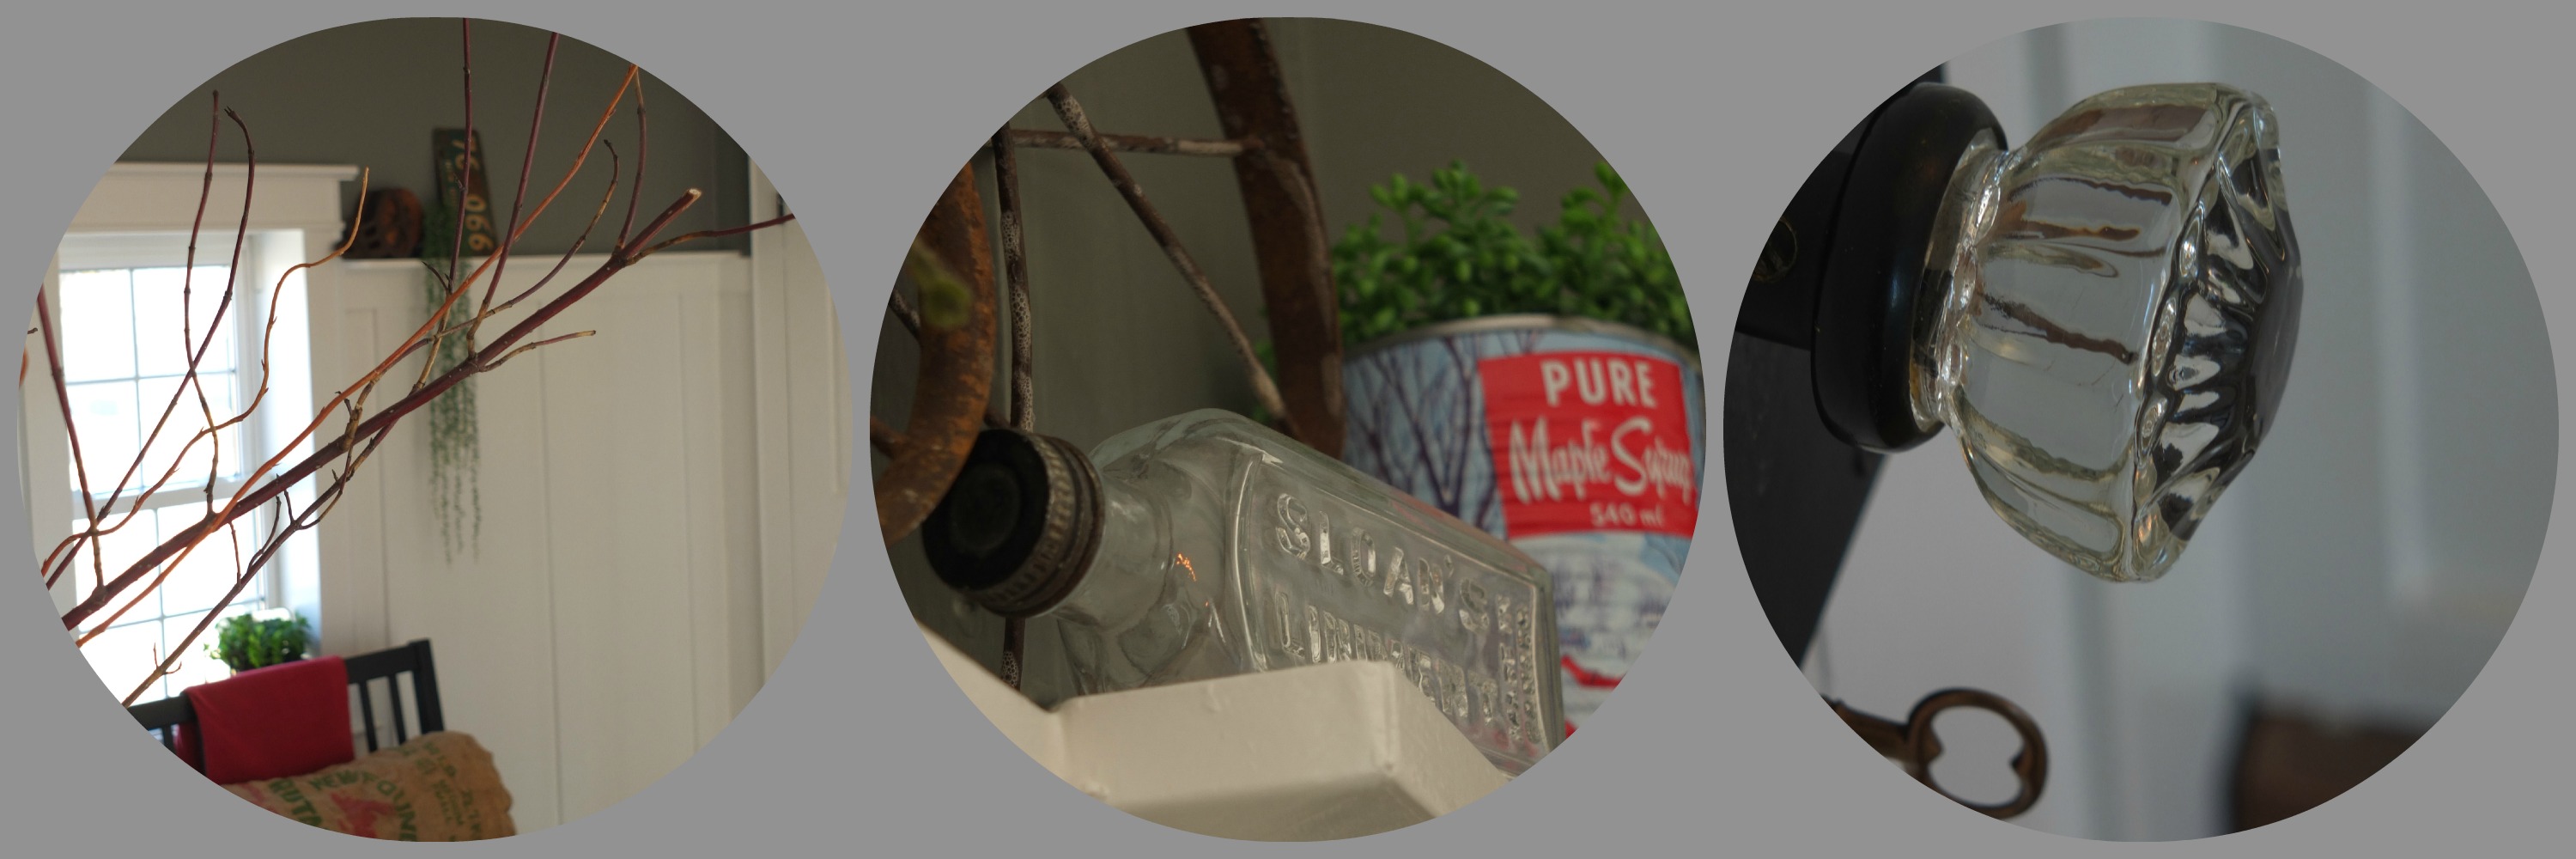
What is a summer kitchen? Before moving into our 1854 farm house I had no idea what it was, I certainly would have never guessed that it was considered a luxury if a home had a summer kitchen.
In reality all this wide open room had going for it was the fact that the cooking and food preparation was all done there, this saved the main house from heating up in the hot summer months and also kept the house clean, any “messy” chores were done there, cooking, baking, laundry… when it was time for meals to be served, the hot prepared food came out of a room, all chaos was left behind and dinner was served to a calm and cool peaceful house, doesn’t sound very luxurious does it, at least not luxurious in that tiny room.
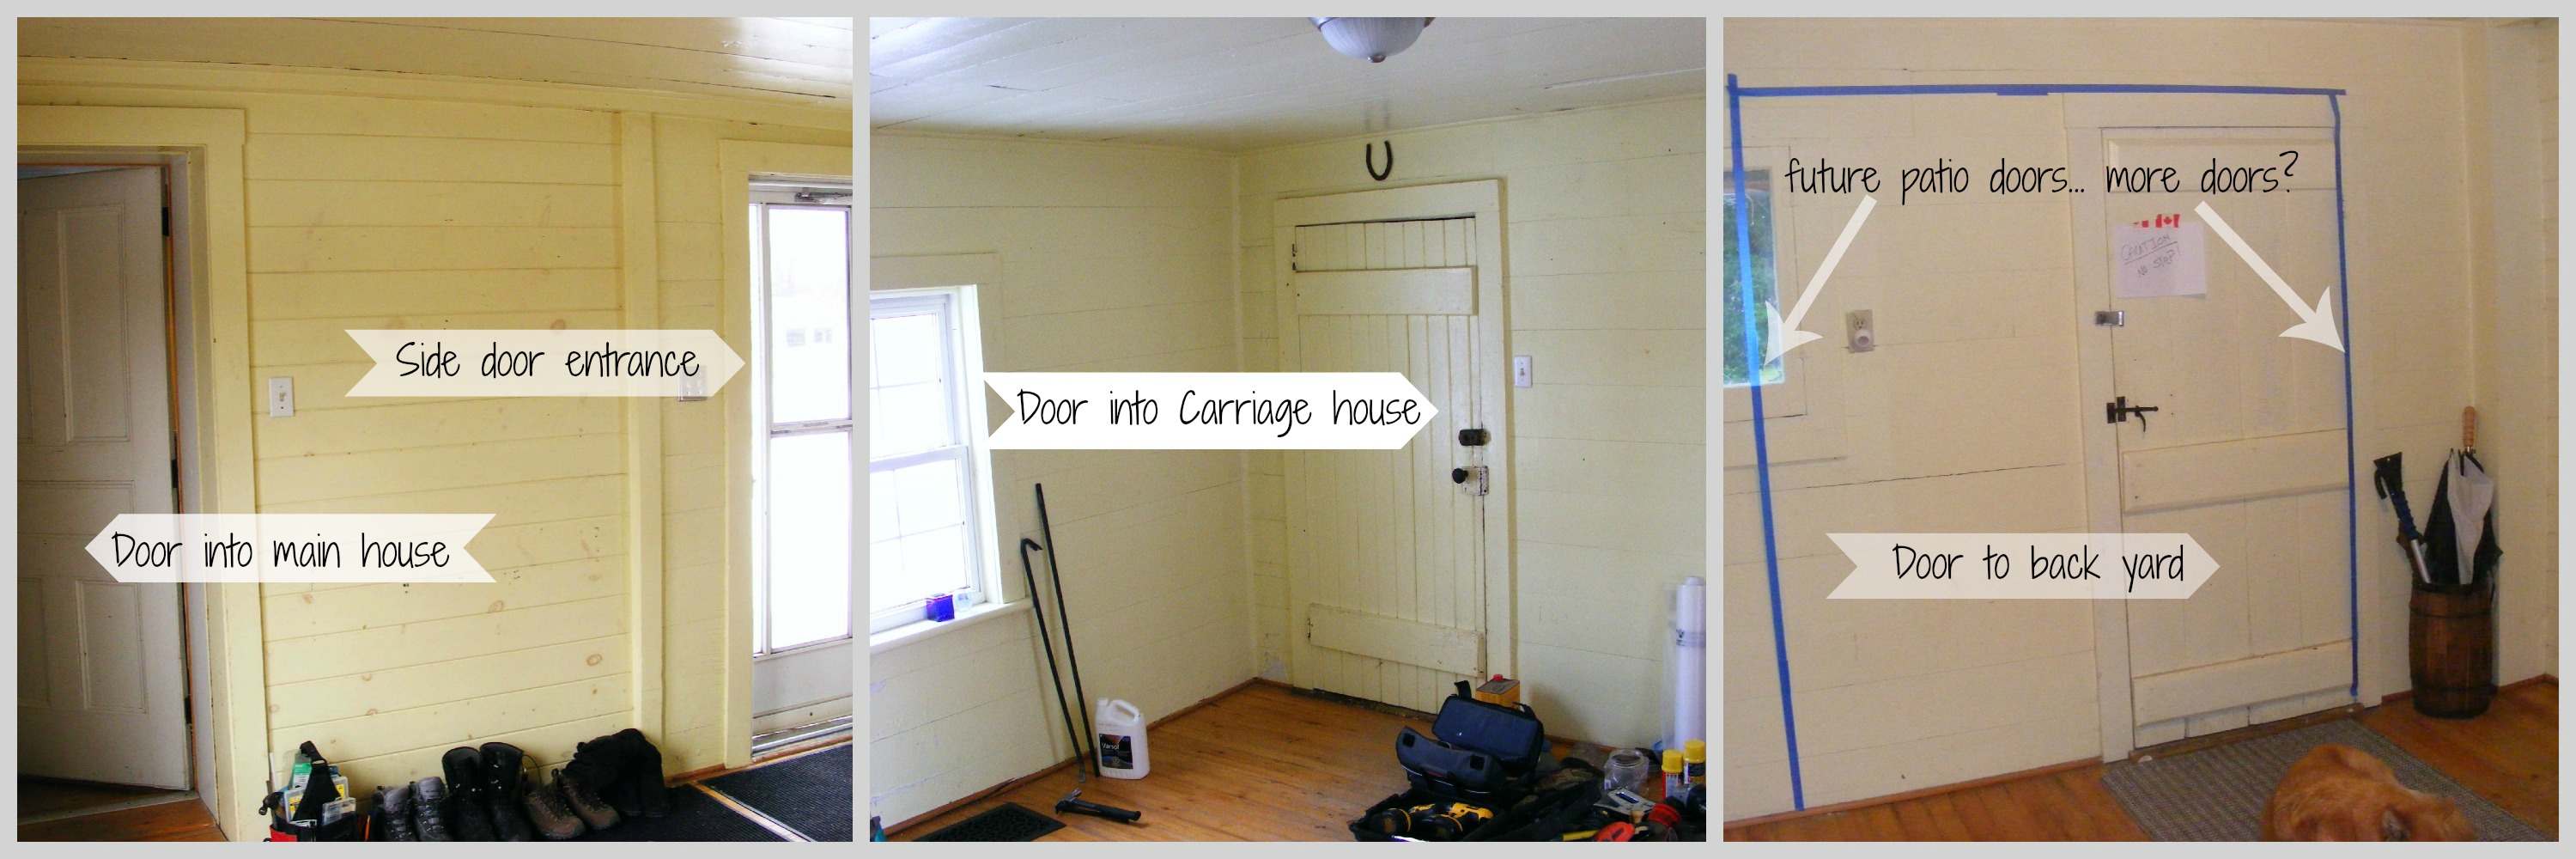
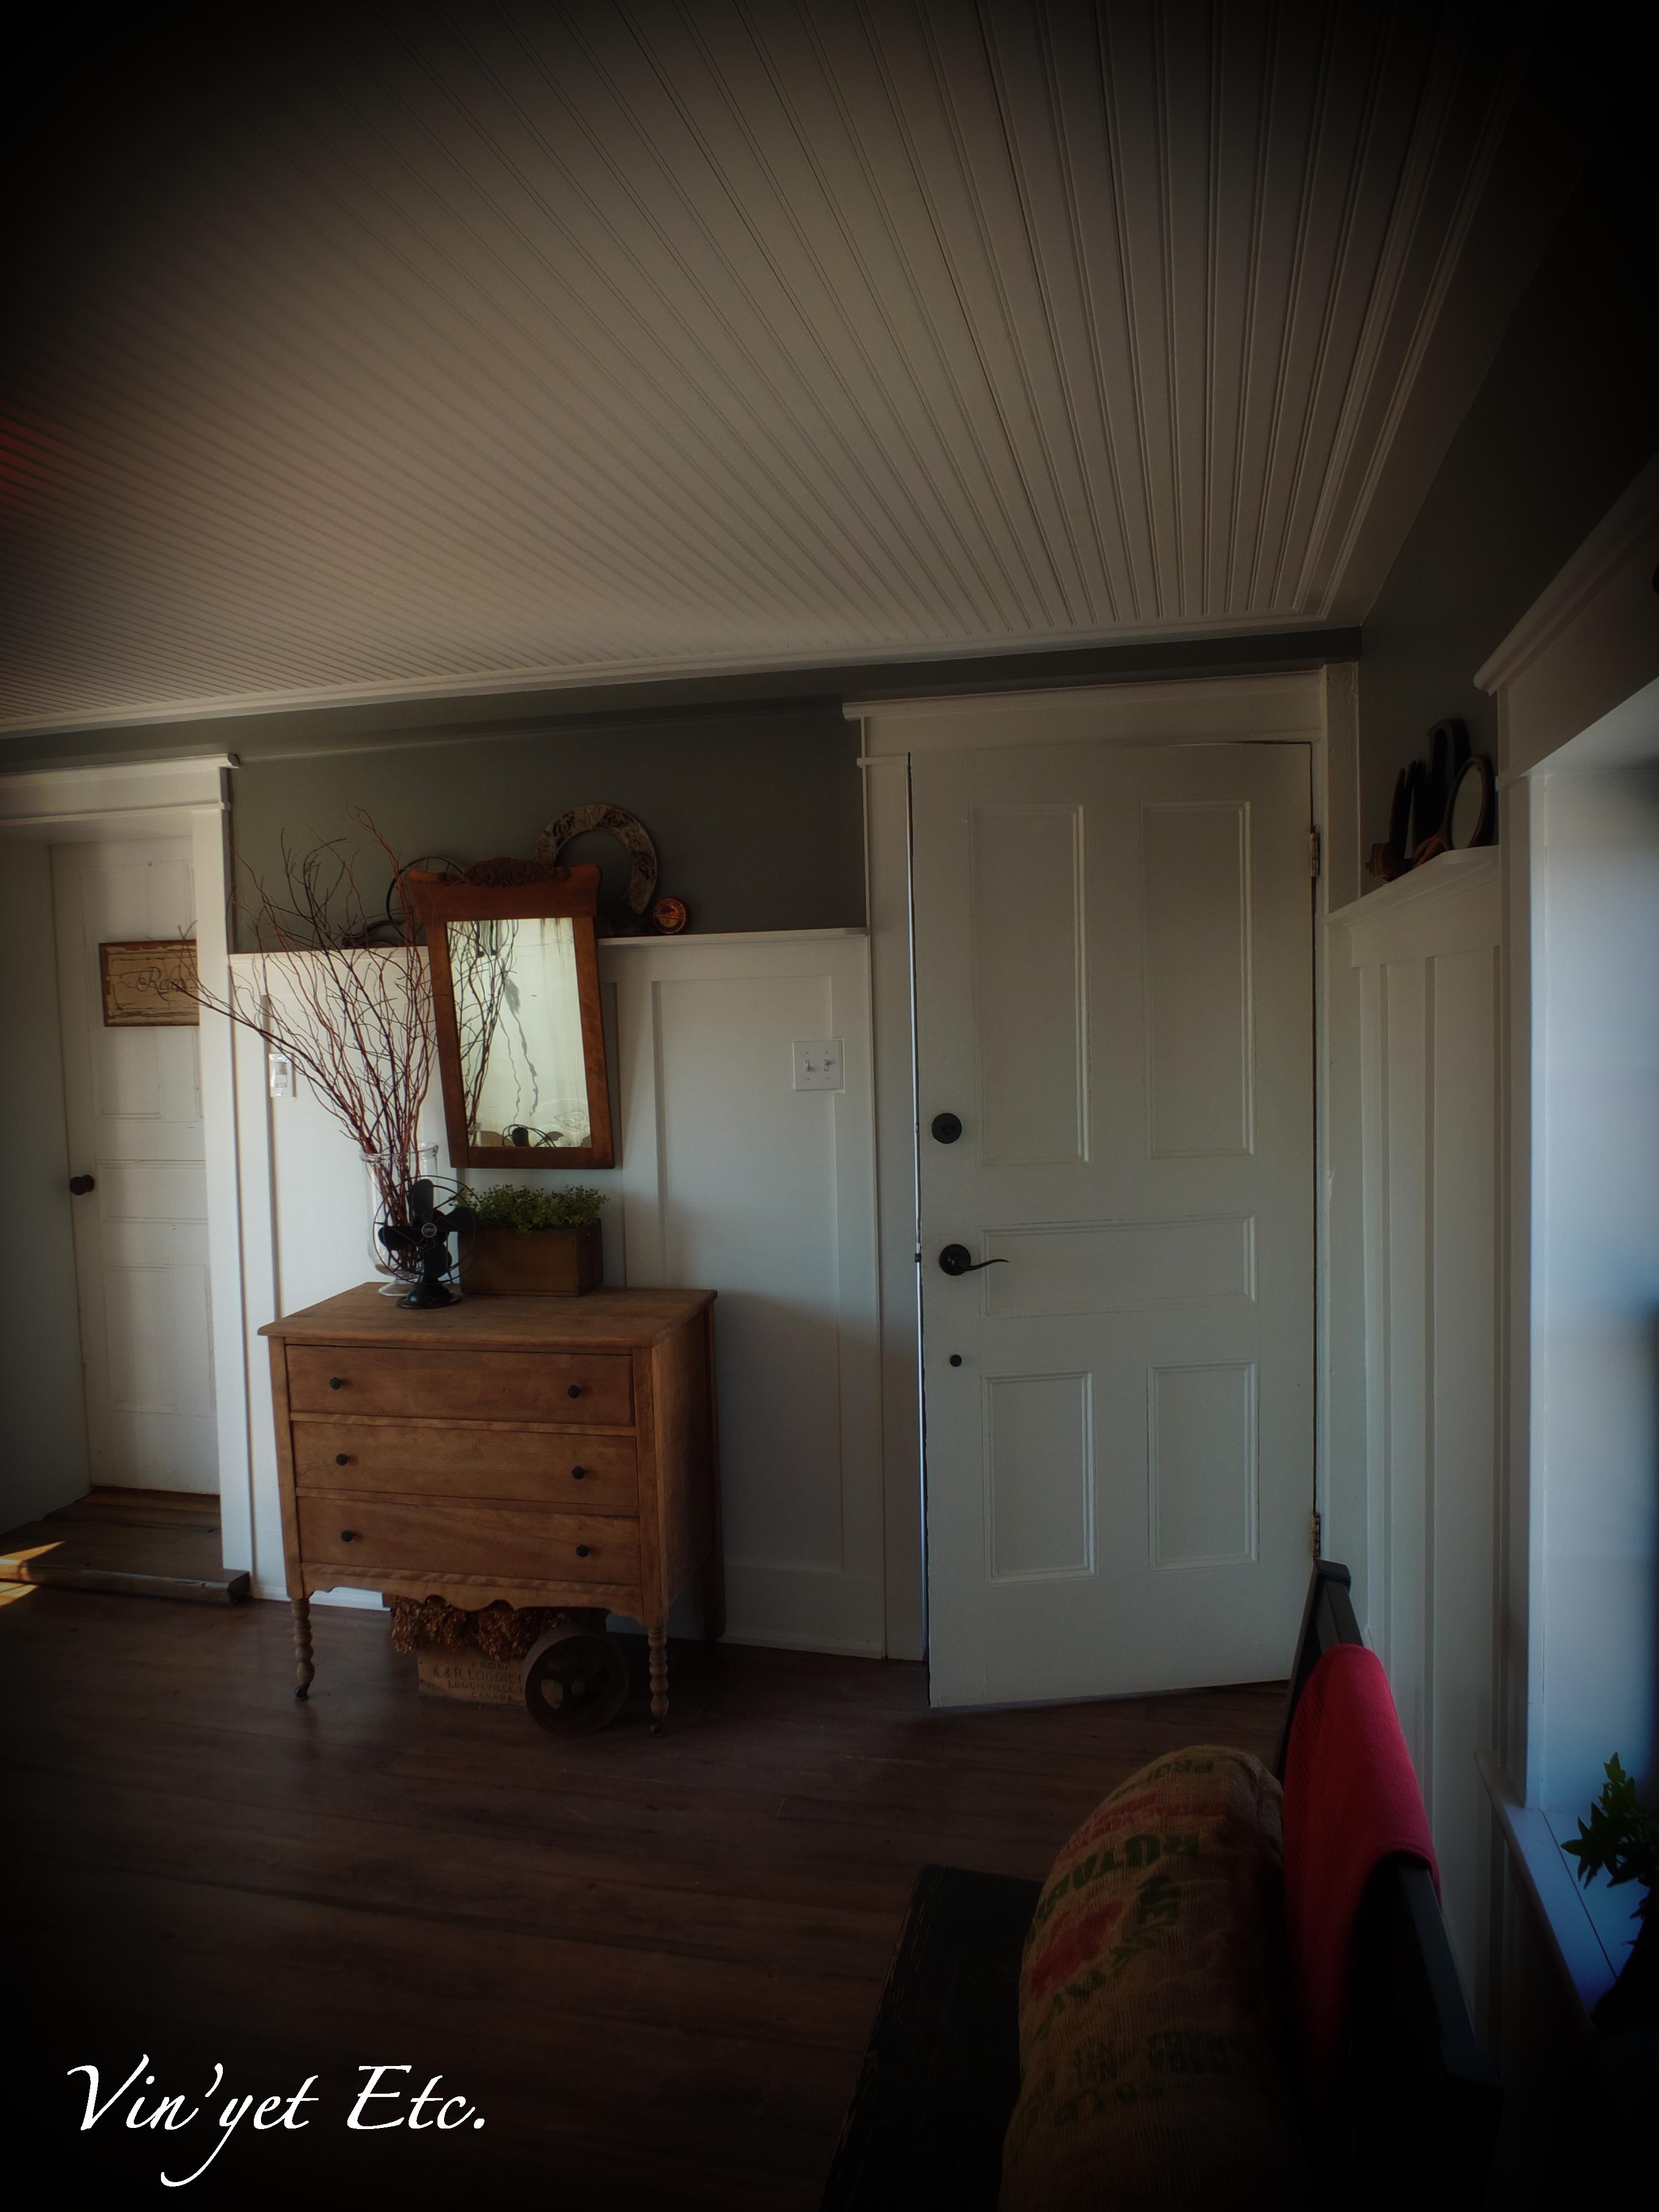
What’s behind door number one Monty? The little room with so many doors… four in all, it felt like a comedy show when we first moved in, we were all coming and going every which way… which way to the carriage house? What’s behind door number two?
This is what our summer kitchen looked like before {sorry for the picture quality}… this room had no insulation and no heat other than a pellet stove (the previous owners took that with them), the stove’s pipe was so totally “illegally” hooked up, I cringe just thinking about it! A definite NOT to code pellet stove… very dangerous…

The far left window was always opened and the stove pipe went through the painted (waterlogged) press board and released the smoke outside… oh boy! I love Bud’s sign, beware, no step, we were starting the deck at the same time… yep, we’re nutso!
We lived with this room as is for five years, it was a freezer in winter literately, and an oven in the summer… we did not replace the stove, the placement was very inefficient to heat the home, besides we had big plans for this little room…
This summer kitchen was quite a challenge! There were so many details that I have not gone into, to simplify here is a quick list of what was majorly wrong with it…
- no heat
- no insulation
- no storage
- a pale dirty ugly yellow, even the ceiling was ick!
- the threshold that went into the house was a slope and caused lots of trips, but mostly it was very slippery…
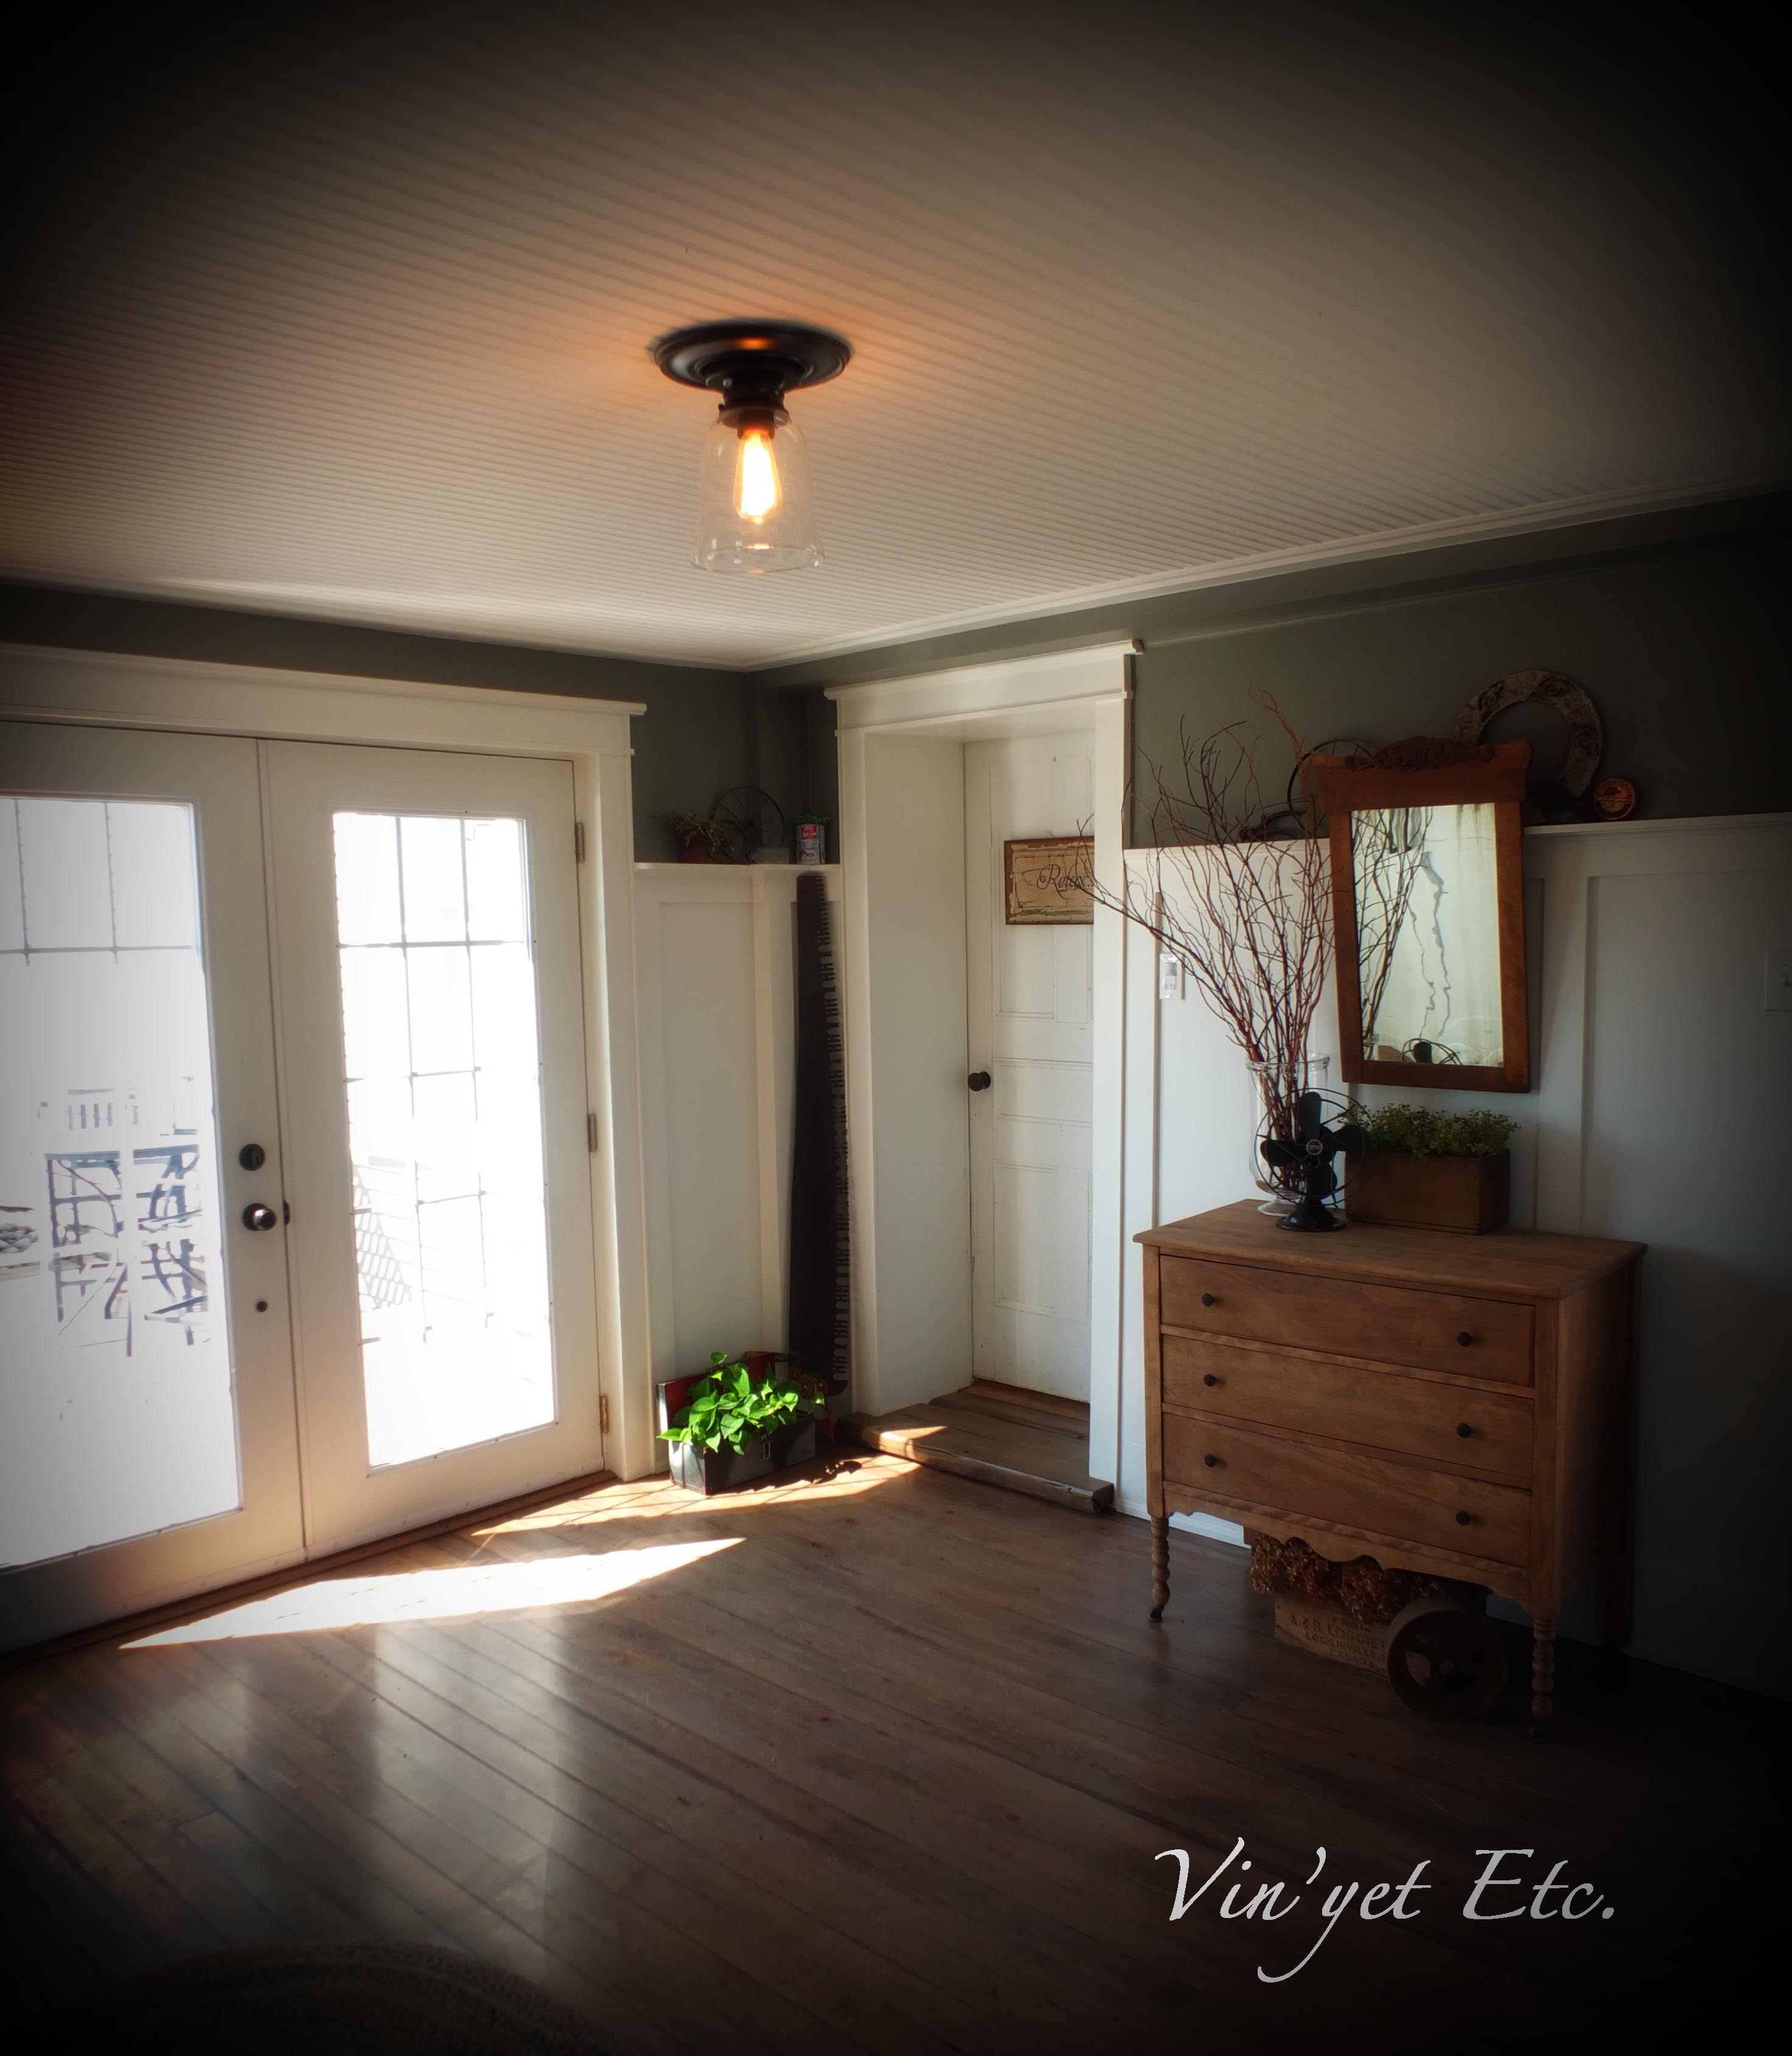
We started with the deck, strange I know… the whole back yard was a black cavern, not one light out there, for the purpose of this renovation I will start with the patio doors… the blue tape (above) is where we wanted the french patio doors to go, more doors? Yep, there was only one good window in this room (we removed the stove pipe window), we wanted more natural light and to extend this room to the outside. Welcome the patio door hole!
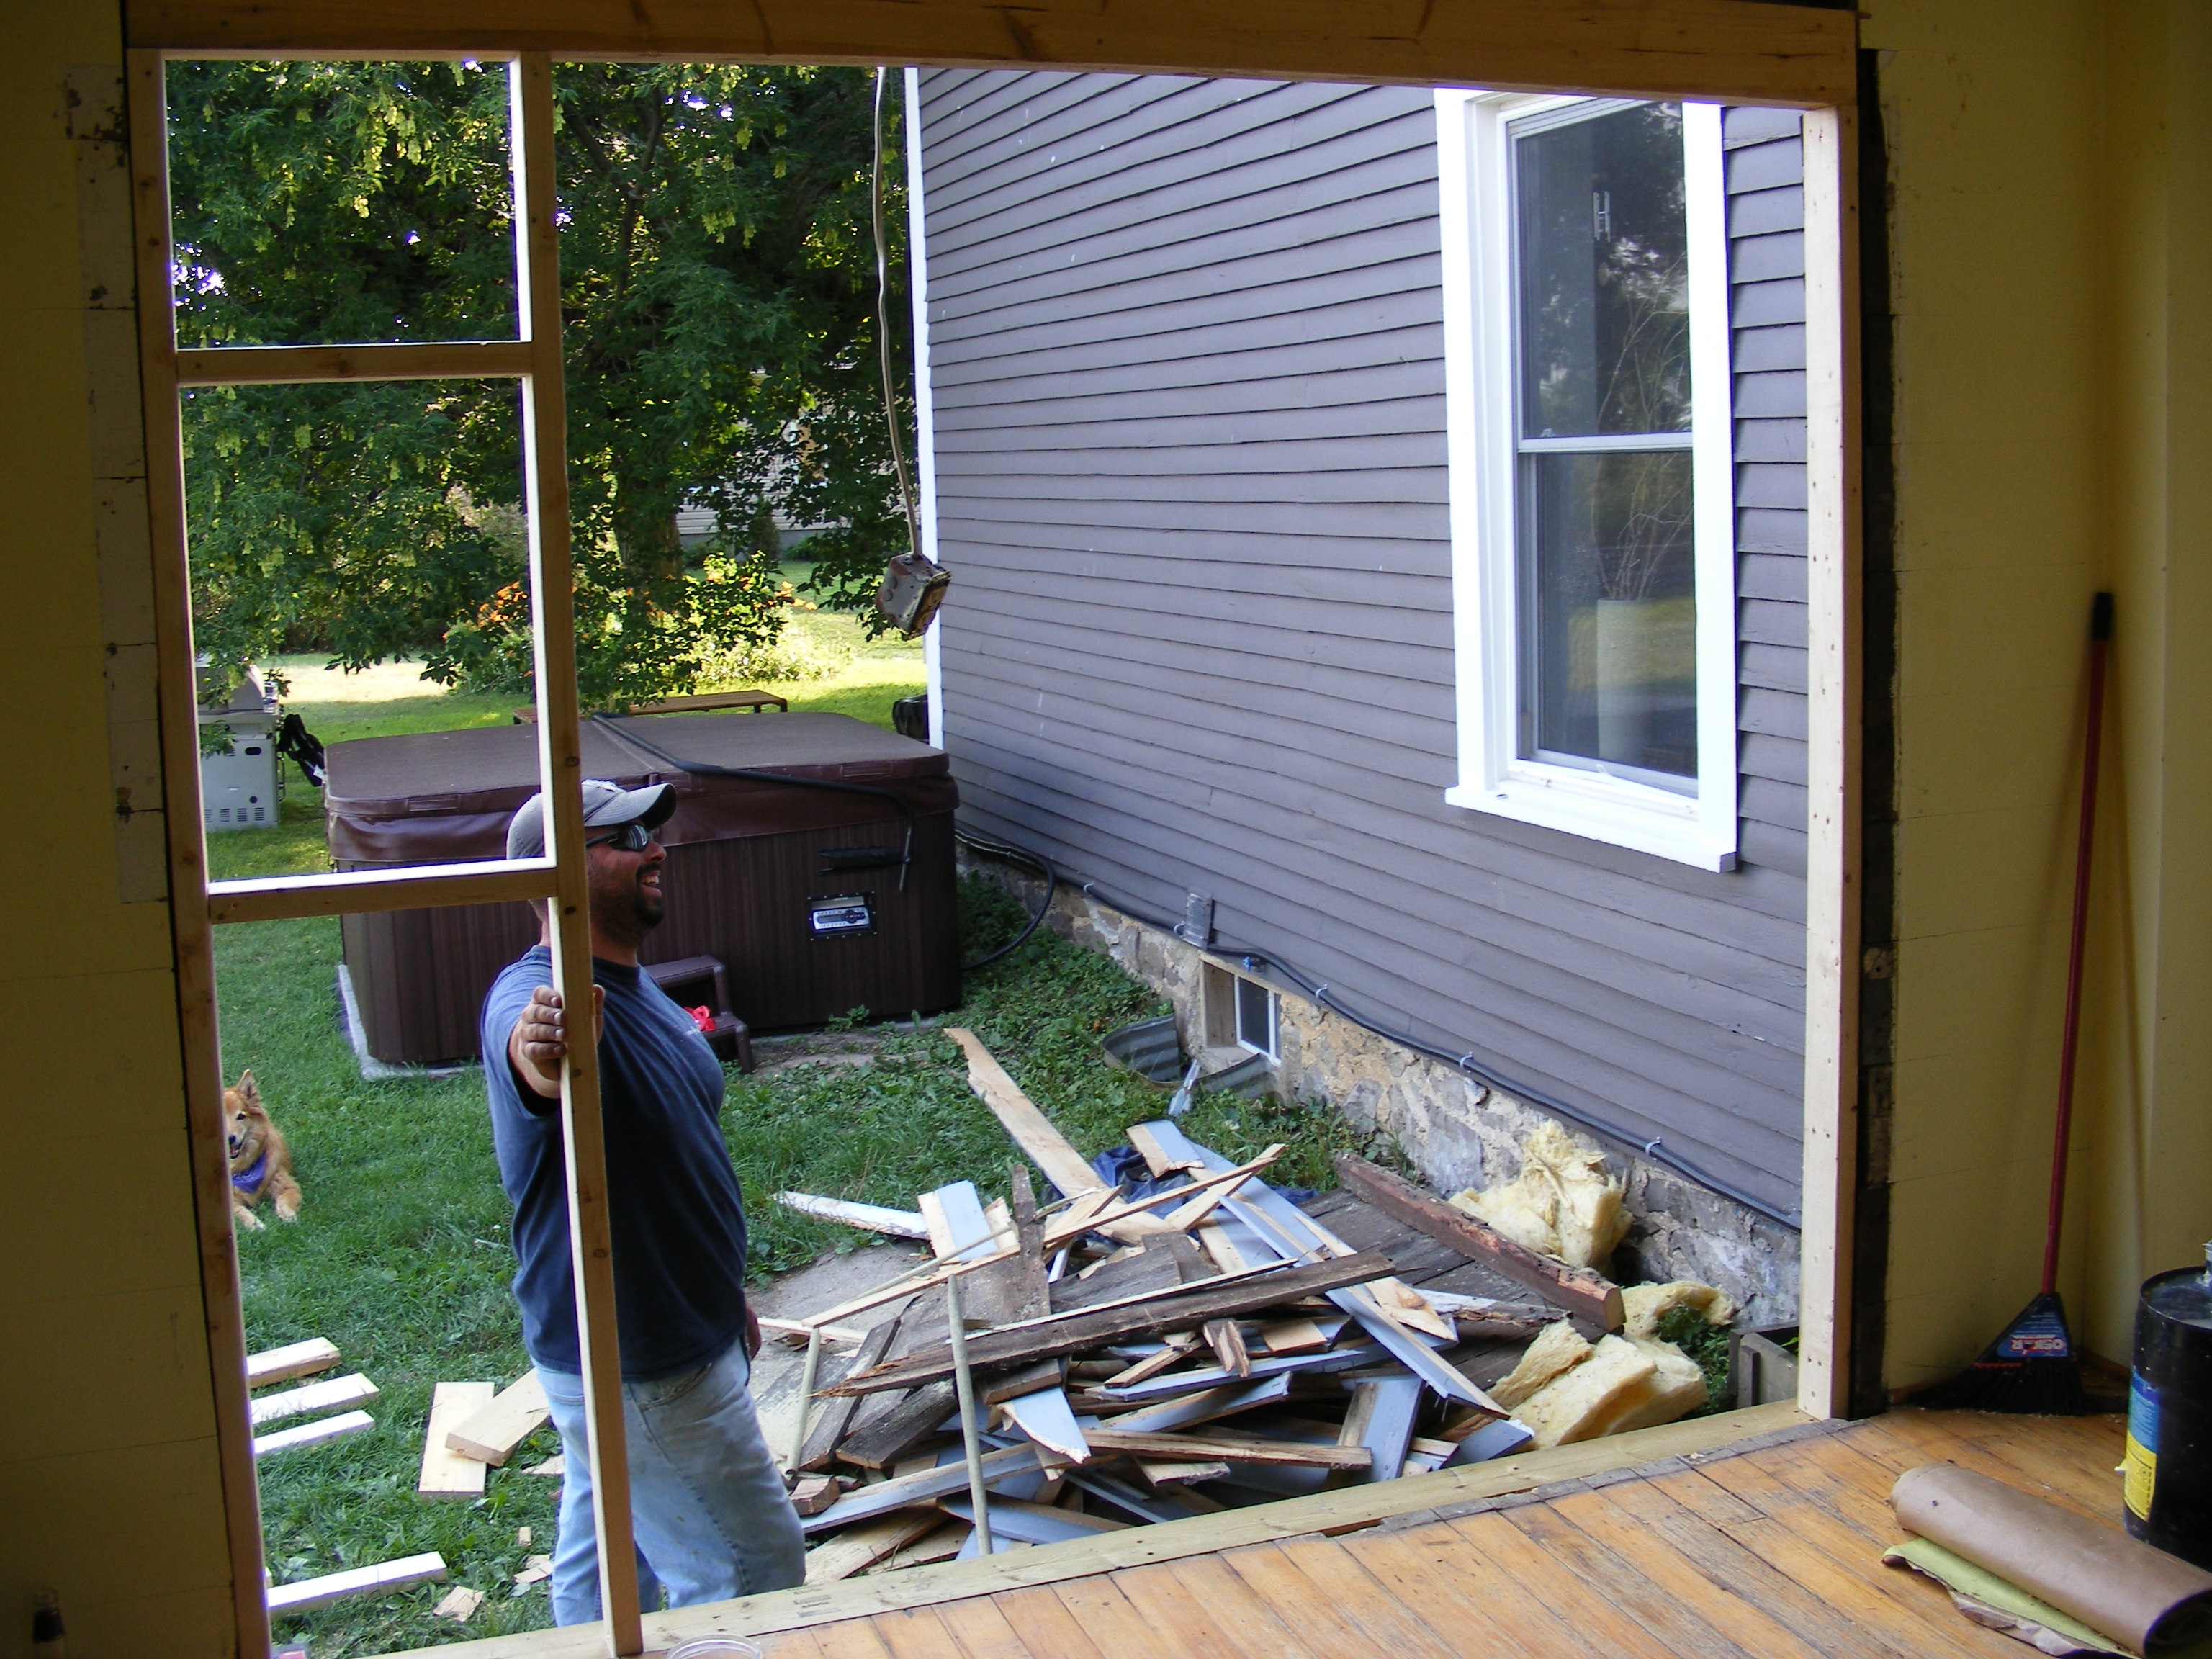
That’s our friend Brandon and our pup Polly… Oh and a peek at the hot tub… quite a bit of demo, what a mess! The deck now extends way past the corner of the house, that project is for another post…
Next step was the insulation in the crawl space under the summer kitchen, it’s open to dirt so we weren’t sure how to do it… spray insulation is magic! Bud plumbed some duct work from the main house to the summer kitchen and we then insulated with the spray, it made a difference, but not how I expected it to… I thought that would fix all of the “heating” issues, I was wrong, no insulation in the remaining walls, no vapour barrier and leaky doors… keep going…
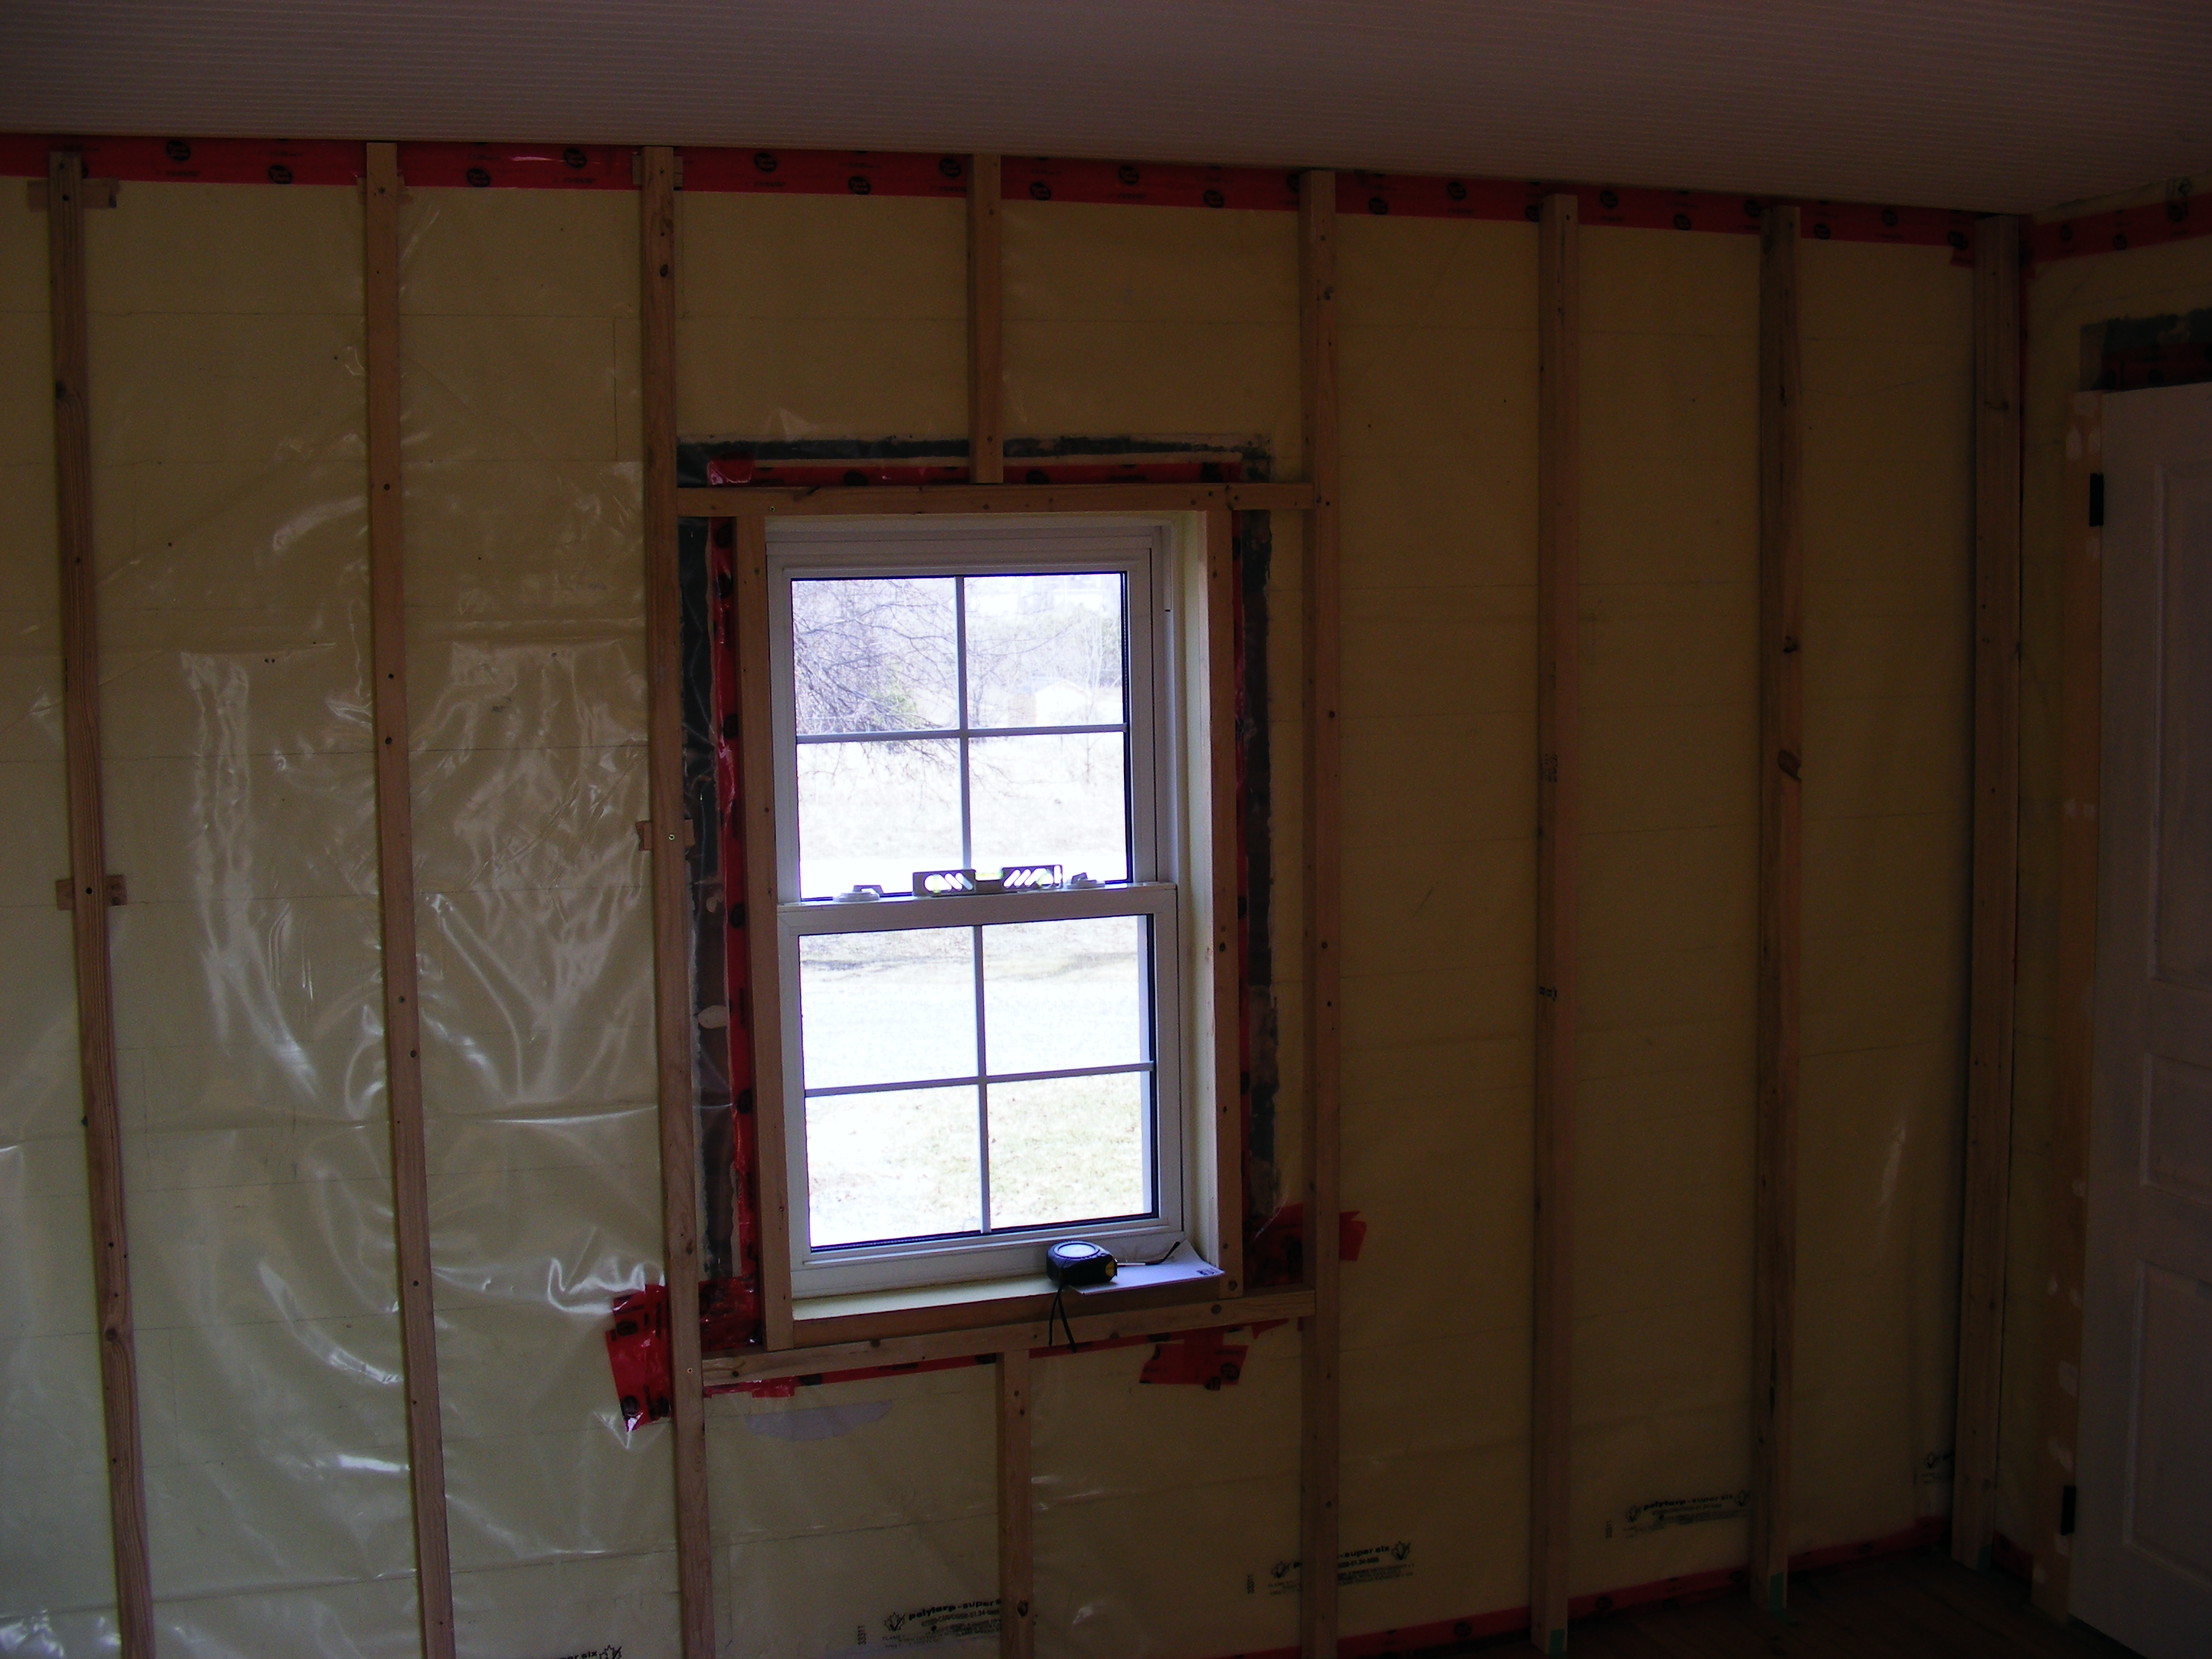 We insulated any walls that weren’t done, applied vapour barrier and re-framed two of the exterior walls… they were crooked every way possible, Bud went into the crawl space and reinforced the support beams to help with movement and to try to straighten it. We finally realized that each piece of strapping for the drywall was going to be a different size!
We planned this room out very carefully, getting this room to be livable was priority one, after the drywall was installed (and could be one post all on it’s own, but I won’t go there) next on that list was storage… can you say IKEA hack!? Whooo Hooo!
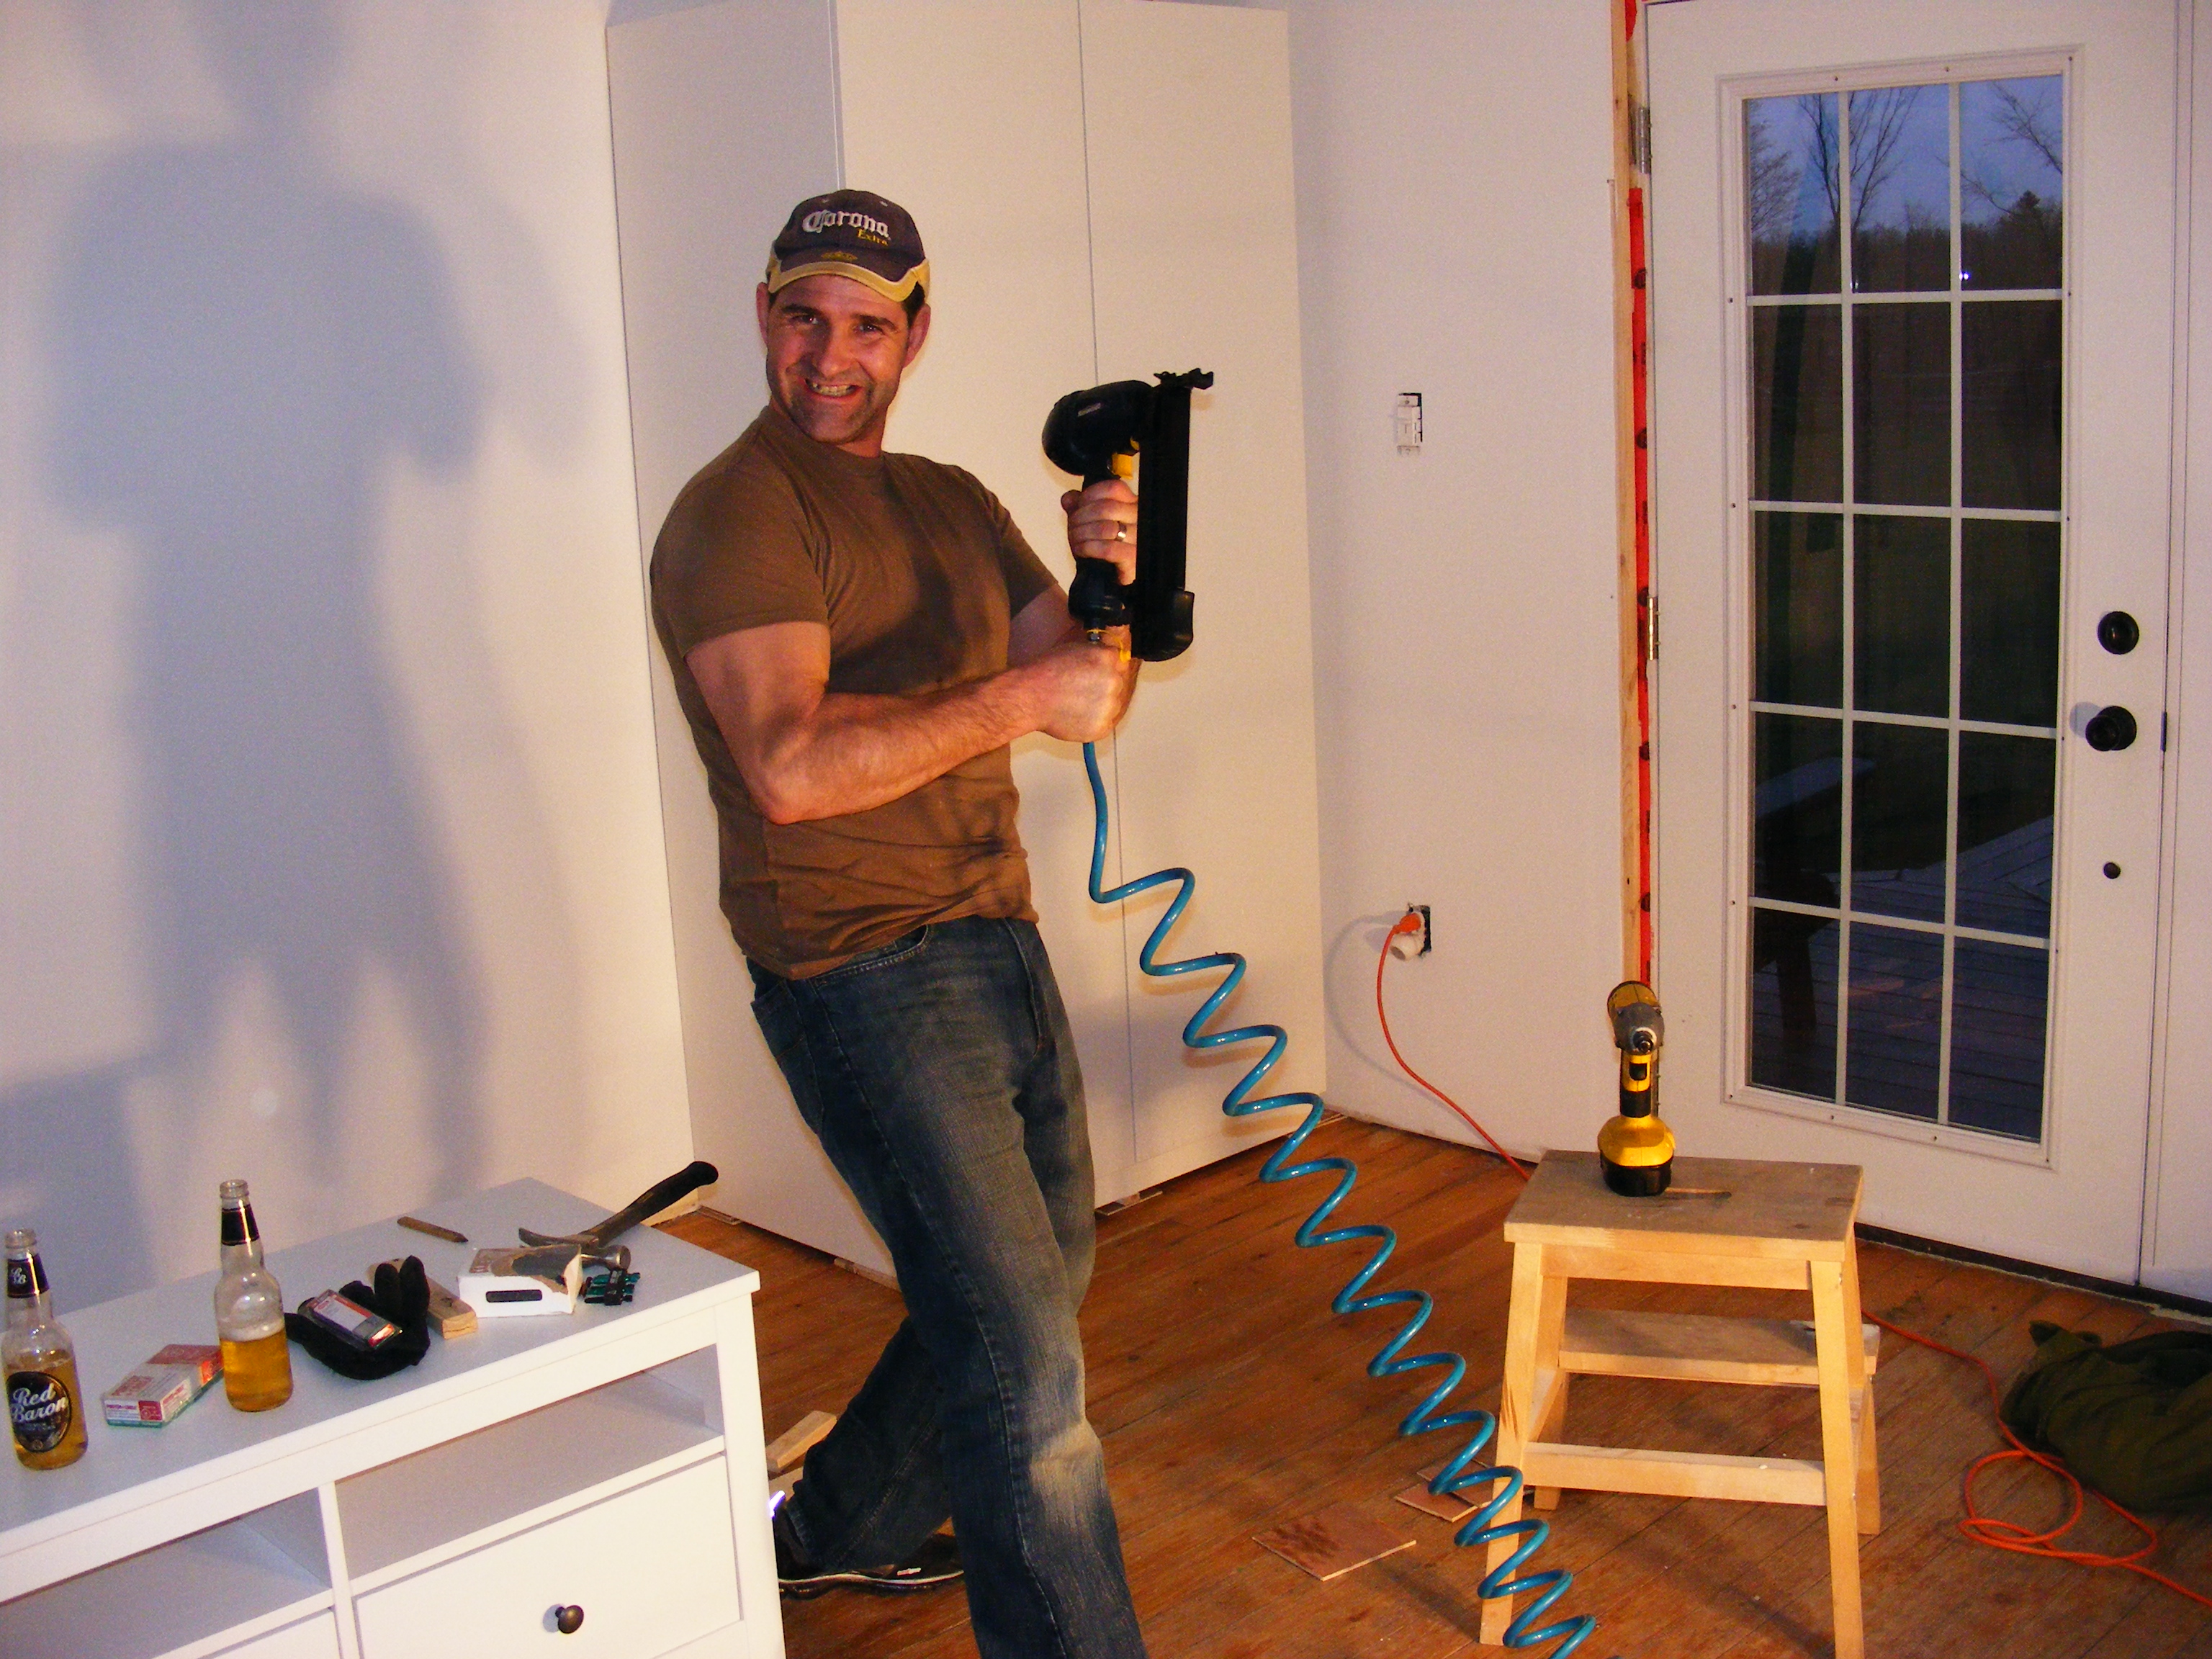 We picked up the pax wardrobe with plain doors, and the Hemnes TV bench. We wanted to use some antique pine from old barn beams we had as a top, so we cut the legs off of the bench and fit it in beside the wardrobe. Let the framing begin! Muhahahaha, evil laugh!
Sorry ladies, he’s taken! 😉
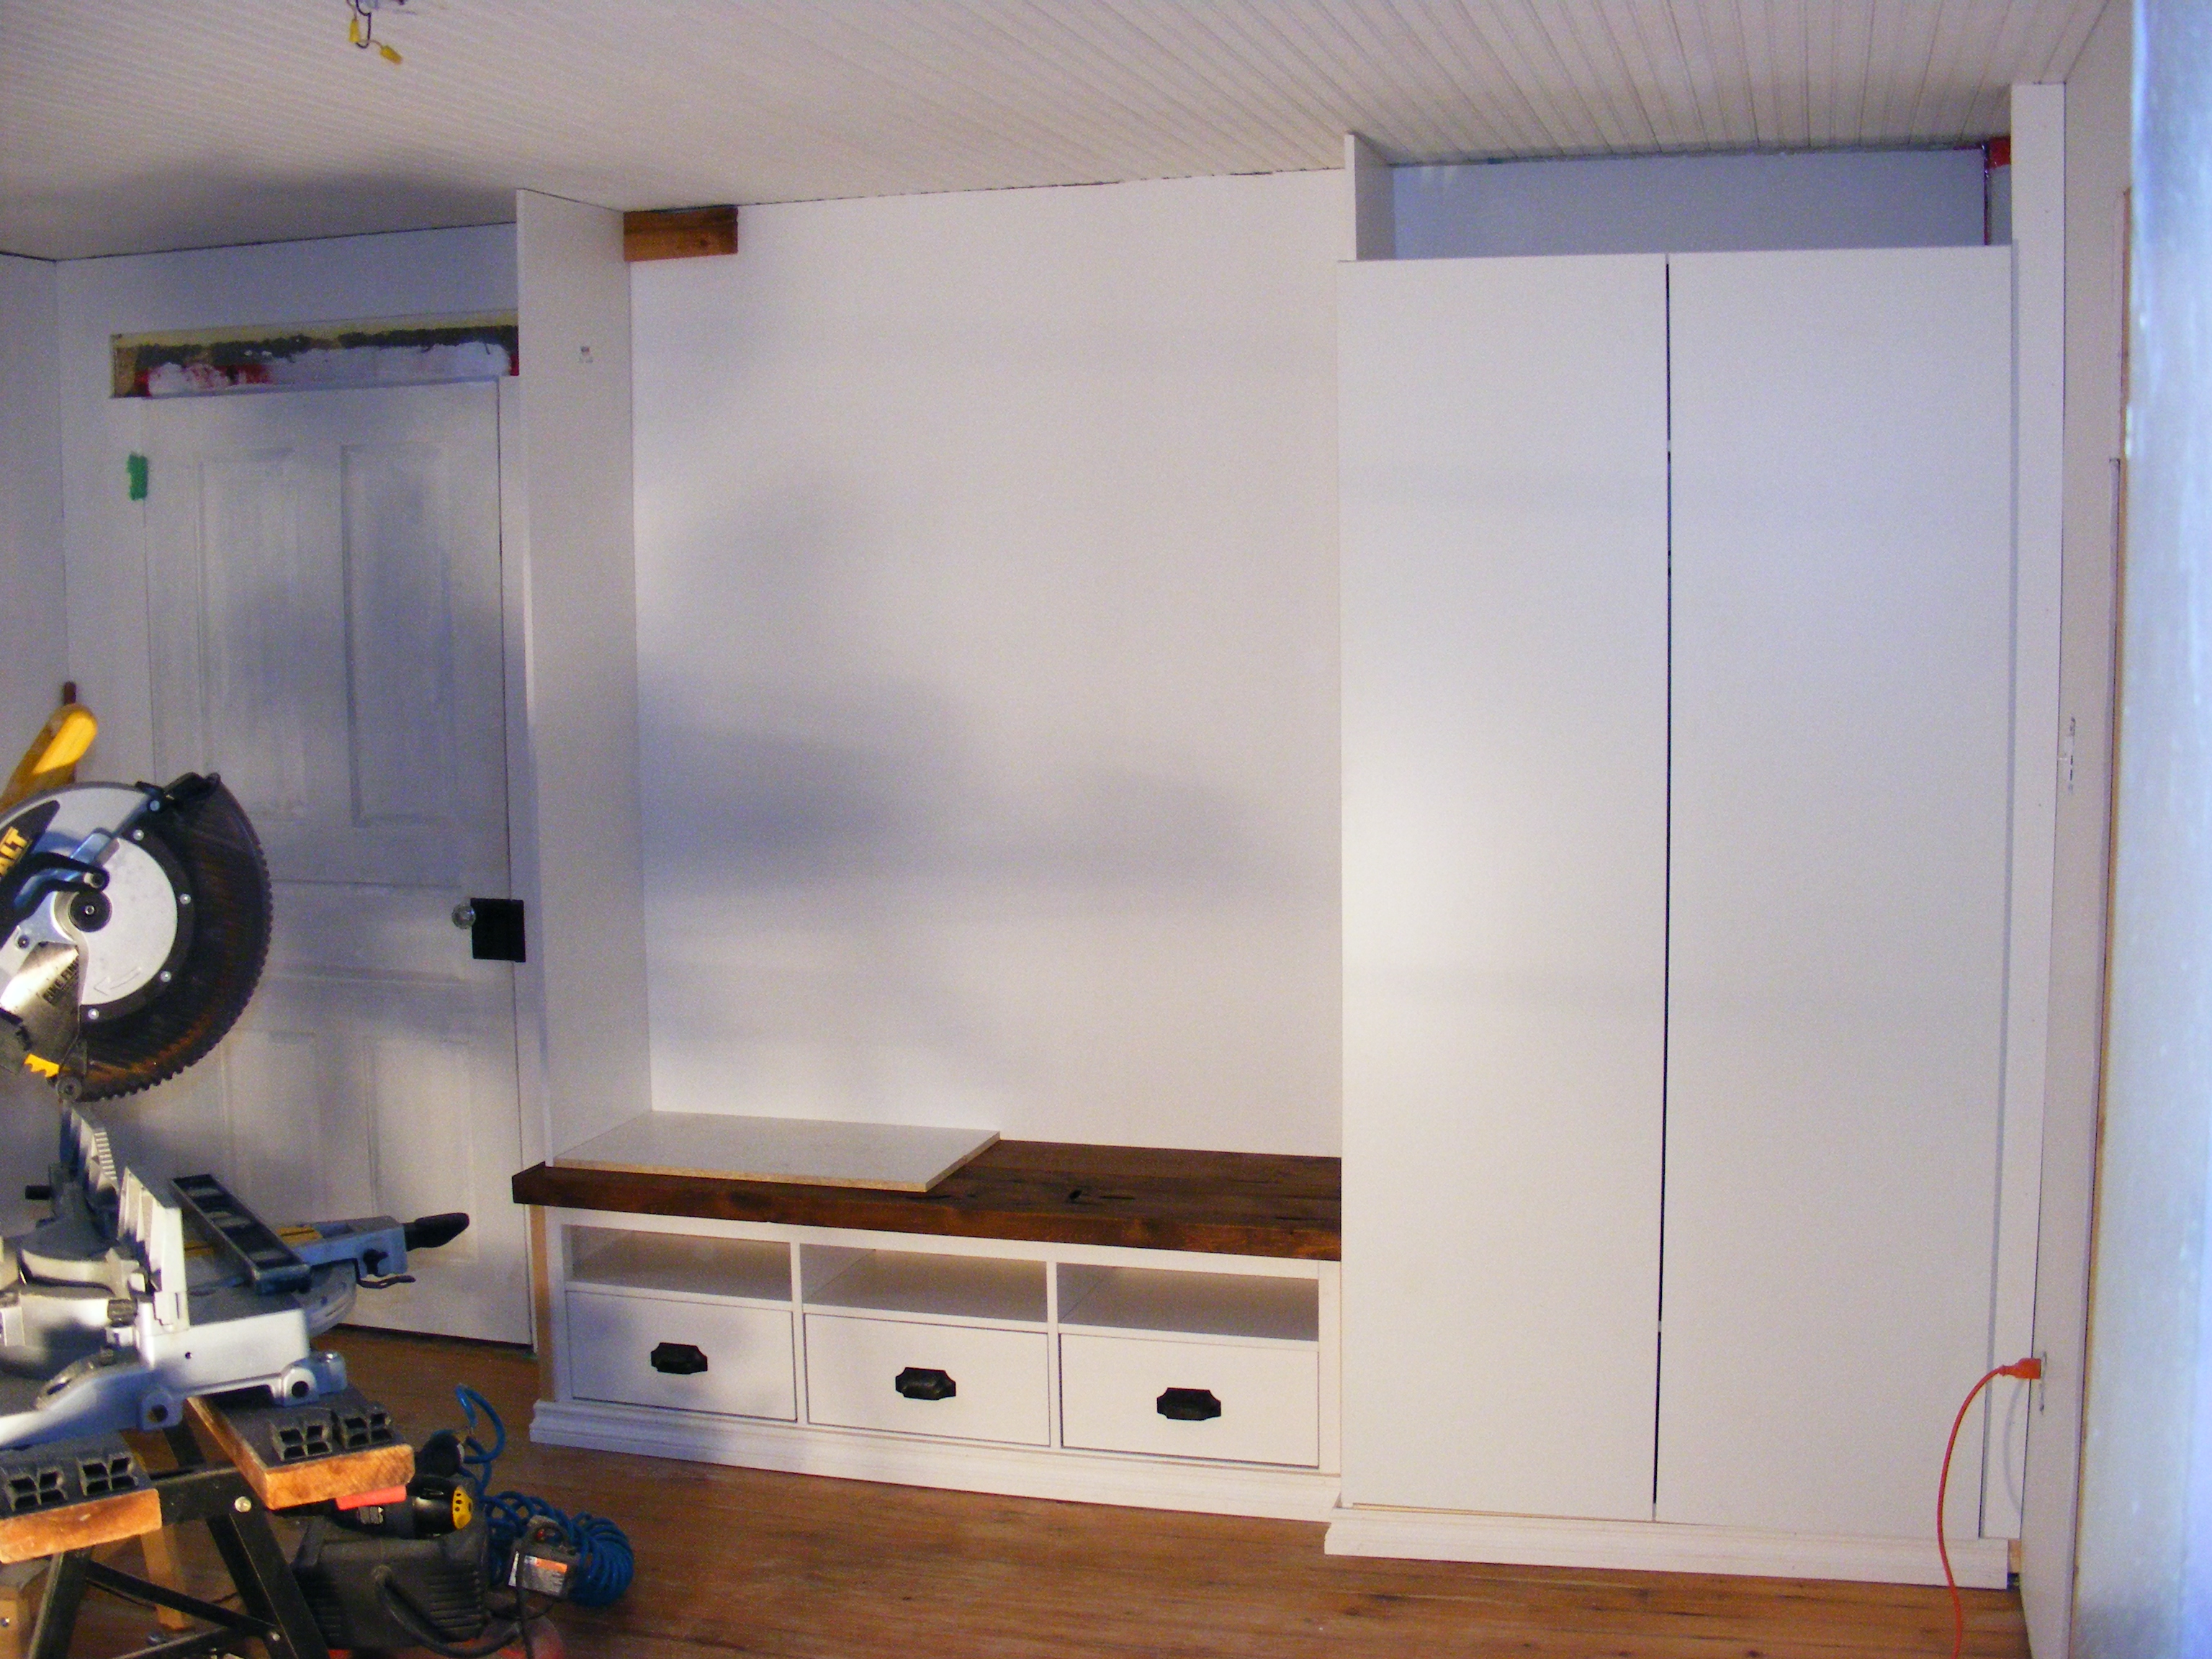 I just couldn’t wait to get the barn board on there and the new handles we bought for the drawers. More trimming and framing, we almost have built-ins, like real adults!
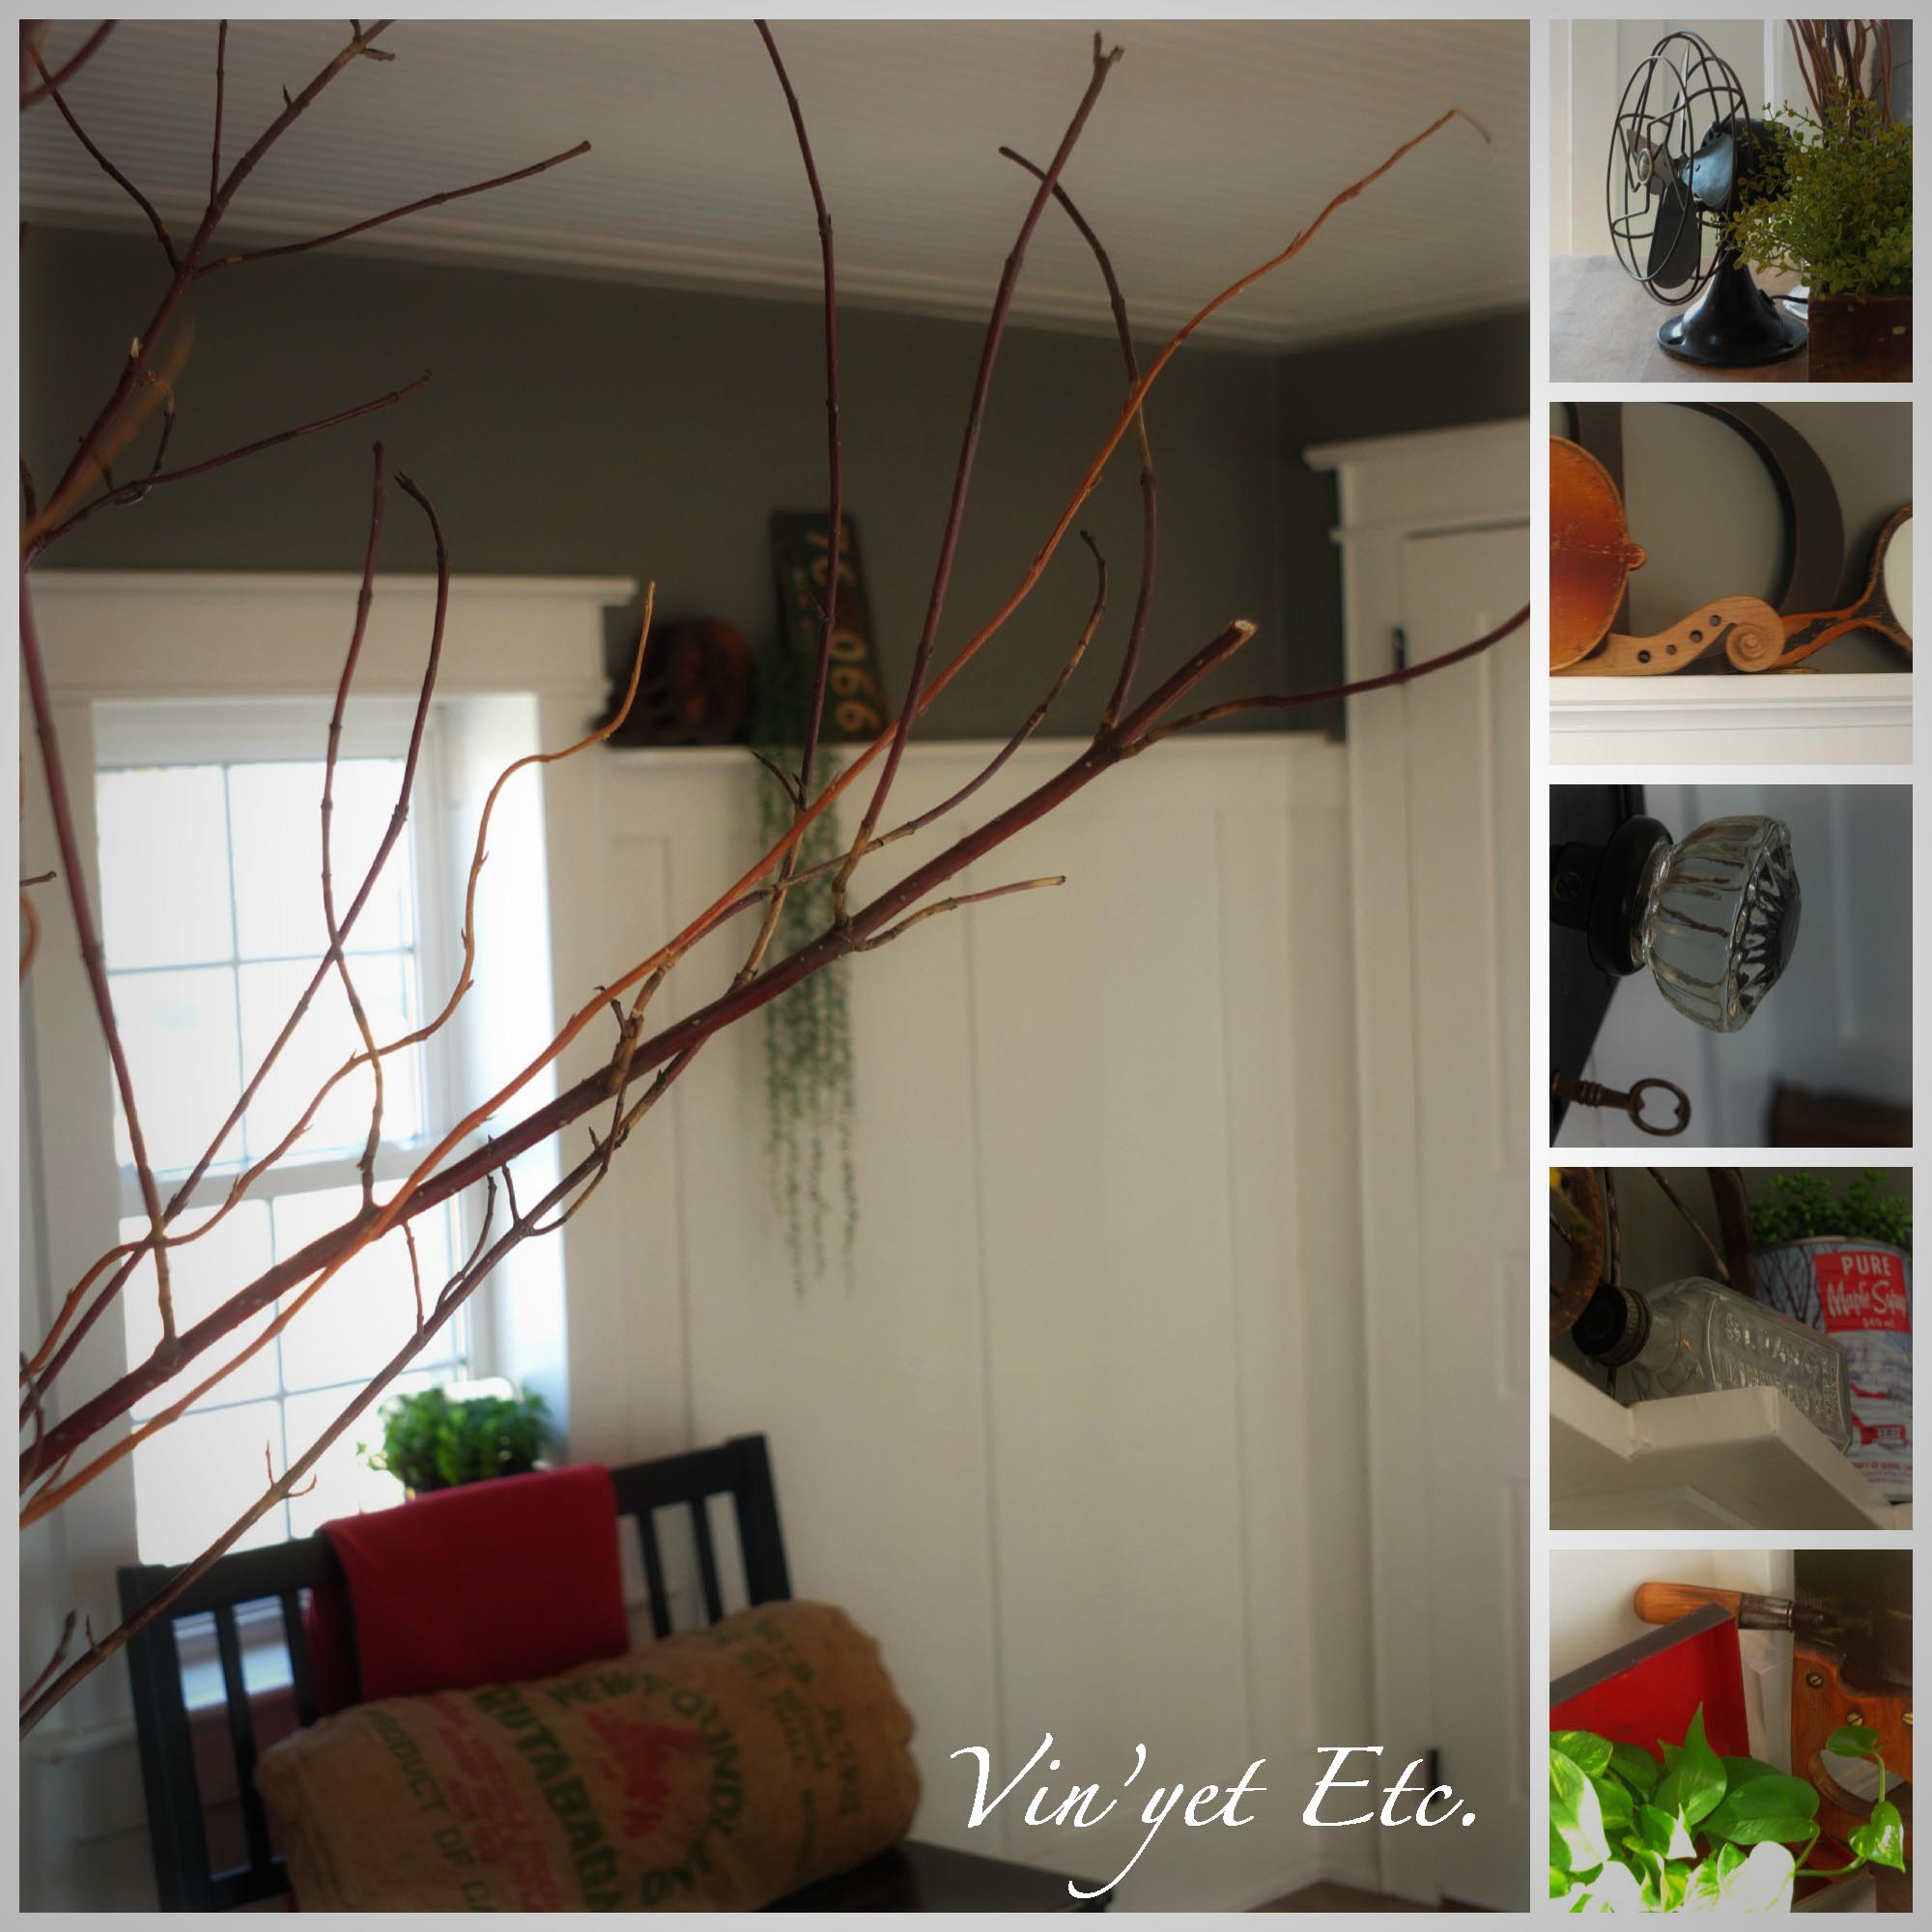
Here are some more pictures of the trimming and framing process… I won’t bore you with the commentary…

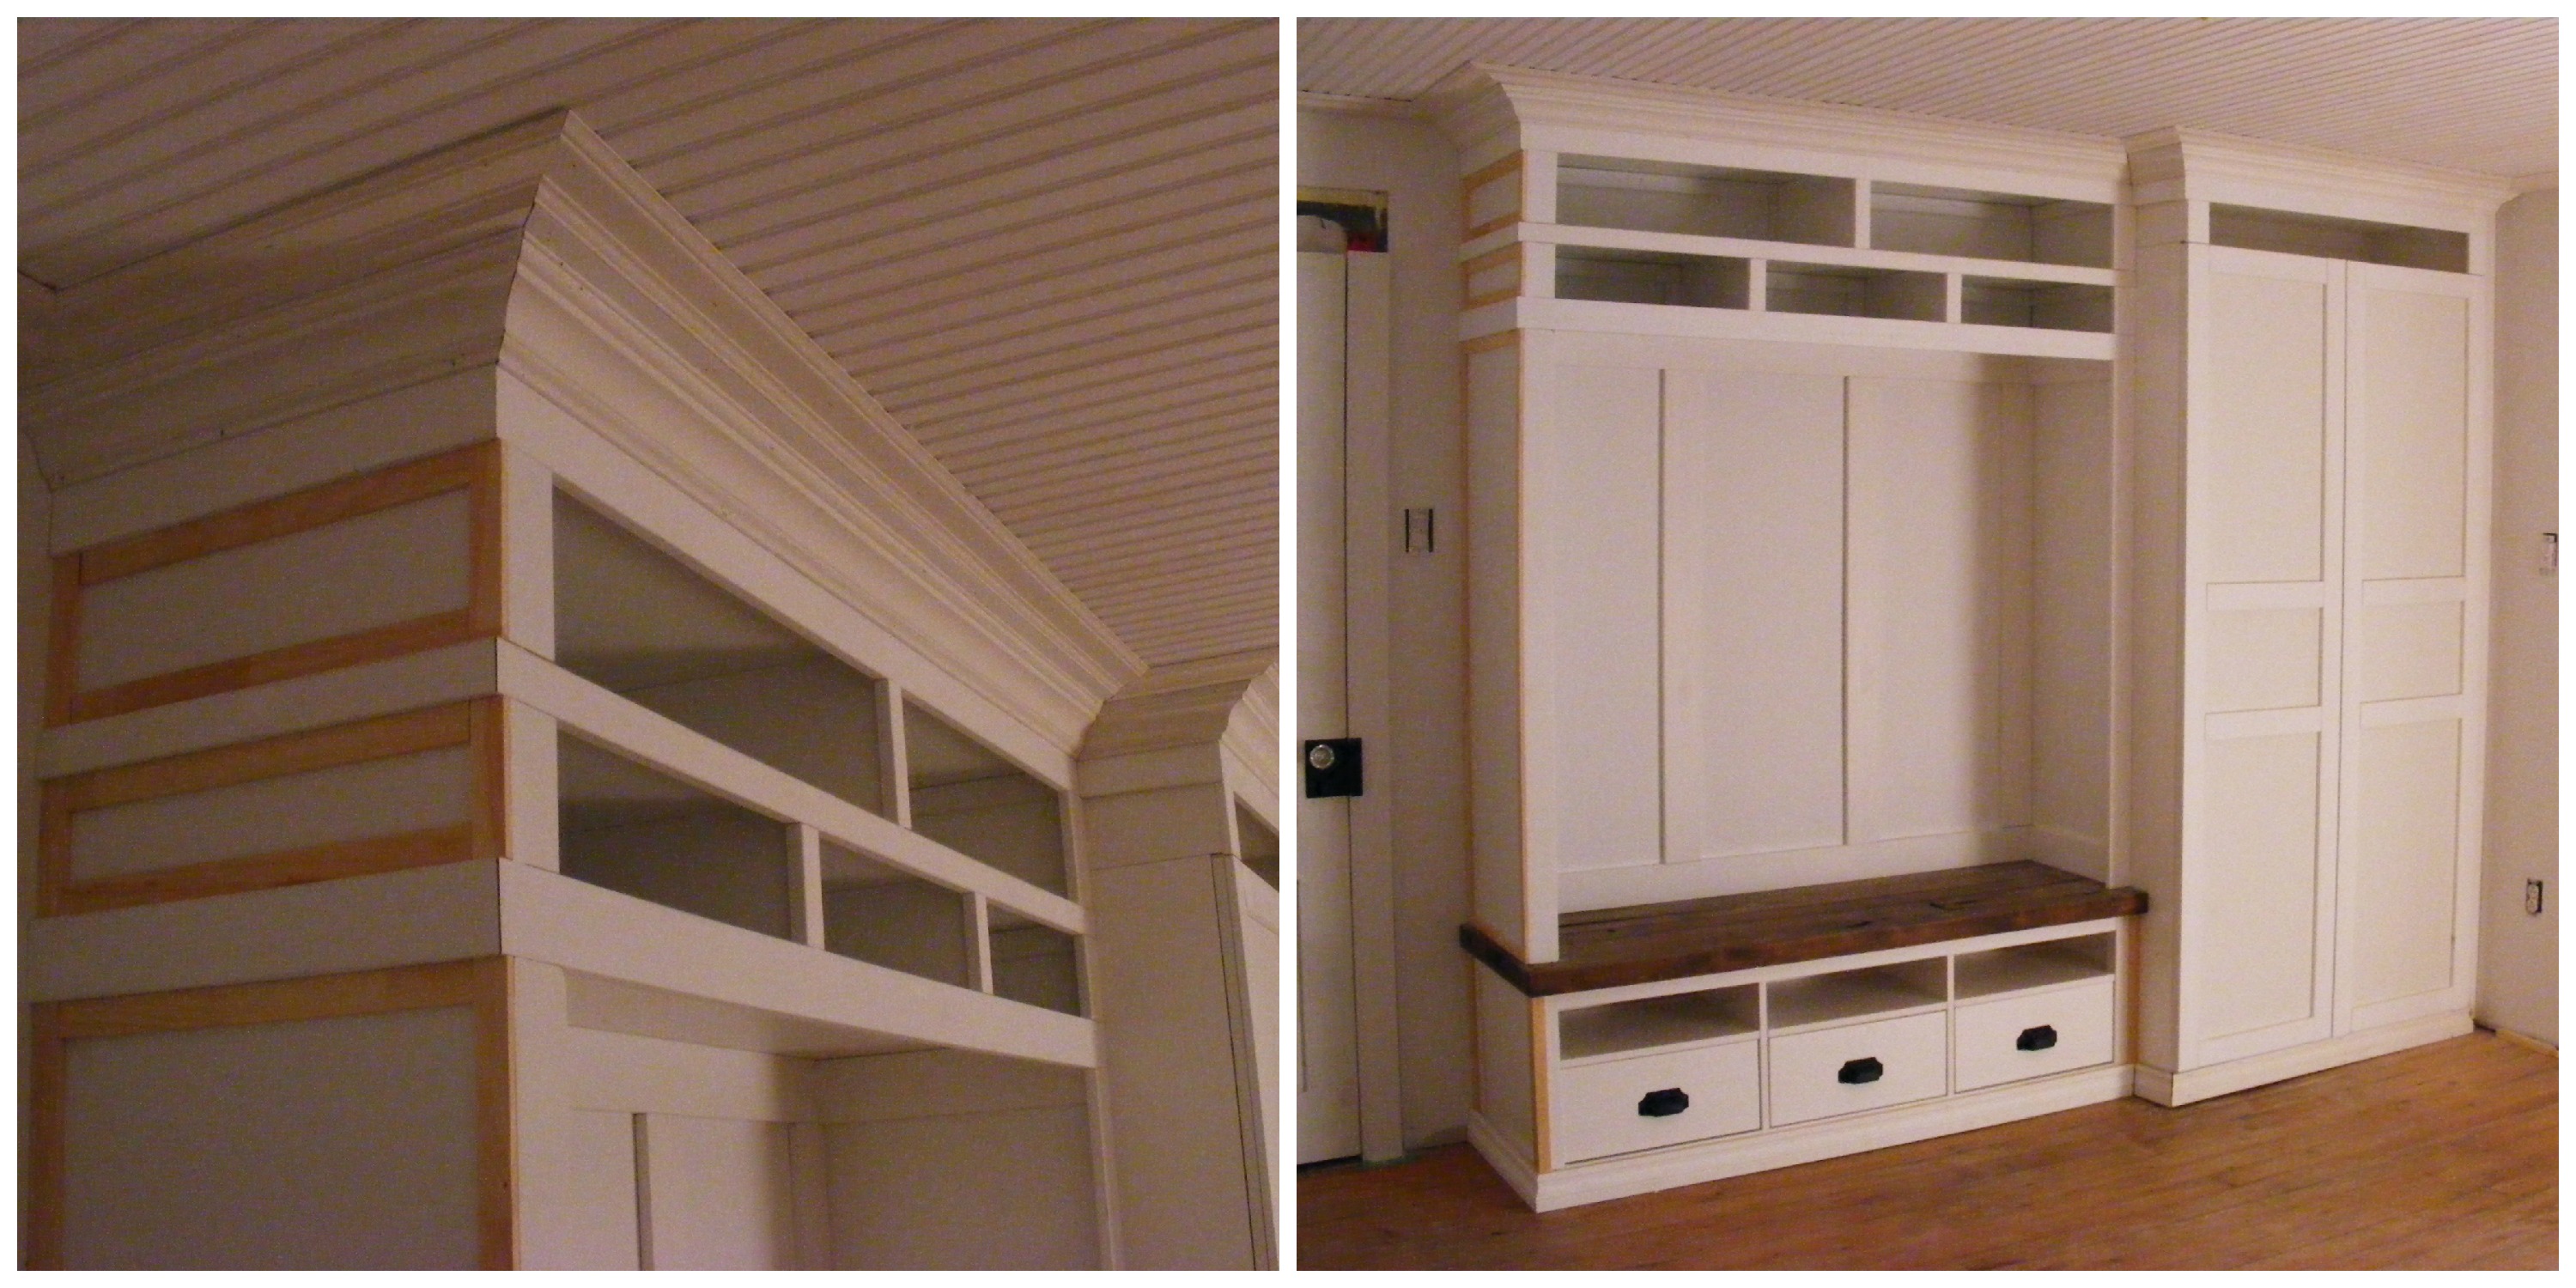
Some minor trim pieces, corbels and just the right hooks left to add… oh and filling all of the nail holes… prime and paint, then you have some real nice looking built-ins! We love them and use them every day!
Our next step was to add the board and batten wall trim with a small shelf on top… ick that yellow door!
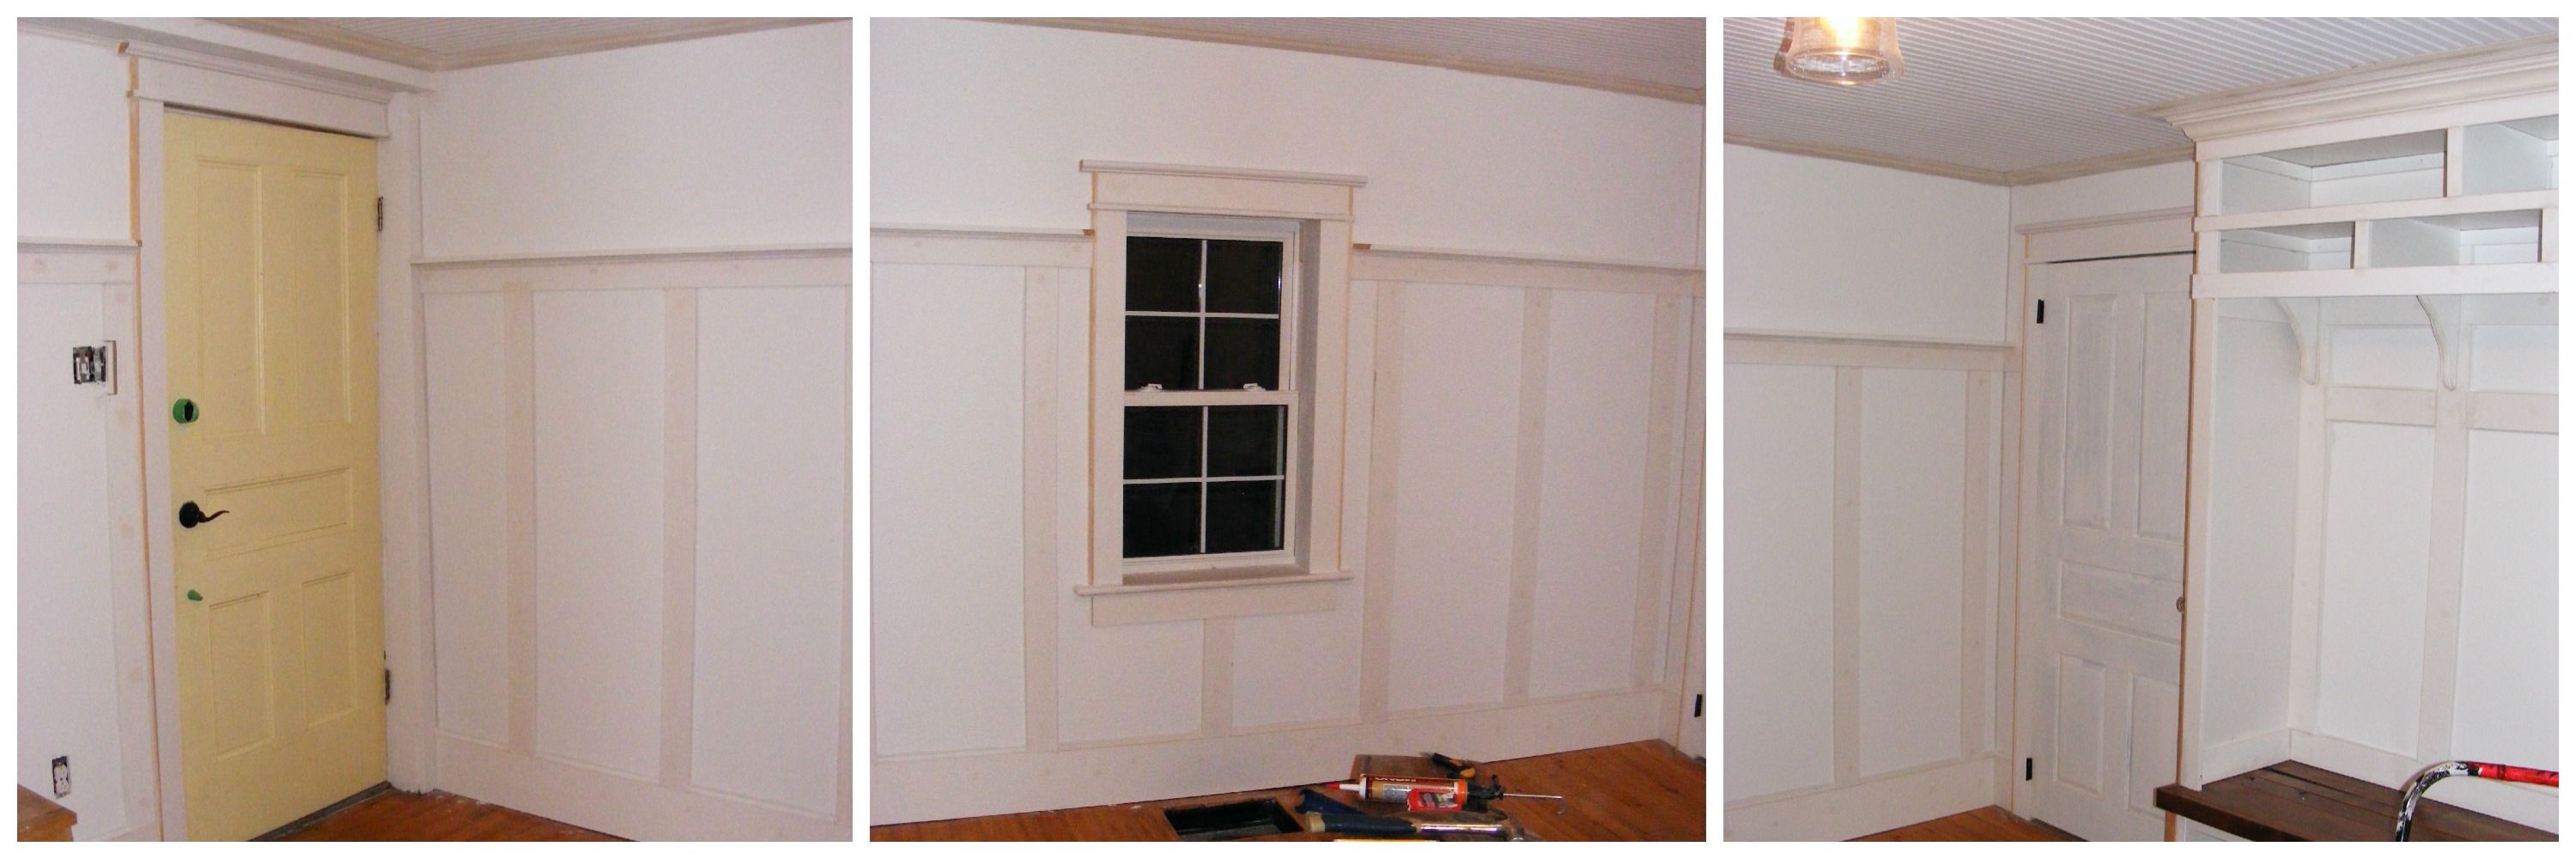

Then there were a few nail holes, let me tell you! I would like to do a shout out to no more nails though! WOW, without that product this would have been a nightmare! *this is not a paid for advertisement…
One other major thing we did with this room was the floor, Bud took a day off of work and sanded and re-stained the pine floors, they also turned out beautifully.
This is our little summer kitchen as is today… yep we still have a lot of doors but there is a major difference, the door to the main house stays open now, and the built-ins add so much to this room that the door to the carriage house isn’t really even noticed. I would love to hear your feed back… let us know what you think!?
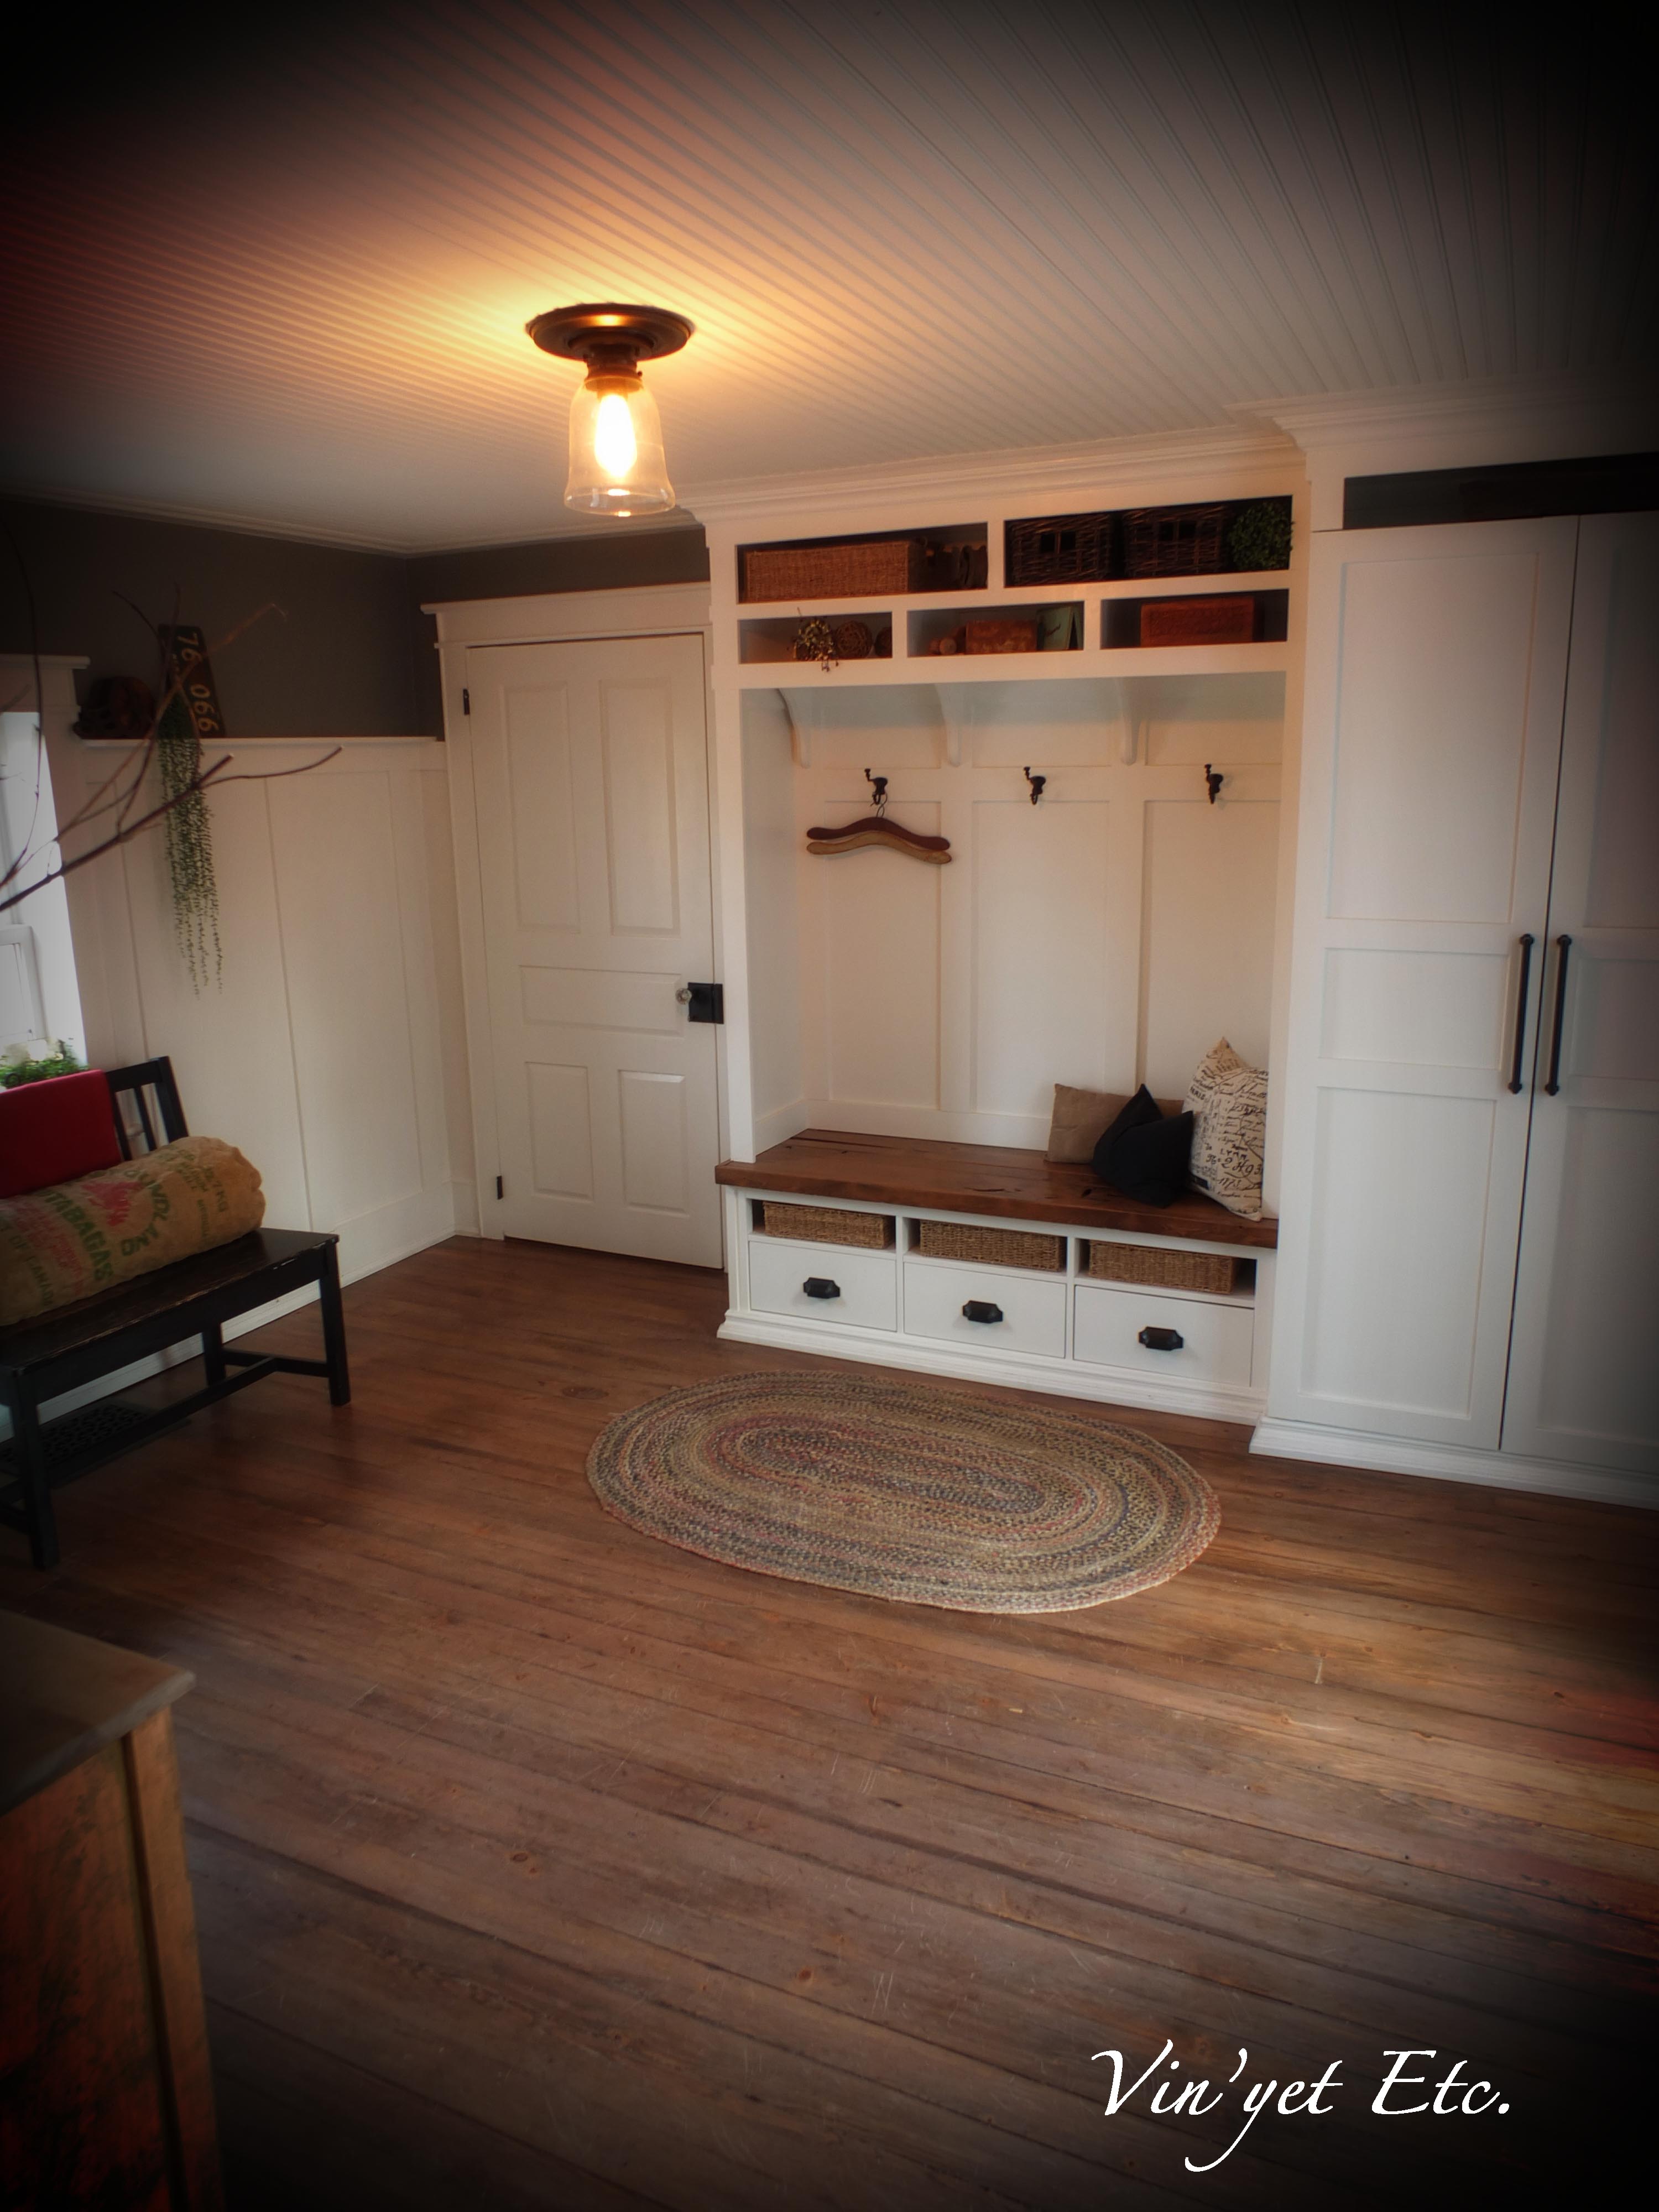
The bead board ceiling was another feature that we just love, we used baseboard trim as flat “crown molding”, it’s a lower ceiling in this room and regular crown lowered the ceiling visually, this solution worked very well along with the board and batten on the walls, it draws the eye up.

Thanks for stopping in…
I’ve submitted the Summer kitchen mudroom to the JUNE BEFORE AND AFTER PARTY, go here to see other fab projects! Thank-you Thrifty Decor Chick, what a great party!
~ Laurie xo
4 Comments
Beautiful!!
I actually grew up in a “summer house” on my grandparents farm which was originally the same thing – where they did all the cooking so the main house didnt get too hot in the summers.
I’m glad you liked our Summer Kitchen! Thanks so much for stopping by and especially leaving such a nice comment!
~Laurie
That is dang fantastic and hard to believe it’s the same room! You guys did a great job! Love the built-in.
Jake’s a Girl
I love that you said, “Dang fantastic”! What an awesome term! Love it! Thanks for the compliment, we love the built-ins!!!